


![Vessel Compass Rise [Obsidian] - Headshop.com](http://www.headshop.com/cdn/shop/files/631009c0-e68c-4238-9a63-73f14dd1117f.jpg?v=1717545548&width=900)
![Vessel Compass Rise [Obsidian] - Headshop.com](http://www.headshop.com/cdn/shop/files/a12c8ff4-4bee-4dc9-b697-542f6130e46e.jpg?v=1717609092&width=1000)

![Vessel Drift Case [Olive] - Headshop.com](http://www.headshop.com/cdn/shop/files/bcf30faf-8c6e-478d-a317-2a580dba197e.jpg?v=1768365177&width=900)
![Vessel Drift Case [Olive] - Headshop.com](http://www.headshop.com/cdn/shop/files/b91ca13e-53ae-40ff-963a-43ba10195212.jpg?v=1768365178&width=1000)


How to Roll a Cross Joint in 7 Steps
 Struggling to roll a perfect cross joint? You're not alone. Rolling a cross joint is seen as a skillful art within the cannabis community. This article will guide you through creating your own with ease and precision.
Get ready to impress!
What You Need to Roll a Cross Joint
To roll a cross joint, you'll need rolling papers, a grinder, and a rolling tray.
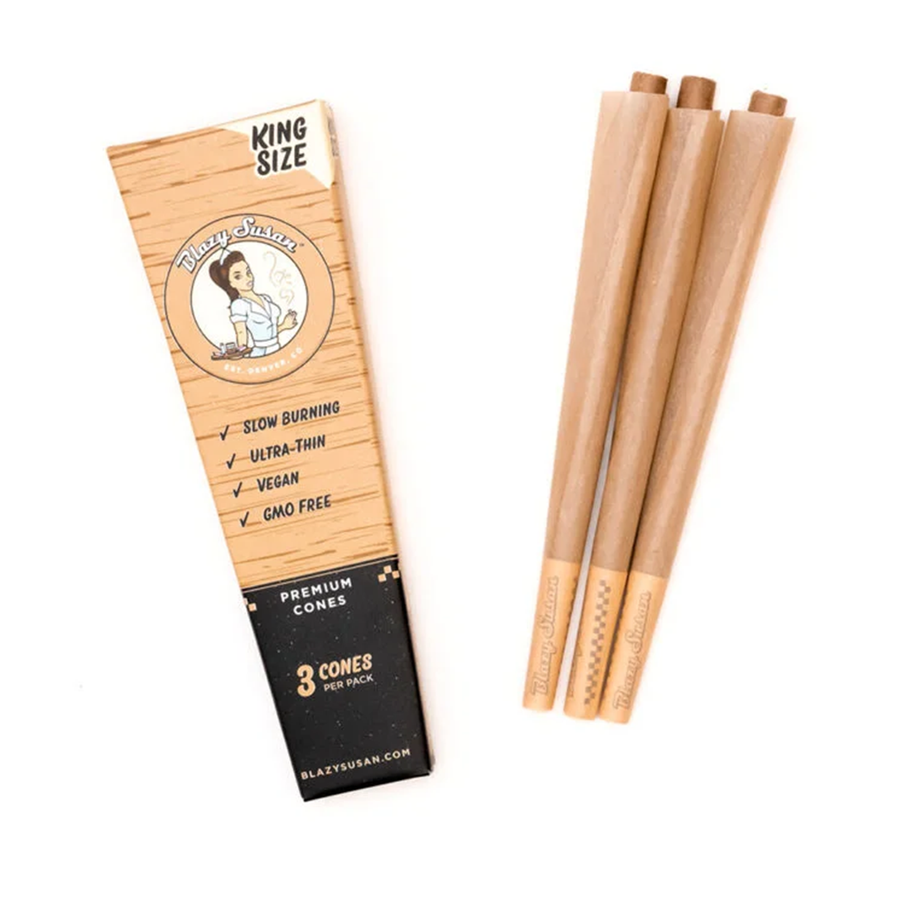
Rolling papers
Rolling papers are crucial for joint rolling, especially when crafting a cross joint. You'll need two types: a larger size for the main body and a smaller one for the cross piece. Choose thin, high-quality papers to ensure an even burn while smoking.
Hemp or rice papers work well because they don't affect the taste of your marijuana.
Make sure you have enough rolling papers before starting. Running out mid-roll can mess up your rhythm and affect the final product's quality. Keep your smoking accessories organized so you can focus on perfecting those rolling skills and enjoying a smooth smoke from your handmade cross joint.
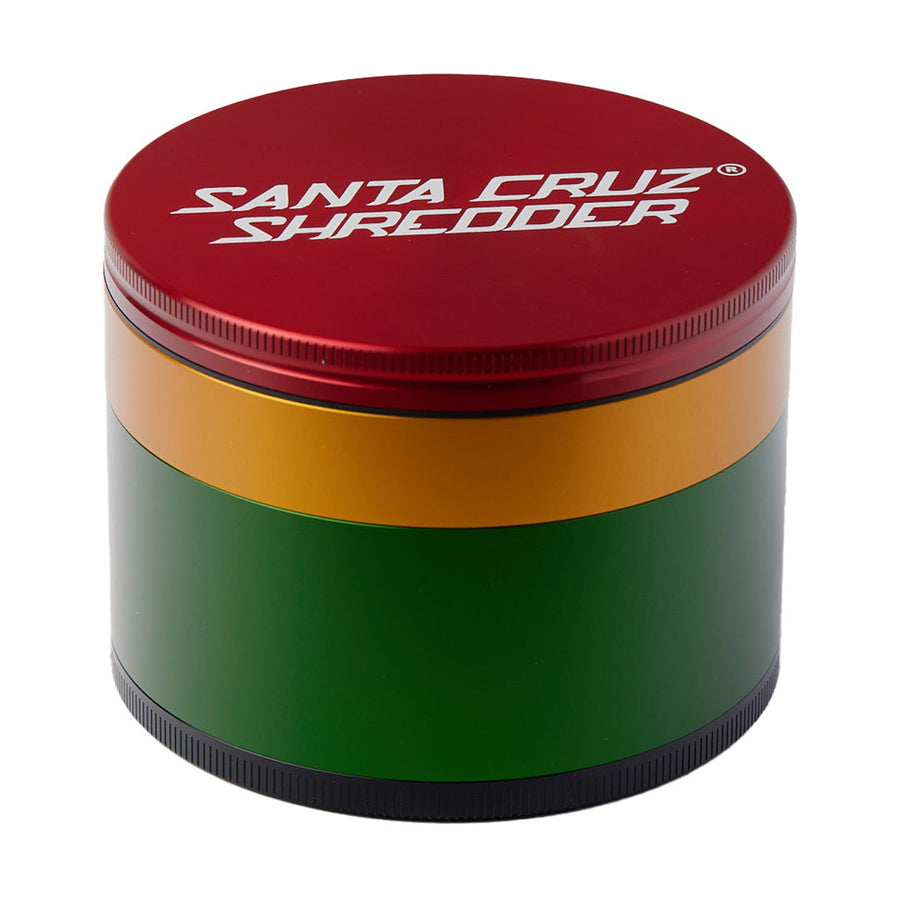
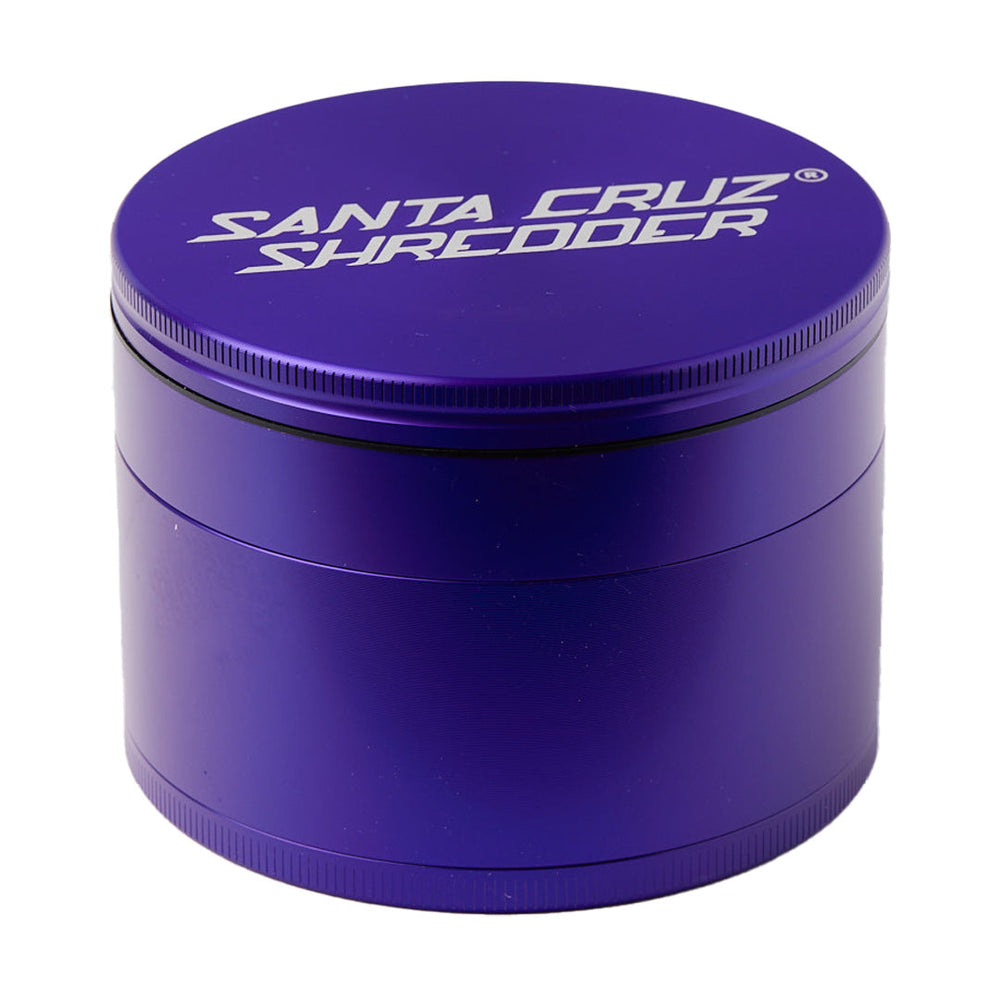
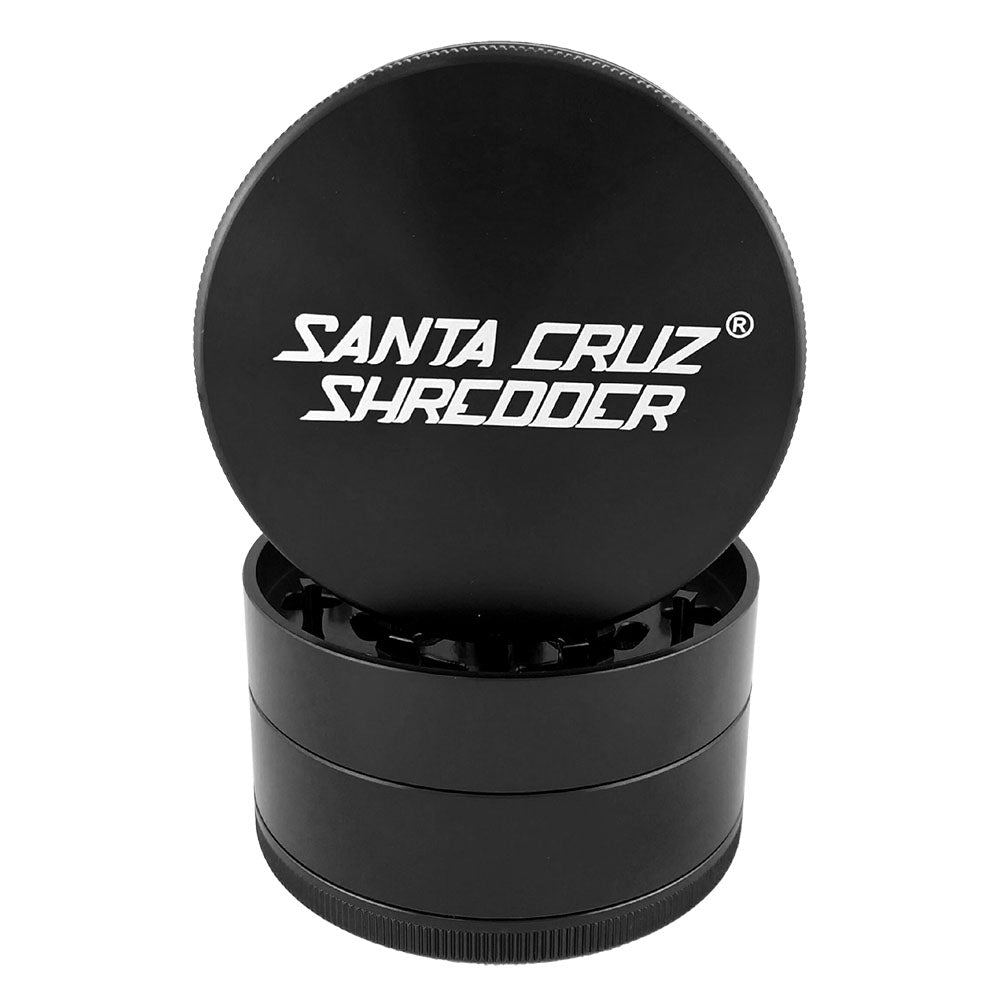
Grinder
To roll a perfect cross joint, you'll need a grinder. A grinder helps break down the weed into smaller pieces for an even burn. It ensures that your joints are filled with consistent and finely ground cannabis, making it easier to roll.
The grinder's teeth crush the marijuana buds efficiently, saving time and effort while providing a smooth smoking experience.
When rolling a cross joint, ensure to use keywords like "grinder," "well-grounded cannabis," and "smoking experience" to appeal to weed smokers.
Rolling tray
A rolling tray is essential for keeping your rolling process organized. It provides a clean surface to roll your joints and prevents any precious herb from spilling. This tool helps in managing the herbs and ensures an efficient assembly of your cross joint.
Keep all your essentials within reach - papers, filters, grinder, and of course weed – making the whole process smoother and less messy.
Weed tray | Rolling Joint | Weed Smokers | Rolling Surface | Herb Organization
How to Roll a Cross Joint in 7 Steps
Roll a cross joint by first rolling a fat joint and then a thinner one. After poking holes in both joints, carefully merge them together, add support, and light up for an enjoyable experience.
Convenient pre-rolled cross cones can also be used.
Roll a fat joint
Roll a substantial joint using high-quality rolling papers and finely ground cannabis. Place the papers on a flat surface, scatter the marijuana evenly along its length, then roll it into a fat joint to ensure an even burn.
Utilize a grinder to achieve the optimal consistency for your weed. Grinding ensures that your fat joint smokes smoothly and evenly Keywords: Rolling techniques, Joint size, Roll a joint.
Roll a thinner joint
Rolling a thinner joint is essential for rolling a cross joint. After rolling the fat joint, take another rolling paper and roll a slimmer joint. This will ensure it fits snugly into the larger one without any hassle; then proceed to poke holes in both joints before merging them together carefully.
Once combined, add support using small strips of an additional rolling paper for stability before lighting up and enjoying your well-crafted cross joint. For convenience, consider using pre-rolled cross cones as an alternative option.


Poke holes in both joints
Poking holes in both joints is a crucial step to ensure an even burn. Use a pin or small sharp object to create evenly spaced holes along the length of each joint. This allows air to flow through, ensuring that the cross joint burns evenly and smoothly, providing you with an enjoyable smoking experience.
After poking the holes, proceed to carefully merge the two joints as outlined in previous steps.
Take care when merging the two joints together after creating the holes, allowing them to seamlessly connect for optimal airflow and burning consistency. Enjoying your perfectly rolled cross joint can be as satisfying as it sounds -- happy smoking!
Carefully merge the two joints
To carefully merge the two joints, use a thin tool to create holes for joining. Gently press the thinner joint into the larger joint, ensuring a snug fit without tearing the paper.
Rotate and adjust as needed until they're securely connected to form a cross shape.
Once aligned, reinforce the connection by wrapping a small strip of rolling paper around the intersection and sealing it with saliva or water. This will help keep your cross joint intact while smoking and ensure an even burn throughout your session.
Add support
Once the two joints are carefully joined, use a thin strip of rolling paper to wrap around the middle where the joints meet. This extra layer of support will help hold the cross joint together and prevent it from falling apart when you light it up.
Alternatively, you can use a small piece of cardboard or a matchstick to provide additional stability to your cross joint. Just slide these supports into the holes at the crossing point and ensure they fit snugly to keep your creation intact during smoking sessions.
Light up and enjoy
After carefully assembling your cross joint, it's time to light up and enjoy the fruits of your labor. Take a moment to appreciate the craftsmanship and artistry that went into creating this unique smoking experience.
Grab your lighter, ignite all three ends simultaneously, and take a slow, steady draw. Feel the smooth smoke enter your lungs as you savor the rich flavor of your creation. Let the cannabis culture envelop you as you relax and unwind with each satisfying puff.
As you exhale, revel in the camaraderie that comes with sharing this distinct smoking technique with fellow weed enthusiasts. Embrace the DIY spirit of joint rolling and pass on your newfound knowledge to others who are eager to expand their marijuana smoking repertoire.
Use pre-rolled cross cones for convenience
Pre-rolled cross cones offer convenience for assembling a cross joint without the need for manual rolling. These ready-made cones save time and effort, providing a hassle-free option for enjoying this unique smoking experience.
Simply fill the pre-rolled cross cone with your preferred cannabis strains, merge them together as per the instructions, and delight in your perfectly assembled cross joint, making it easier to indulge in this DIY joint rolling technique without any additional complexity or specialized tools.
Conclusion
Rolling a cross joint is an art and a skill. Remember to gather your rolling papers, grinder, and rolling tray. Take your time as you follow the 7 steps to roll a fat joint, merge it with a thinner one, add support, light up, and enjoy! You can also opt for pre-rolled cross cones for added convenience.
Happy smoking!
FAQs
1. What is a cross joint?
A cross joint is a special type of cannabis joint designed to look like a cross, offering a unique way of smoking marijuana.
2. How do you start rolling a cross joint?
First, roll two weed joints, making sure one is thicker and longer than the other. The thicker one will serve as the base of your cross joint.
3. How do you assemble a cross joint?
After rolling your joints, poke a hole in the middle of the larger one and near one end of the smaller one. Carefully insert the smaller joint through the hole in the larger one to form a cross shape.
4. Can anyone learn how to roll a cross joint?
Yes! With practice and patience, anyone interested in marijuana culture can learn this smoking technique for assembling and enjoying their own cannabis joints.
![Vessel Ash [Black] Ultimate Ashtray and Storage - Headshop.com](http://www.headshop.com/cdn/shop/files/96564644-3a7c-45a0-beee-502ebff25cd9.jpg?v=1744308327&width=900)
![Vessel Ash [Black] Ultimate Ashtray and Storage - Headshop.com](http://www.headshop.com/cdn/shop/files/70b136a5-4745-4c98-8247-e6b2350637ae.jpg?v=1744308327&width=1000)
![Vessel - Mill [Beechwood] - Headshop.com](http://www.headshop.com/cdn/shop/files/MILL_GUNMETAL_BEECH_COLLAPSED_FRONT_800.jpg?v=1744308513&width=900)
![Vessel - Mill [Beechwood] - Headshop.com](http://www.headshop.com/cdn/shop/files/MILL_GUNMETAL_BEECH_EXPLODED_FRONT_SHADOW_800.jpg?v=1744308513&width=1000)
![Vessel - Ember [Concrete] Astray - Headshop.com](http://www.headshop.com/cdn/shop/files/20220106_EMBER_CONCRETE.jpg?v=1744309874&width=900)
![Vessel - Ember [Concrete] Astray - Headshop.com](http://www.headshop.com/cdn/shop/files/20220106_EMBER_CONCRETE_WITH_AIR.jpg?v=1744309874&width=1000)


![Vessel - Mill [Walnut] - Headshop.com](http://www.headshop.com/cdn/shop/products/96ec08c6-ba2e-4864-b47c-c85ace279228.jpg?v=1679517390&width=900)
![Vessel - Mill [Walnut] - Headshop.com](http://www.headshop.com/cdn/shop/products/9ab08dbd-46c3-4d73-a786-c58463dbf54c.jpg?v=1679517392&width=1000)