

![Vessel Helix Pipe [Copper] - Headshop.com](http://www.headshop.com/cdn/shop/files/ad3c0443-b76d-4fe5-84b8-a617dd50a950.jpg?v=1747419387&width=900)
![Vessel Helix Pipe [Copper] - Headshop.com](http://www.headshop.com/cdn/shop/files/7b0e06e3-9106-4684-80e4-408362c34085.jpg?v=1747419388&width=1000)
![Vessel Compass Rise [Obsidian] - Headshop.com](http://www.headshop.com/cdn/shop/files/631009c0-e68c-4238-9a63-73f14dd1117f.jpg?v=1717545548&width=900)
![Vessel Compass Rise [Obsidian] - Headshop.com](http://www.headshop.com/cdn/shop/files/a12c8ff4-4bee-4dc9-b697-542f6130e46e.jpg?v=1717609092&width=1000)
![Vessel Drift Case [Olive] - Headshop.com](http://www.headshop.com/cdn/shop/files/bcf30faf-8c6e-478d-a317-2a580dba197e.jpg?v=1768365177&width=900)
![Vessel Drift Case [Olive] - Headshop.com](http://www.headshop.com/cdn/shop/files/b91ca13e-53ae-40ff-963a-43ba10195212.jpg?v=1768365178&width=1000)

How to Make a Weed Pipe Out of Clay: A Simple DIY Guide

Making your own weed pipe can save you money and add a personal touch. Clay is a natural, easy-to-use material for this fun DIY project. This guide will show you how to make a weed pipe out of clay step by step.
Keep reading to craft something unique!
Materials Needed
Gather just a few basic items to start crafting your pipe. These simple tools make the process easy and fun!
Clay
Clay is soft and moldable, making it perfect for crafting a weed pipe. It allows users to shape custom designs with ease. As it dries or gets baked, the texture hardens into a sturdy piece suitable for smoking.
This material is affordable and easy to find in craft stores. Artists often use sculpting tools to refine their creations. "Clay offers endless possibilities for creativity," as many crafters say.
To ensure safety, curing the clay properly helps avoid cracks or harmful issues during use.
Rolling pin
Flattening the clay is key to shaping your pipe. A rolling pin works well for this step. It spreads the material evenly, making it easier to mold later. Use light and steady pressure while moving the pin back and forth.
Keep checking for even thickness during this process. Uneven spots can cause weak areas in your final piece. If you don’t have a rolling pin, try using any smooth kitchenware like a glass or bottle for similar results.
Cutting tool
A sharp cutting tool is essential for shaping the clay. It helps trim edges and create clean cuts for precise designs. A small steel blade or similar tool works best, offering control during fabrication.
Carbide-tipped tools can also be used for more detailed work. They ensure smooth lines and help with grinding away excess material after shaping. This step makes your piece look neat before finishing or drying.
Water
Clay dries out quickly, so water is essential. It keeps the material soft and workable while shaping your pipe. Use small amounts of liquid to prevent over-saturation and cracking later.
Hydration also helps smooth rough edges on your design. Dip your fingers or a sponge in water to refine curves or seal connections between parts. Next up, learn how to prepare the clay properly!
Circular template or cookie cutter
A circular template or cookie cutter helps shape the pipe's bowl evenly. It keeps the design neat and makes forming the opening easier. A round impression works as a framework to guide further shaping without hassle.
Users can experiment with different sizes for unique styles. This simple tool also ensures consistency, saving time and effort during crafting. Continue by shaping the pipe body next!
Optional: Glaze for finishing
Glaze adds a smooth coating to the pipe. It gives the surface a shiny and polished look. This step improves durability and makes cleaning easier. A simple ceramic glaze works well for this project.
Applying glaze can also seal the clay, preventing it from absorbing moisture or odors. It enhances texture and aesthetic appeal, making your DIY pipe stand out. For more on types of glazes, check pottery resources or online shops like Headshop.com.
Step-by-Step Guide to Making a Clay Weed Pipe
Making a clay weed pipe is both fun and easy with the right steps. Follow this guide to shape, carve, and finish your own unique smoking accessory.
Preparing the Clay
Start by softening the clay with your hands. Knead it until it's smooth and free of lumps. Use a little water if it feels too dry, but don’t soak it.
Flatten the clay with a rolling pin to make it easier to shape. Keep an even thickness—about 1/4 inch works best for strength and flexibility. This will set up the base for shaping the pipe body next.
Shaping the Pipe Body
Roll out the clay into a smooth, even cylinder. Use your hands or a rolling pin for this step. Keep it thick enough to carve but thin enough to handle comfortably. Shape the length based on how you want the pipe to feel in your hand.
Bend or curve the clay slightly if you prefer a unique design. Gently press down on flat surfaces to keep it stable when placed on a table. Always avoid making sharp edges, as they can break easily after drying or baking.
Creating the Bowl
Press your thumb gently into the clay to form a small, rounded indent. This will be the bowl where material is packed. Shape it evenly by smoothing the edges with wet fingers or a tool.
Ensure it’s deep enough but not too thin at the base to avoid cracks later. A circular template can help keep its shape tidy if needed. Adjust as desired for size or depth to suit your smoking preference and style!
Adding the Airway
Poke a straight hole through the clay to create the airway. Use a thin stick or skewer for this step. Start from the bowl’s base and go toward the mouthpiece. The hole should be smooth, without blockages, for proper airflow.
Check that smoke can pass through easily by lightly blowing air into it. Angle the airway slightly upward at the bowl so it improves ventilation and smoking functionality. Test again before letting it dry or bake to ensure a good smoking experience later.
Smoothing and Refining the Surface
Wet your fingers or a small sponge with water. Gently rub the surface of the pipe to smooth out rough spots and edges. Use light, even strokes to avoid removing too much material. Focus on making the bowl and airway comfortable for use.
A wooden skewer or sculpting tool can help clean up tight areas like corners or grooves. For a shiny finish, polish with a damp cloth before drying. Move to adding decorative touches after ensuring the surface feels smooth and ready.
![Vessel Pipe [Emerald]](http://www.headshop.com/cdn/shop/files/231c9f1f-11ba-4db3-aa3d-29b786d02e7f.jpg?v=1744745505&width=600 "Vessel Pipe [Emerald]")
![Vessel Element Hand Bubbler [Black]](http://www.headshop.com/cdn/shop/files/Element-Product-Listing-Images2.jpg?v=1744306952&width=600 "Vessel Element Hand Bubbler [Black]")
![Vessel Helix Pipe [Black]](http://www.headshop.com/cdn/shop/files/Pipe_Black_Angle.jpg?v=1744306153&width=600 "Vessel Helix Pipe [Black]")
![Vessel Pipe [Maritime]](http://www.headshop.com/cdn/shop/files/Pipe_Blue_Closed_982a0d7d-3acb-48ed-96ce-76b7acbe3677.jpg?v=1744306295&width=600 "Vessel Pipe [Maritime]")

![Vessel - Ember [Gold] Astray](http://www.headshop.com/cdn/shop/files/20220106_EMBER_BRASS.jpg?v=1744309601&width=600 "Vessel - Ember [Gold] Astray")
Adding Decorative Touches (Optional)
After smoothing the surface, details can make your pipe stand out. Use tools or even household items like toothpicks or forks to carve patterns. Create spirals, lines, dots, or any design that feels personal.
For a unique touch, press small leaves onto the clay for natural imprints. Add your initials or symbols for personalization. Avoid pressing too hard; keep designs light and neat so they don't affect function.
Baking or Drying the Pipe
Bake it in the oven or let it air-dry—both methods work for finishing your pipe.
Oven-Baking Method
Set the oven to 200-250°F. This heat is perfect for curing clay without cracking it. Place the pipe on a baking sheet lined with foil or parchment paper. Keep it in the middle of the oven to avoid uneven heating.
Bake for about 30 minutes per half inch of thickness. Watch closely to prevent overheating, which can ruin the pipe's durability. Let it cool completely inside the oven before handling to avoid breaking.
Move on to air-drying tips next!
Air-Drying Method
Air-drying works well for those who want to skip the oven. This method is safer and requires no extra tools or heat. Let the clay pipe rest on a flat, clean surface in a dry space.
Avoid areas with too much humidity as it can slow drying time.
Air-drying times vary but usually take 48-72 hours. Check the hardness by lightly tapping the surface. Patience is key; rushing could damage its shape or strength. This technique keeps crafting simple and accessible for anyone wanting handmade smoking accessories at home!
Tips for Success
Work patiently with the clay, enjoy the process, and let creativity guide your design—there’s no wrong way to craft something unique!
Keep the Clay Moist While Working
A damp cloth or spray bottle works wonders for keeping clay moist. Moisture prevents cracking and makes shaping and detailing easier. Avoid adding too much water though, as it can make the clay overly soft and hard to manage.
Unused clay should stay wrapped in plastic to stop it from drying out. This keeps its texture smooth and workable when needed later. Properly conditioned clay ensures a better crafting experience with pottery or handbuilding projects like this pipe.
Next, learn how to use gentle pressure while shaping your pipe!
Use Gentle and Consistent Pressure
Apply steady force while shaping the clay. Too much pressure can crack or deform it, while too little won’t shape it well. Focus on even control for a smooth finish.
Stay patient during each step of molding. Rushing or pressing unevenly may ruin the design. Use resilience and practice to master this technique over time.
Experiment with Creative Designs
Use gentle pressure while experimenting with your designs. Let creativity flow freely and shape the pipe to match your style. Try making swirls or adding small grooves for texture.
Add patterns like flowers, waves, or even stars for a personal touch.
Focus on artistic expression by visualizing how you want the piece to look. Use simple tools like toothpicks or straws for detailed designs. Prototyping different shapes can inspire bold ideas too.
Think about combining function with aesthetics to make something truly unique!
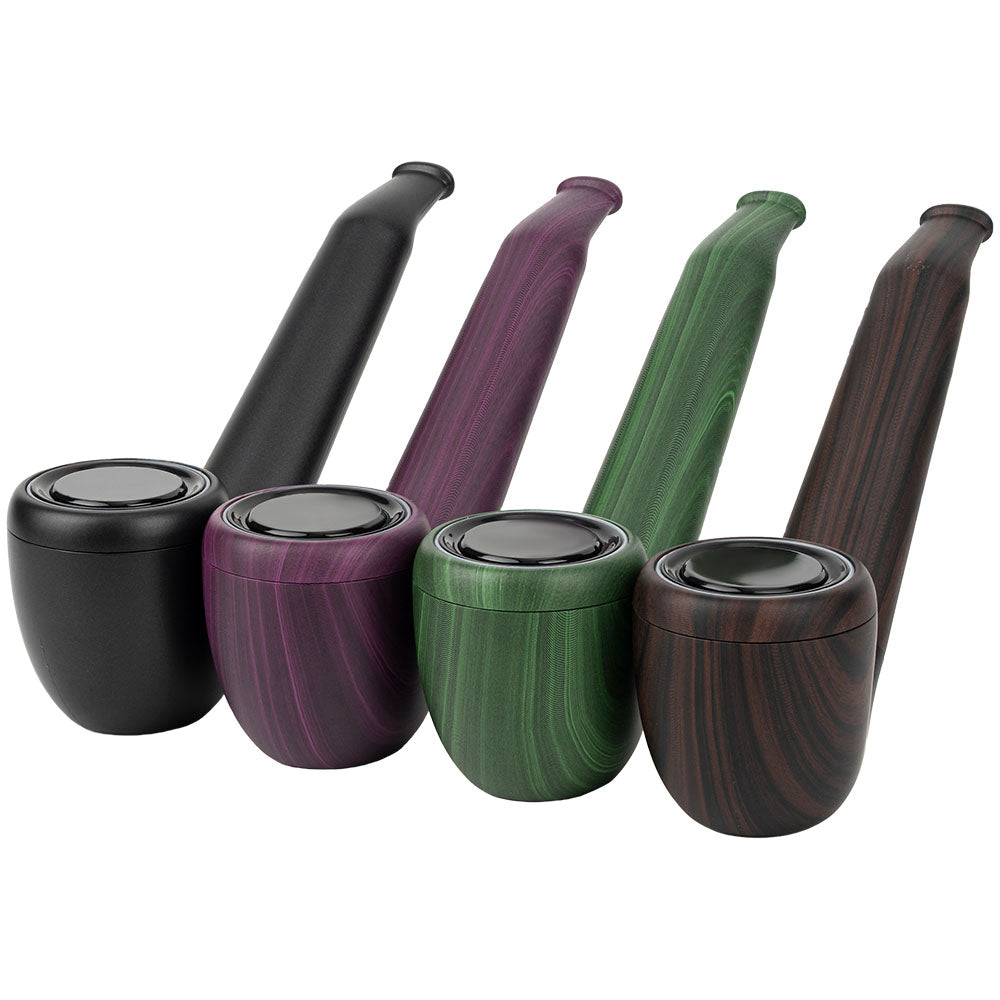
Explore Different Types of Ceramic Pipes
Ceramic pipes come in many shapes and styles. Headshop.com has a wide range of options, offering over 450 brands. This variety ensures plenty of high-quality choices for smoking accessories and ceramic equipment.
Brands like Marley Natural and Cheech Glass design sleek, durable ceramic pipes. These can be found alongside other unique pieces appealing to DIY fans or casual smokers. Ceramic pipes stand out for their smooth finish, solid feel, and artistic designs perfect for cannabis use.
Conclusion
Making a clay weed pipe is fun and rewarding. It combines creativity with practicality. With just a few tools and some patience, anyone can craft a unique smoking piece. Play around with designs, enjoy the process, and create something that suits your style!
FAQs
1. What materials do I need to make a clay weed pipe?
You will need air-dry or oven-bake clay, a small tool for shaping (like a toothpick or skewer), and access to an oven if using bakeable clay.
2. Is it safe to use clay for making a weed pipe?
Yes, but only if you use non-toxic, heat-safe clay that is labeled food-grade or suitable for smoking purposes. Avoid clays with harmful chemicals.
3. How do I shape the bowl and airway in the pipe?
Shape the bowl by pressing your thumb into one end of the clay piece. Use a skewer or similar tool to create an airway connecting the bowl to the mouthpiece area.
4. Do I need to cure or dry my finished pipe before using it?
Yes, let air-dry clay harden fully according to instructions on its packaging, or bake oven-bake clay at its recommended temperature until cured completely.
![Vessel Pipe [Maritime] - Headshop.com](http://www.headshop.com/cdn/shop/files/Pipe_Blue_Closed_982a0d7d-3acb-48ed-96ce-76b7acbe3677.jpg?v=1744306295&width=900)
![Vessel Pipe [Maritime] - Headshop.com](http://www.headshop.com/cdn/shop/files/Pipe_Blue_Open_d28f56b9-f5af-45fe-9636-ae8f20aec6f3.jpg?v=1744306297&width=1000)
![Vessel - Helix [Maritime] - Headshop.com](http://www.headshop.com/cdn/shop/files/Helix_Maritime_Front_1.jpg?v=1744307885&width=900)
![Vessel - Helix [Maritime] - Headshop.com](http://www.headshop.com/cdn/shop/files/Helix_Maritime_Front_2.jpg?v=1744307928&width=1000)
![Vessel Pipe [Emerald] - Headshop.com](http://www.headshop.com/cdn/shop/files/231c9f1f-11ba-4db3-aa3d-29b786d02e7f.jpg?v=1744745505&width=900)

![Vessel Compass Apex Charger [Black] - Headshop.com](http://www.headshop.com/cdn/shop/files/f10e6bf4-6ce7-4a59-a50e-a4184f069754.jpg?v=1729115238&width=900)
![Vessel Compass Apex Charger [Black] - Headshop.com](http://www.headshop.com/cdn/shop/files/dce98c70-346c-405f-aca8-d59c7feed96d.jpg?v=1729115240&width=1000)