
![Vessel Helix Pipe [Copper] - Headshop.com](http://www.headshop.com/cdn/shop/files/ad3c0443-b76d-4fe5-84b8-a617dd50a950.jpg?v=1747419387&width=900)
![Vessel Helix Pipe [Copper] - Headshop.com](http://www.headshop.com/cdn/shop/files/7b0e06e3-9106-4684-80e4-408362c34085.jpg?v=1747419388&width=1000)
![Vessel Compass Rise [Obsidian] - Headshop.com](http://www.headshop.com/cdn/shop/files/631009c0-e68c-4238-9a63-73f14dd1117f.jpg?v=1717545548&width=900)
![Vessel Compass Rise [Obsidian] - Headshop.com](http://www.headshop.com/cdn/shop/files/a12c8ff4-4bee-4dc9-b697-542f6130e46e.jpg?v=1717609092&width=1000)
![Vessel Drift Case [Olive] - Headshop.com](http://www.headshop.com/cdn/shop/files/bcf30faf-8c6e-478d-a317-2a580dba197e.jpg?v=1768365177&width=900)
![Vessel Drift Case [Olive] - Headshop.com](http://www.headshop.com/cdn/shop/files/b91ca13e-53ae-40ff-963a-43ba10195212.jpg?v=1768365178&width=1000)

How to Make A Spoon Pipe: A Step-by-Step Guide for Beginners

Making your own smoking pipe can feel tricky, but it doesn’t have to be. Spoon pipes are simple, stylish, and easy to craft with the right tools. This guide on how to make a spoon pipe will cover each step for beginners.
Keep reading to learn how you can create one that’s both functional and unique!
Materials You’ll Need
Gather the right materials to make your spoon pipe. Each item plays a key role in crafting a functional and unique piece.
Spoon-shaped material (glass, clay, or metal)
Glass, clay, or metal can all make great spoon-shaped materials. Glass gives a clean taste and looks amazing with its shiny finish. Clay feels earthy and natural, often handcrafted for a unique touch.
Metal is tough and portable, perfect for smoking on the go.
Each material has its perks. Glass pipes are aesthetic and easy to clean. Clay pipes feel durable but handcrafted at the same time. Metal ones last long without cracking or chipping easily.
Each choice ensures durability while staying functional!
Pick your material wisely, glass shines bright, clay feels grounded, and metal stays strong.
Tools for shaping and carving
Sculpting tools are key to shaping and carving your spoon pipe. A small chisel can work beautifully for wood or clay. For more precise designs, use carving knives with sharp blades.
If working with soft materials, basic sculpting tools like a ribbon tool or loop tool help shape curves smoothly.
For hard surfaces like metal, files and rasps are great for crafting details. Fine-grit sandpaper smooths rough edges while adding finishing touches. Always keep your tools organized for easy access during the process.
Heat source (if using glass)
Work with a proper heat source to shape glass safely. Use a torch or kiln capable of reaching high temperatures, around 2,000°F. Glass needs intense heat to melt and become pliable.
Ensure the equipment provides consistent thermal energy for smooth shaping.
Insulate your workspace to handle extreme temperatures. Fire-resistant gloves and goggles protect against burns and sparks. Keep tools like tongs nearby since hot glass is dangerous to touch directly.
Always prioritize safety while working with this material!
Sandpaper or polishing tools
After shaping the spoon pipe, smoothing it is essential. Sandpaper or polishing tools help eliminate rough edges and imperfections. Start with coarse grains to refine uneven surfaces.
Gradually switch to fine abrasives for a smoother result.
Polishing adds shine and ensures a clean surface. Buffing tools can create a glossy look that feels pleasing to hold. Creating an even texture improves both functionality and appearance.
A smooth pipe looks appealing and provides greater comfort during use.
A polished piece always stands out more than one left unfinished.
Preparing Your Workspace
Set up a safe, clean spot with good airflow to keep things easy and stress-free as you work.
Setting up a safe and ventilated area
Choose a spot with good airflow to avoid breathing in fumes and odors. Open windows or use fans to keep the air moving. Strong ventilation is key, especially if heating materials like glass.
Wear safety gear such as gloves and goggles to protect your hands and eyes from tools or debris. Avoid clutter by keeping all tools organized within reach. Use a mask or breathing apparatus if dealing with fine dust or harmful particles.
Keep flammable items far from heat sources to reduce risks of fire hazards.
Organizing your tools and materials
A clean and organized workspace keeps things smooth. Start by arranging your crafting materials like glass, clay, or metal in a neat way. Keep tools for shaping, carving, and sanding within easy reach to save time.
Pipe cleaners and filters should be nearby for quick pipe maintenance. Store supplies such as sandpaper and heat sources securely in labeled containers. Beginners can benefit from wholesale options to stock up on essentials without hassle.
Quality tools from trusted brands ensure proper crafting every step of the way!
Step 1: Designing Your Spoon Pipe
Start by sketching a simple design for your pipe, keep it basic and focus on the bowl and stem layout to kick things off.
Sketching the basic shape
Start by using a pencil to outline the spoon pipe on paper. Focus on creating a balanced and functional shape. Draw the bowl at one end, slightly rounded for depth, and sketch the stem extending straight or with a slight curve.
Keep aesthetics in mind while ensuring functionality. Add a mouthpiece at the opposite end of the stem. Envision how air would pass smoothly from bowl to mouthpiece. Once satisfied with the design, move to shaping the bowl itself.
Planning the bowl and stem placement
The position of the bowl and stem changes how a smoking pipe feels to use. A well-placed bowl makes it easy to light and pack, while also keeping airflow smooth. The stem angle should allow smoke to flow freely from the bowl to the mouthpiece without clogging.
If the bowl is too shallow or placed awkwardly, it can ruin airflow and make smoking harder.
User ergonomics matter just as much as looks. The pipe should feel comfortable in hand when smoked. Beginners might prefer simple designs that focus on function over style, but personal preference still plays a big role here.
Some may want their spoon pipe sleek and artistic; others may value ease of use more than aesthetics.
Step 2: Shaping the Bowl
Start shaping the bowl by carving or molding it to fit your needs, this part sets the stage for a perfect spoon pipe!
Carving or molding the bowl
Crafting the bowl starts with shaping a small depression in your material. The size and depth should match what can comfortably hold a pinch of herbs. Use carving tools or hands if working with clay, focusing on smooth, even contours.
For harder materials like wood or metal, carve slowly to avoid splitting or cracking. Sand down rough spots for comfort and precision. This ensures the bowl is functional while keeping it user-friendly.
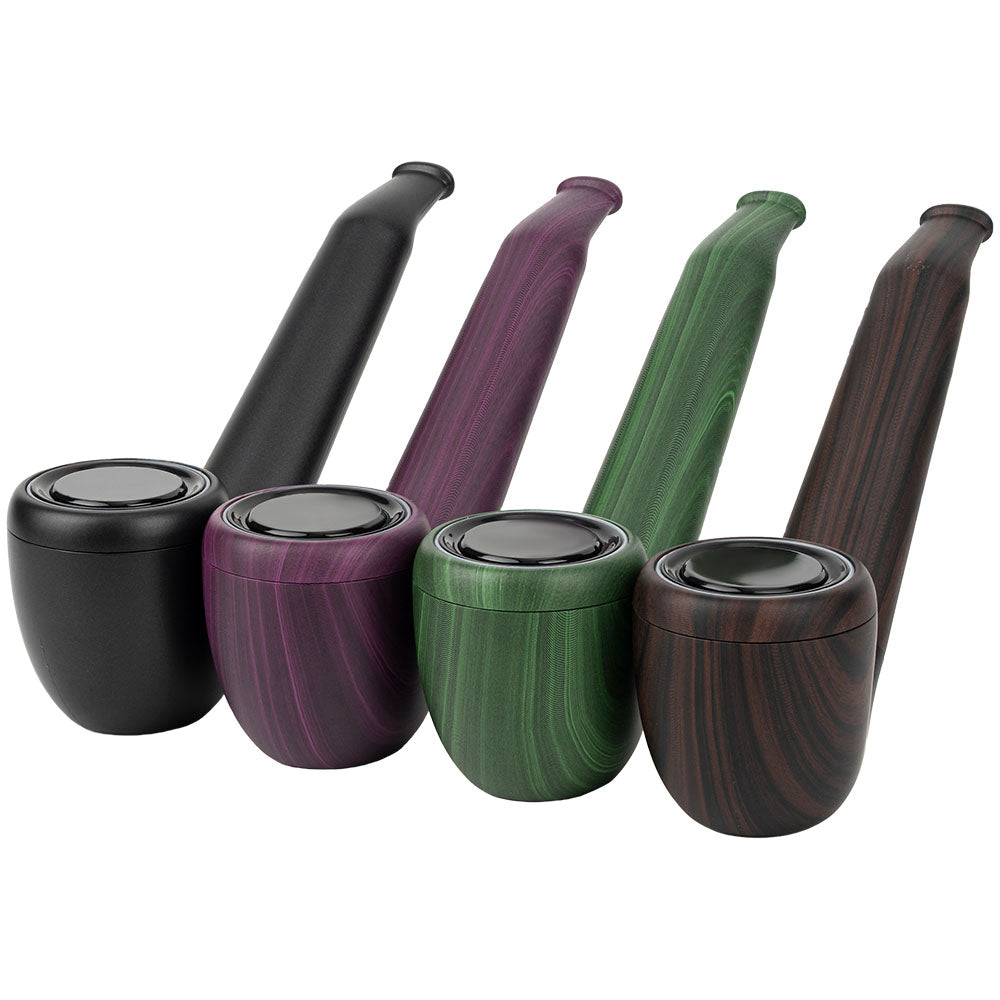
![Vessel Pipe [Emerald]](http://www.headshop.com/cdn/shop/files/231c9f1f-11ba-4db3-aa3d-29b786d02e7f.jpg?v=1744745505&width=600 "Vessel Pipe [Emerald]")
![Vessel Element Hand Bubbler [Black]](http://www.headshop.com/cdn/shop/files/Element-Product-Listing-Images2.jpg?v=1744306952&width=600 "Vessel Element Hand Bubbler [Black]")
![Vessel Helix Pipe [Black]](http://www.headshop.com/cdn/shop/files/Pipe_Black_Angle.jpg?v=1744306153&width=600 "Vessel Helix Pipe [Black]")
![Vessel Pipe [Maritime]](http://www.headshop.com/cdn/shop/files/Pipe_Blue_Closed_982a0d7d-3acb-48ed-96ce-76b7acbe3677.jpg?v=1744306295&width=600 "Vessel Pipe [Maritime]")

![Vessel - Ember [Gold] Astray](http://www.headshop.com/cdn/shop/files/20220106_EMBER_BRASS.jpg?v=1744309601&width=600 "Vessel - Ember [Gold] Astray")
Next comes forming the stem connection to create airflow between pieces!
Ensuring proper depth and size
The bowl should have the right depth and size for easy use. A proper depth holds enough material without spilling, while still allowing smooth packing. If it’s too shallow, it may not hold much; if too deep, airflow can get blocked.
Dimensions affect both smoke quality and consumption amount. A well-sized bowl balances functionality with aesthetics. Beginners can focus on creating a shape that ensures good airflow while enhancing ease of use.
Step 3: Creating the Stem
Shape the stem carefully to ensure smooth airflow, this connects the bowl to the mouthpiece for a seamless hit.
Making the air path
Carve a straight and smooth channel through the stem. This channel connects the bowl to the mouthpiece. Use a small, sharp tool to ensure precision when creating this pathway. Proper alignment is key for airflow.
Clear out any blockages or uneven edges in the conduit. Sand lightly inside the air path if needed. A clean, open channel allows smoke to flow smoothly without restriction or obstruction.
Connecting the bowl to the mouthpiece
Align the air path from the bowl to the mouthpiece. Use a straight and smooth line for proper inhalation. The stem acts as tubing, linking these parts.
Make sure there’s no gap or blockage where they connect. A tight joint ensures clean airflow for smoking herbal mixtures without interruptions.
Step 4: Polishing and Smoothing
Make the edges smooth and shiny—this step gives your pipe its final, finished look!
Sanding rough edges
Sanding removes rough edges from the spoon pipe, making it safe and smooth to touch. Use fine-grit sandpaper for great results. A smooth surface improves grip and comfort, so you can enjoy a better smoking experience.
Sanding also boosts aesthetics by giving the pipe a clean look.
Focus on all edges and corners where sharpness could cause discomfort. Polishing after sanding adds that final touch of craftsmanship. This step ensures your spoon pipe feels refined while enhancing its overall quality and texture.
Polishing for a smooth finish
A smooth finish adds both style and comfort to a spoon pipe. Use sandpaper or polishing tools to gently remove rough edges. Start with coarse grit, then move to finer grit for better results.
This process prevents sharp spots that could hurt fingers or lips during use.
Polishing also boosts the pipe’s look and function. Materials like glass may need extra care with buffing compounds for high shine, while clay or metal benefit from steady sanding.
Take your time to ensure every surface feels even and clean before moving on to test the airflow in Step 5.
Step 5: Testing the Airflow
Check the airflow by taking a gentle draw, make sure it’s smooth and open, without any clogs.
Checking for proper airflow
Proper airflow keeps the spoon pipe working smoothly. Blow gently through the mouthpiece to ensure air moves freely. A clear path means no blockages in the stem or bowl.
Airflow impacts draw and taste when smoking. Use pipe cleaners or small tools to remove debris if needed. Accessories like filters can also help maintain smooth airflow for a better experience.
Ensuring no blockages in the pipe
Blockages in your spoon pipe can ruin airflow and the smoking experience. Check for clogs by blowing through the mouthpiece. If airflow feels weak or stopped, inspect the bowl and stem for debris.
Small tools like a thin wire or a pipe cleaner can help clear stuck material.
A proper inspection ensures optimal performance every time you use it. Clean out resin build-up regularly to avoid future issues. Smooth airflow improves functionality and gives a better session overall.
Testing often keeps the pipe working perfectly while making its maintenance easy over time.
Adding Personal Touches
Make your spoon pipe unique by adding designs, colors, or carvings that reflect your style.
Designing artistic embellishments
Artistic embellishments make spoon pipes stand out. Carve patterns, etch designs, or add paint to create a unique piece that matches your style. Small details like swirls, leaves, or abstract shapes bring personality to the pipe.
Beginners can start with simple ideas and grow their skills over time.
Different materials give endless design choices. Clay allows for sculpted textures, while glass offers vibrant colors and smooth finishes. Adding beads or metallic accents adds flair too.
These creative touches turn a basic pipe into functional art that's both personal and eye-catching.
Painting or etching for a unique style
Painting or etching can make a spoon pipe stand out. Bright colors, bold patterns, or detailed designs add personality and uniqueness. Users can paint the surface for vibrant looks or etch patterns into metal or glass for a textured effect.
These techniques let creators show off their style while increasing craftsmanship. Beginners should explore simple paints, stencils, or light engraving tools to build confidence. Adding custom touches transforms the pipe into an artistic piece full of creativity and personal expression.
Exploring Spoon Pipes Varieties and Designs
Spoon pipes come in many shapes, colors, and materials. Glass pipes are the most popular because of their smooth look and easy cleaning. Some are plain and simple; others have bold designs or swirls of color.
Hand pipes like these often feature unique art that reflects smoking culture.
Metal and clay spoon pipes offer sturdy options for those wanting different vibes. Sherlock pipes stand out with their curved stems, adding a classic style to smoking accessories. Many smokers add filters or use pipe cleaners to keep them fresh after crafting or buying custom styles from places like Headshop.com.
Conclusion
Crafting a spoon pipe is simple and fun. It’s a creative way to make something personal and useful. By following these steps, any beginner can feel confident exploring this project.
Take your time to shape, smooth, and test for the best results. Enjoy making your own unique piece!
FAQs
1. What is a spoon pipe, and why make one?
A spoon pipe is a small, handheld smoking device shaped like a spoon. Making one yourself can save money, let you customize the design, and give you an easy project to start with as a beginner.
2. What materials do I need to make a spoon pipe?
You’ll need basic tools like sandpaper or files for smoothing edges, plus non-toxic materials such as wood, clay, or even metal depending on your preference and skill level.
3. How long does it take to craft a simple spoon pipe?
For beginners using basic methods and tools, it usually takes about 1-2 hours from start to finish if you're following clear steps.
4. Is making my own spoon pipe safe?
Yes, it's safe if you use proper materials that won’t release harmful chemicals when heated. Always smooth rough edges thoroughly and ensure the bowl is securely shaped before use.
![Vessel Pipe [Maritime] - Headshop.com](http://www.headshop.com/cdn/shop/files/Pipe_Blue_Closed_982a0d7d-3acb-48ed-96ce-76b7acbe3677.jpg?v=1744306295&width=900)
![Vessel Pipe [Maritime] - Headshop.com](http://www.headshop.com/cdn/shop/files/Pipe_Blue_Open_d28f56b9-f5af-45fe-9636-ae8f20aec6f3.jpg?v=1744306297&width=1000)
![Vessel - Helix [Maritime] - Headshop.com](http://www.headshop.com/cdn/shop/files/Helix_Maritime_Front_1.jpg?v=1744307885&width=900)
![Vessel - Helix [Maritime] - Headshop.com](http://www.headshop.com/cdn/shop/files/Helix_Maritime_Front_2.jpg?v=1744307928&width=1000)
![Vessel Pipe [Emerald] - Headshop.com](http://www.headshop.com/cdn/shop/files/231c9f1f-11ba-4db3-aa3d-29b786d02e7f.jpg?v=1744745505&width=900)

![Vessel Compass Apex Charger [Black] - Headshop.com](http://www.headshop.com/cdn/shop/files/f10e6bf4-6ce7-4a59-a50e-a4184f069754.jpg?v=1729115238&width=900)
![Vessel Compass Apex Charger [Black] - Headshop.com](http://www.headshop.com/cdn/shop/files/dce98c70-346c-405f-aca8-d59c7feed96d.jpg?v=1729115240&width=1000)