
![Vessel Helix Pipe [Copper] - Headshop.com](http://www.headshop.com/cdn/shop/files/ad3c0443-b76d-4fe5-84b8-a617dd50a950.jpg?v=1747419387&width=900)
![Vessel Helix Pipe [Copper] - Headshop.com](http://www.headshop.com/cdn/shop/files/7b0e06e3-9106-4684-80e4-408362c34085.jpg?v=1747419388&width=1000)
![Vessel Compass Rise [Obsidian] - Headshop.com](http://www.headshop.com/cdn/shop/files/631009c0-e68c-4238-9a63-73f14dd1117f.jpg?v=1717545548&width=900)
![Vessel Compass Rise [Obsidian] - Headshop.com](http://www.headshop.com/cdn/shop/files/a12c8ff4-4bee-4dc9-b697-542f6130e46e.jpg?v=1717609092&width=1000)

![Vessel Drift Case [Olive] - Headshop.com](http://www.headshop.com/cdn/shop/files/bcf30faf-8c6e-478d-a317-2a580dba197e.jpg?v=1768365177&width=900)
![Vessel Drift Case [Olive] - Headshop.com](http://www.headshop.com/cdn/shop/files/b91ca13e-53ae-40ff-963a-43ba10195212.jpg?v=1768365178&width=1000)
How to Make a Mini Bubbler Pipe: A Simple Step-by-Step Guide for Beginners

Making your own smoking device can feel tricky at first. A mini bubbler pipe is a great option because it’s simple and effective. This guide will show readers how to make a mini bubbler pipe step by step with easy instructions.
Keep reading to learn more!
Materials and Tools Needed
You’ll need a few simple items to get started. Gather your materials and tools before beginning!
Essential Materials
Mini bubbler pipes are fun and easy to make. Having the right materials ensures a smooth process.
- Glass or silicone materials are needed for durability and safety. Both options work well with herbal tools and tobacco products.
- A small bottle made of glass or thick plastic serves as the base for the bubbler.
- Rubber grommets help create an airtight seal around the downstem hole.
- A metal or glass downstem directs smoke through the water for smoother hits.
- A bowl, either metal or glass, holds your chosen smoking product securely.
- Water is vital for cooling the smoke during use, so always have some ready to fill your piece.
- Optional decorative items allow users to personalize their smoking accessories with unique designs!
Basic Tools
Crafting a mini bubbler pipe requires a few basic tools. Beginners should keep it simple and stick to essential items for safety and ease of use.
- Glass cutter: This tool helps cut glass bottles or tubes cleanly and accurately. It's great for shaping your bubbler.
- Torch: A small torch softens the glass, allowing you to make adjustments without breaking it.
- Adhesive: Use strong, non-toxic adhesive to secure parts together. This ensures they don’t come apart during use.
- Drill: A handheld drill with a diamond or glass bit makes smooth holes in glass or plastic materials.
- Cutting tools: Simple hand tools like scissors or utility knives are helpful for trimming plastic parts or tubing.
- Safety gear: Gloves, goggles, and a mask protect you from cuts, burns, or harmful dust when working on your project.
- Sandpaper: Fine-grit sandpaper smooths rough edges after cutting or drilling into the material.
- Measuring tool: Rulers or tape measures help maintain accurate sizes for better functionality.
- Work area mat: A rubber mat creates a stable surface while protecting your workspace from damage.
Using these tools properly ensures your project is fun and safe!
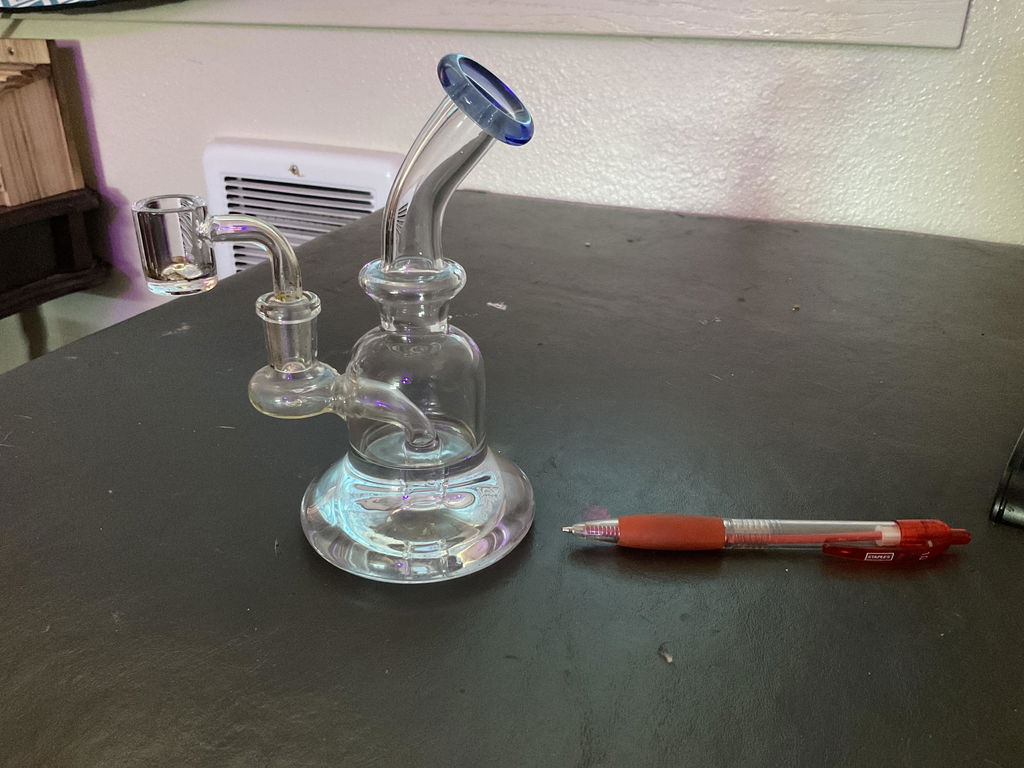
Step-by-Step Guide to Making a Mini Bubbler Pipe
Making your own mini bubbler pipe is easier than it seems. Follow these simple steps to create a fun and functional smoking device.
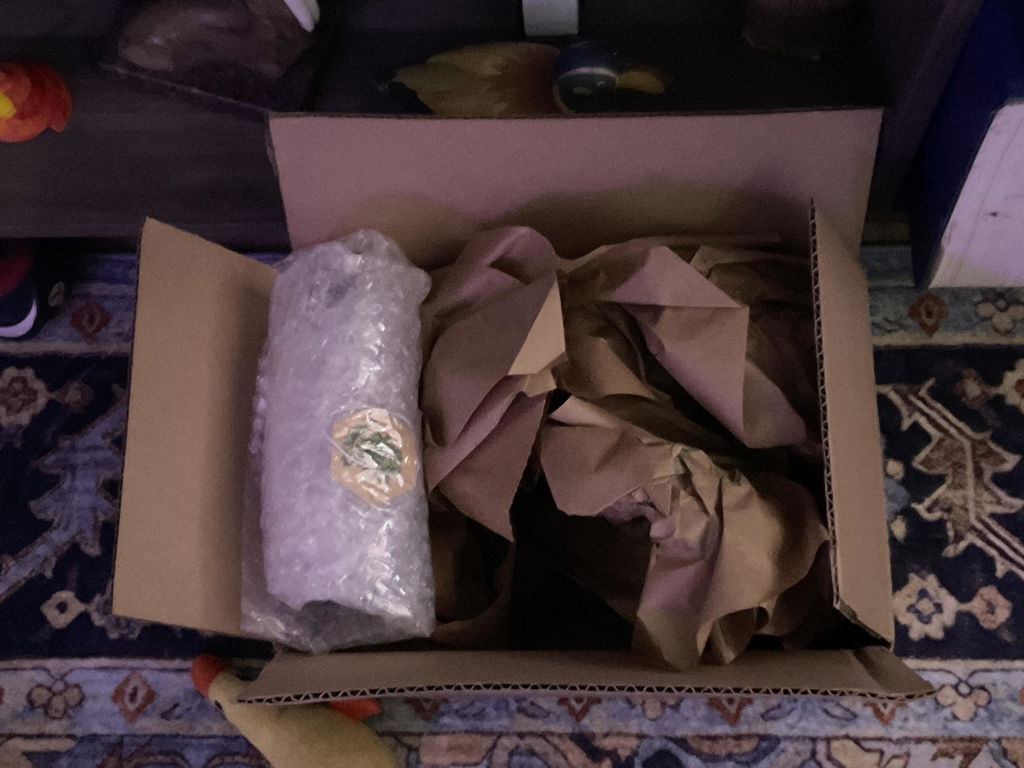
Gather Your Materials
Start with a clean workspace. Lay out all the materials and tools needed to avoid interruptions.
Grab a small glass or plastic bottle, about 6-8 inches tall, for the base. You’ll need a downstem made of metal or glass (a pen tube works too). Pick up some aluminum foil for the bowl if you don’t have one.
Have tape on hand to seal any air leaks, along with water for testing and smoking later. A drill with a small bit will make creating holes easier.
Prep the Glass or Plastic Bottle
Clean the glass or plastic bottle thoroughly to remove dirt and residue. Use warm soapy water, rinse it out well, and let it dry completely. This ensures no harmful substances mix with the smoke.
Mark the spot where you plan to drill a hole for the downstem. Pick a spot on the side of the bottle, slightly above its base. Use a marker to make this easier and more precise. As one user put it:.
A clean surface makes all the difference for smoother work.
Drill the Hole for the Downstem
Drill a small hole in the bottle or pipe material for the downstem. Use a drill bit that matches the diameter of your downstem for the best fit. Hold the bottle steady on a flat surface while drilling to avoid cracks or slips.
Go slow and apply light pressure to maintain control.
The hole should be close to where water will sit in your bubbler but high enough not to leak. Test-fit the downstem after drilling, ensuring it’s snug without forcing it through.
A clean, accurate hole is key before moving forward with assembly steps like attaching parts or adding water.
Assemble the Downstem and Bowl
Insert the downstem into the hole you drilled earlier, making sure it fits snugly. Use a small rubber grommet or sealant to prevent air leaks if needed. This will help with proper airflow during smoking.
Attach the bowl securely to the end of the downstem. The bowl should sit firmly so it doesn’t wobble when in use. Adjust everything gently but firmly for best results.
Add Water to the Bubbler
Fill the bubbler with just enough water to cover the bottom of the downstem. This helps filter and cool the smoke before inhalation. Too much water can cause spillage, making it harder to enjoy smooth hits.
Using distilled water keeps filtration cleaner and improves taste. For optimal performance, change the water often. Stale or dirty water can affect both cleanliness and smoke quality.
Adjusting the amount carefully ensures a perfect balance for smoother sessions.
Test for Functionality
Check if the bubbler works by taking a small inhale through the mouthpiece. Airflow should feel smooth, not tight or blocked. Ensure there are no air leaks around the downstem and bowl.
Add some water to test filtration. The water should bubble gently without splashing into your mouth. If it doesn’t bubble, adjust the water level or tighten any loose parts for a snug fit.
Tips and Tricks for Crafting the Perfect Mini Bubbler
Choose tools and parts that are strong and reliable. Focus on making each step neat for the best results.
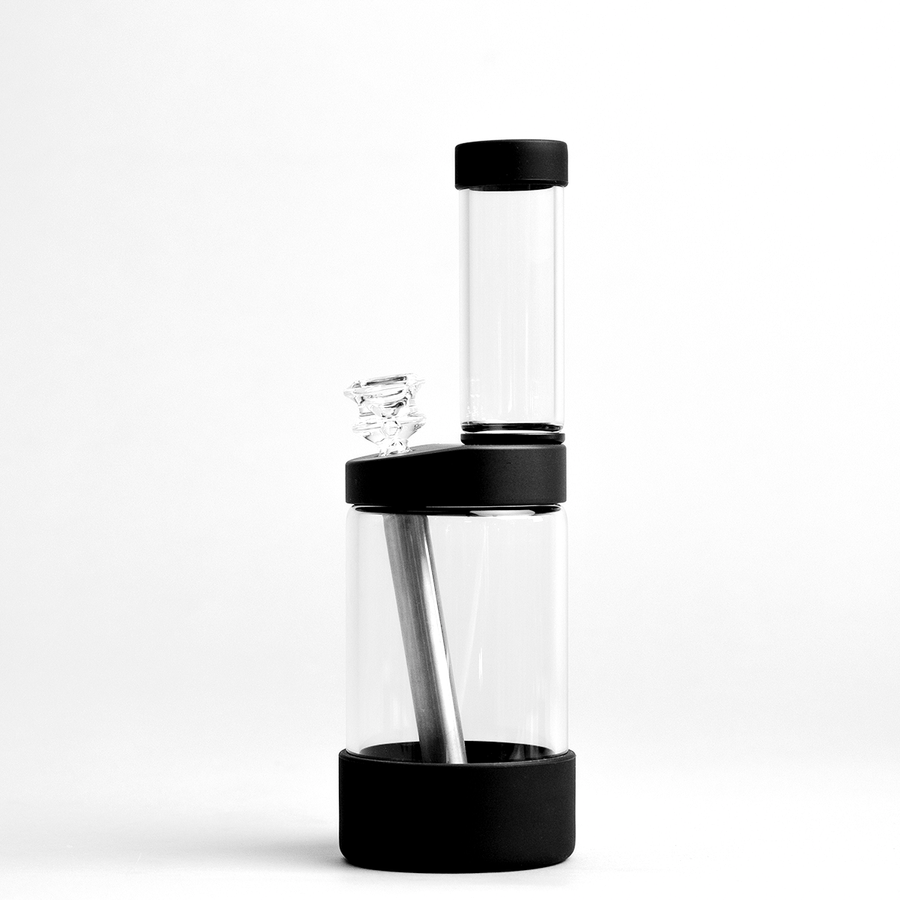
Choose Durable Materials
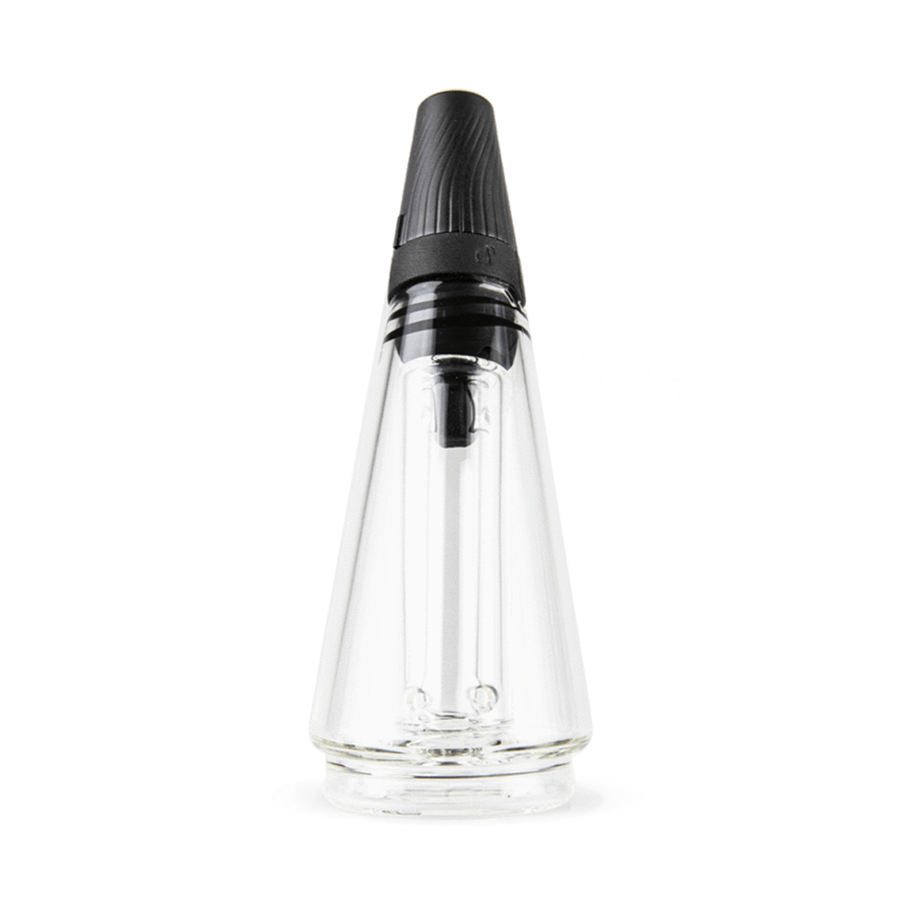
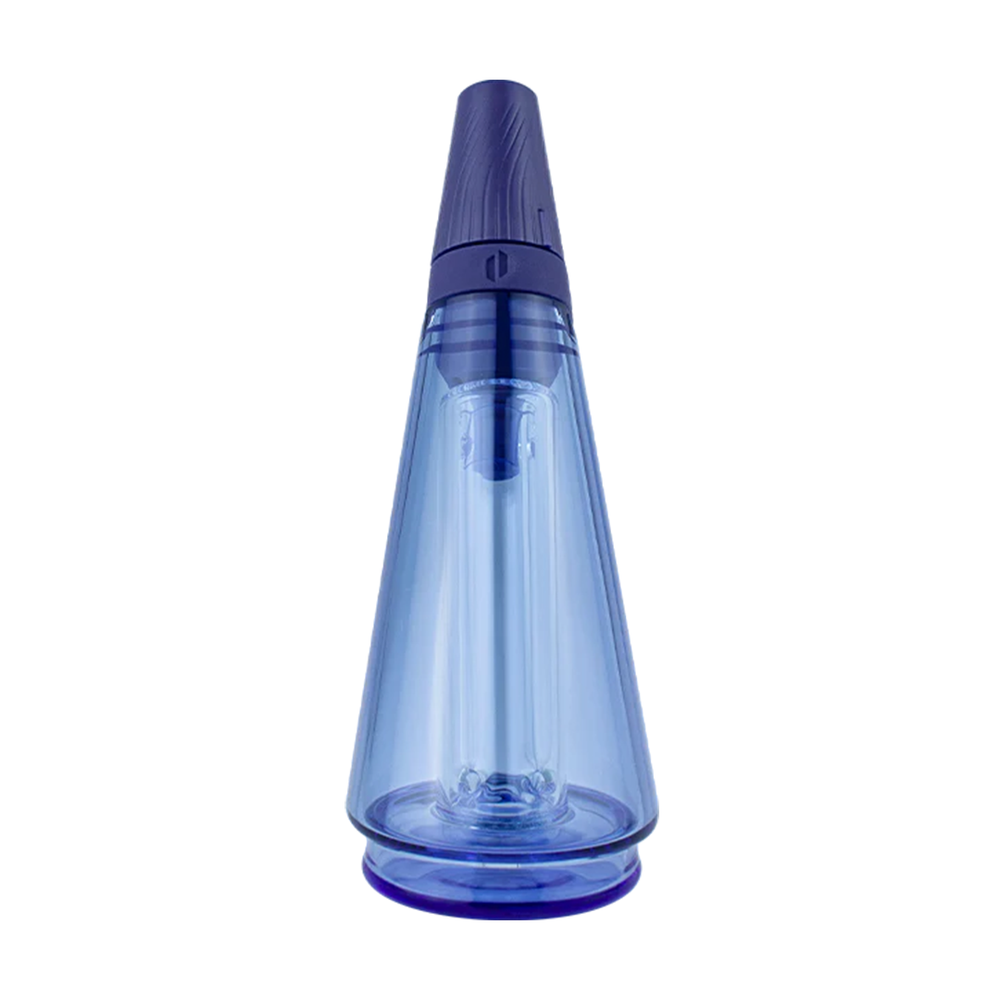
Durable materials make a big difference when crafting a mini bubbler pipe. Glass is strong and looks great, making it a top choice. It also holds up well to heat and regular use. Silicone works better for beginners since it's flexible, resilient, and hard to break.
![Vessel Pipe [Emerald]](http://www.headshop.com/cdn/shop/files/231c9f1f-11ba-4db3-aa3d-29b786d02e7f.jpg?v=1744745505&width=600 "Vessel Pipe [Emerald]")
![Vessel Element Hand Bubbler [Black]](http://www.headshop.com/cdn/shop/files/Element-Product-Listing-Images2.jpg?v=1744306952&width=600 "Vessel Element Hand Bubbler [Black]")
![Vessel Helix Pipe [Black]](http://www.headshop.com/cdn/shop/files/Pipe_Black_Angle.jpg?v=1744306153&width=600 "Vessel Helix Pipe [Black]")
![Vessel Pipe [Maritime]](http://www.headshop.com/cdn/shop/files/Pipe_Blue_Closed_982a0d7d-3acb-48ed-96ce-76b7acbe3677.jpg?v=1744306295&width=600 "Vessel Pipe [Maritime]")

![Vessel - Ember [Gold] Astray](http://www.headshop.com/cdn/shop/files/20220106_EMBER_BRASS.jpg?v=1744309601&width=600 "Vessel - Ember [Gold] Astray")
Sticking with easy-to-clean designs saves time later. A simple glass or silicone piece allows smooth maintenance after use. Durable options ensure the pipe lasts longer without cracking or warping from water or temperature changes.
Drill with Care and Precision
Drilling the hole for the downstem needs steady hands and focus. Use a small drill bit to start, making it easier to control. Apply light pressure, preventing cracks in glass or splits in plastic.
Work on a flat surface for stability while drilling. Take breaks if needed, keeping tools cool and secure. A clean hole improves airflow regulation and ensures proper water filtration later.
Ensure a Tight Seal to Prevent Air Leaks
A tight seal boosts the bubbler's airflow and filtration. Gaps in joints or connections let air escape, ruining the experience. Silicone or rubber works great for sealing these areas tightly.
These materials are flexible, durable, and easy to adjust.
Before use, test by inhaling through the pipe. If air leaks out instead of flowing smooth, recheck all parts. Secure each joint until no air escapes during inhalation. This keeps hits smoother while improving efficiency overall.
Adjust the Water Level for Optimal Performance
Too much water in a bubbler can block airflow. Too little water reduces filtration and cooling. Filling the chamber halfway is often a good balance for optimal performance.
The right water level improves smoke filtration, making the experience smoother. It also cools the smoke better, reducing harshness on inhalation. Testing with small adjustments helps find your perfect setting for better crafting and use.
Personalizing Your Mini Bubbler
Make your bubbler unique by adding creative touches to reflect your style. Play around with fun colors and designs for a one-of-a-kind smoking piece!
Adding Decorative Elements
Add small charms or beads to make the mini bubbler unique. Stickers and paints can also enhance its aesthetic. Many users like bright colors, personal patterns, or fun designs.
Headshop.com offers quality decorative options for bubblers. Their resources help users create styles that fit their individuality. Move to customizing the bowl or downstem for more personalization next!
Customizing the Bowl or Downstem
Customizing the bowl or downstem adds personality and boosts functionality. Choosing different materials, like glass or metal, can change the smoking experience. Some bowls provide smoother hits, while others allow for more airflow.
Downstems with diffusers can enhance how smoke filters through water.
Users should match these pieces to their preferences and needs. A tight fit between the downstem and bottle is key to avoid air leaks. Decorative bowls are an option too, adding a unique look without affecting usability.
Pairing custom parts with accessories brings better aesthetics and improved performance to any mini bubbler pipe setup.
Maintenance and Care for Your DIY Bubbler
Keeping your mini bubbler clean ensures smoother hits and better performance. Regular care helps extend its life and keeps it looking fresh.
Cleaning Tips
A clean bubbler works better and lasts longer. Follow these simple tips to keep your DIY mini bubbler in great shape.
- Use gentle cleaning solutions to avoid damaging the materials. Harsh chemicals can weaken or discolor the surface.
- Rinse the bubbler thoroughly after cleaning. This ensures no residue from the cleaner is left behind, which could affect taste.
- Avoid abrasive brushes or sponges that might scratch the surface. Soft cloths or bristle brushes work best.
- Take apart the bubbler before cleaning it. Disassembling helps you reach all spots, including tight or hidden areas.
- Remove resin buildup regularly with warm water and rubbing alcohol. Let it soak for a few minutes to loosen stubborn residue.
- Dry all parts completely before putting them back together. Moisture can cause odors or mildew over time.
- Store the bubbler carefully in a cool, dry place away from sunlight and heat sources. Proper storage extends its lifespan and appearance.
- Protect surfaces by setting your bubbler on a soft mat or pad during use or storage to prevent scratches.
Regular Maintenance
Clean the bubbler after each use. This prevents resin buildup and keeps it functional. Use isopropyl alcohol and coarse salt to scrub away residue inside the pipe. Rinse thoroughly with warm water.
Inspect for cracks or air leaks regularly. Check seals around the downstem and bowl to ensure they are tight. Replace damaged parts immediately to avoid bigger problems later. Proper upkeep ensures longer equipment longevity and better performance over time.
Explore More Bubbler Options (with a link to https://www. headshop. com/collections/bubblers)
Headshop.com offers a variety of smoking devices, including mini pipes and water pipes. Their collection features high-quality glass pipes and bubblers made for beginners or experienced smokers.
The site works with over 450 trusted vendors to ensure quality assurance. Users can find unique smoking accessories like herb vaporizers or wholesale smoking products for every need.
Explore more bubbler options today at Headshop.com
Conclusion
Making a mini bubbler pipe is simple and fun. With the right tools, anyone can create a cool smoking device at home. Follow the steps carefully, and you’ll have a working bubbler in no time.
Add your own style to make it unique! Enjoy crafting and using your handmade piece.
FAQs
1. What is a mini bubbler pipe?
A mini bubbler pipe is a small smoking device that uses water to cool and filter smoke, making it smoother to inhale.
2. What materials do I need to make one?
You will need basic items like a small plastic bottle, a straw or tube, aluminum foil, scissors, tape, and some water.
3. How does the step-by-step process work?
First, cut holes in the bottle for airflow and insert the straw as the mouthpiece. Then shape aluminum foil into a bowl for your material and attach it securely to the top of the bottle. Finally, add water below the straw's level before using.
4. Is this guide suitable for beginners?
Yes! The instructions are simple with easy-to-find materials so anyone can follow along without prior experience.
![Vessel Pipe [Maritime] - Headshop.com](http://www.headshop.com/cdn/shop/files/Pipe_Blue_Closed_982a0d7d-3acb-48ed-96ce-76b7acbe3677.jpg?v=1744306295&width=900)
![Vessel Pipe [Maritime] - Headshop.com](http://www.headshop.com/cdn/shop/files/Pipe_Blue_Open_d28f56b9-f5af-45fe-9636-ae8f20aec6f3.jpg?v=1744306297&width=1000)
![Vessel - Helix [Maritime] - Headshop.com](http://www.headshop.com/cdn/shop/files/Helix_Maritime_Front_1.jpg?v=1744307885&width=900)
![Vessel - Helix [Maritime] - Headshop.com](http://www.headshop.com/cdn/shop/files/Helix_Maritime_Front_2.jpg?v=1744307928&width=1000)
![Vessel Pipe [Emerald] - Headshop.com](http://www.headshop.com/cdn/shop/files/231c9f1f-11ba-4db3-aa3d-29b786d02e7f.jpg?v=1744745505&width=900)

![Vessel Compass Apex Charger [Black] - Headshop.com](http://www.headshop.com/cdn/shop/files/f10e6bf4-6ce7-4a59-a50e-a4184f069754.jpg?v=1729115238&width=900)
![Vessel Compass Apex Charger [Black] - Headshop.com](http://www.headshop.com/cdn/shop/files/dce98c70-346c-405f-aca8-d59c7feed96d.jpg?v=1729115240&width=1000)