 Skip to content

Stop Wasting Time Rolling Joints by Hand & Try Rolling Machines Instead
The truth is, rolling a joint does take practice. But now you can stop wasting time rolling joints by hand and try rolling machines instead. Many trusted brands have figured out how to help both experienced users and newbies save some time. Joint rollers are a relatively new tool to help you roll a perfect joint by following some simple steps.
In this how-to guide, we will show you how to use a joint roller. Whether you already have a joint roller or are considering buying one, you will discover how easy it is to roll awesome joints and share this tool with your friends.
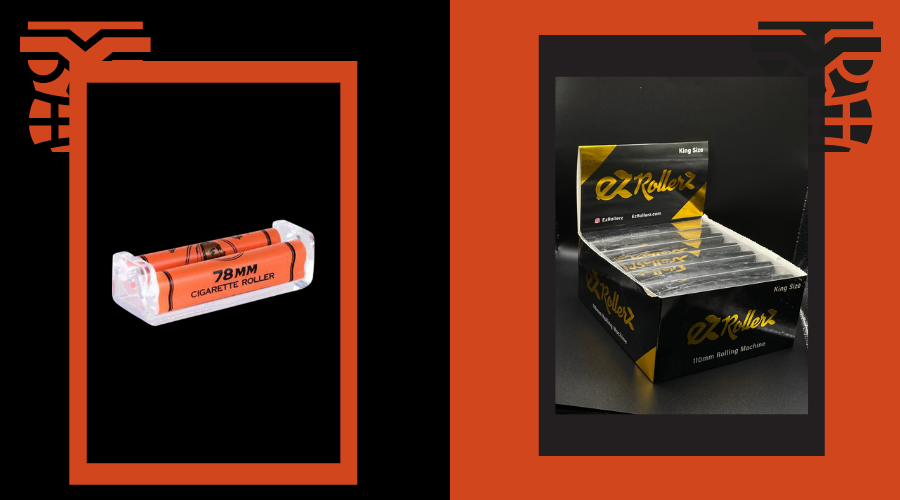
How do you use a joint roller?
Even though there are a variety of different styles when it comes to joint rollers, they do work much the same way. You can find affordable joint roller machines that will give you a similar result as the more costly ones. To use a joint roller, you'll need to get the following items together:
When you have all these items together, get a tray or someplace where you can use your joint roller without making a mess. When you're ready, it's time to begin learning how to use your joint roller.
- Start by grinding your weed, using around 0.5 to 1.5 grams, given that anything greater may roll a super tight joint that might not burn well. Don't take your weed out of the container until you're ready to load it into the joint roller.
- By sliding it up and over, open the joint rolling machine. Looking at both sides of the machine, you'll see grooves for pegs to go through. Run your finger in the middle when the joint roller is open to ensure there is enough room for your weed.
- Now, between the two rollers, load your weed on one side only. The space at the other end will be used for your filter; so if you use filters, don't load your weed there. Keep in mind that packing too much won't roll a great joint, and it might burn unevenly.
- It's time to roll your machine now. Lock the roller closest to you and put both of your thumbs approximately 1/4 of the way from the end of the roll closest to you. Then put both of your index fingers approximately 1/4 in from the end of the roll further away from you. Now, pull your thumbs down and toward you while moving your fingers up and away from you. This ensures that both rollers move and your weed gets well packed. With this motion, some of the weed will fall out, which is typical in case you packed too much.
- After a few seconds of rolling, it's time to get your rolling paper. Insert the rolling paper between the two rolls. The sticky end should be facing up and toward you. Now, turn your roller in approximately a half turn until just the part with the glue is sticking out. Lick it before you go on to roll it another half turn.
- Your joint is now ready. Now, unhinge the roller and remove your perfect joint. Light up the end and start your first smoking sesh with your own freshly packed weed!
Initially, it might seem like a difficult process. But, using a joint roller is truly one of the best ways to get a flawless joint if you haven't mastered the art of hand-rolling a joint.
As noted, there are a number of brands that have developed their own rolling machines. You really can get a dope joint roller that will help you roll your joint in minutes and at an affordable price.
1 comment
Blog Topics
Share this
Popular posts


I only have one hand I need a electric rolling machine
Leave a comment