

How to connect a Stündenglass bong to a percolator attachment
Instead of repeatedly trying adapters that look close, connect a Stundenglass percolator attachment only after confirming its intended connection, model compatibility, and support requirements. Match the documented parts, check clearance with the system empty, then follow the manufacturer’s filling and testing instructions before use.
- A stundenglass percolator attachment needs verified model compatibility; appearance alone does not establish fit.
- Headshop’s Stündenglass accessories guide is best for adult shoppers checking accessory options before assembly.
- External attachments and internal percolator replacements require different installation instructions.
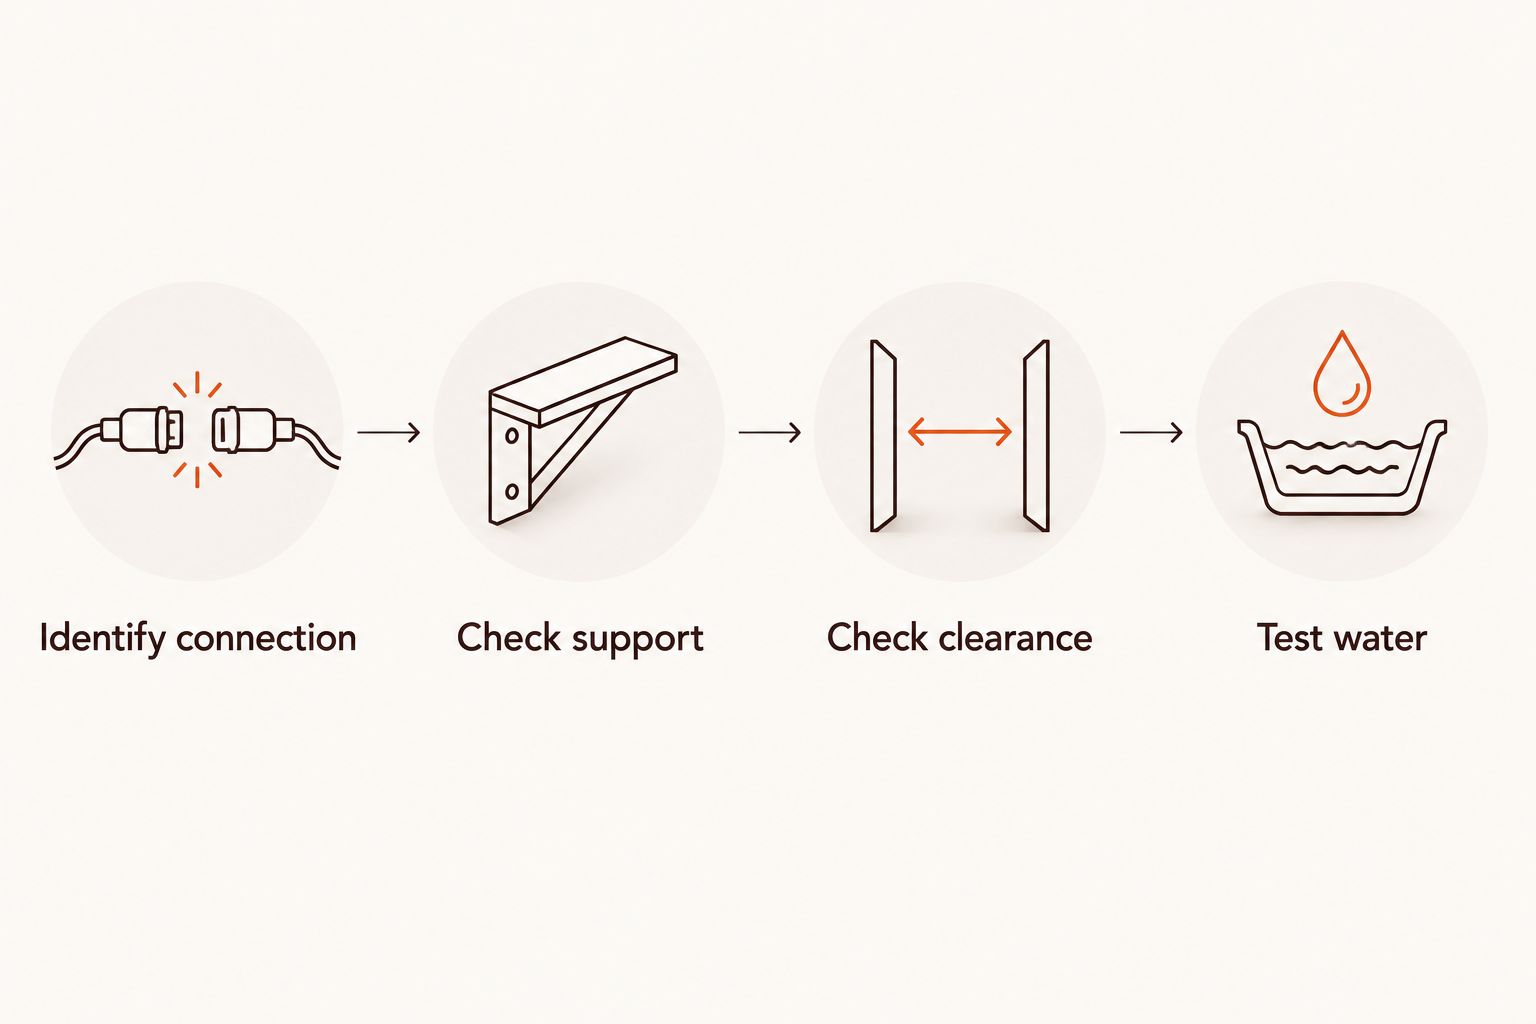
- Check fit, support, clearance, and water movement before adding heat or material.
Why this matters
A percolator attachment is not automatically compatible because its opening resembles an existing connection. The sealing surface, orientation, airflow direction, and physical support all matter. A connection that seats but puts sideways pressure on glass is not a successful installation.
Start with the Stündenglass accessories buyer’s guide to identify the accessory category you need. Then use the instructions for your exact device and attachment to establish fit; a general buying guide does not replace installation documentation.
For a 2026 setup, compatibility comes before adapter selection. Do not start with an adapter and work backward toward a connection that appears to hold.
This guide covers the preparation and verification process for a documented external attachment. It also explains when an internal percolator replacement belongs to a different workflow. It does not assign an unverified joint size, water volume, or fitting to your Stündenglass.
Before you start
- Identify both parts. Have the exact Stündenglass model, the attachment’s identifying information, and the current instructions for each. Confirm whether the accessory connects externally or replaces an internal component.
- Prepare the work area. Use a stable, level surface, a soft landing area for detached glass, clean water, and only the seals or adapters specified for the documented connection. Keep the setup empty and cool during the initial fit check.
- Check the hidden obstruction. An attachment that fits at rest can still interfere with a moving component, hose, or surrounding surface. Confirm the complete movement path before filling anything, and do not assume an external attachment rotates with the device.
If the documentation does not identify an approved connection method, stop before assembly. Ask the manufacturer to confirm the exact combination, including any required adapter and support. Describe the parts precisely rather than asking whether a generic “percolator” fits.
Connection identification
Choose the correct installation path
The phrase “percolator attachment” can describe different hardware. An external water-filtering accessory, a replacement internal component, and a mouthpiece accessory do not share one installation method.
Use this table to decide which instructions apply. These are connection categories, not a compatibility list for particular Stündenglass models.
| Connection category | Best for | Benefit | Limitation | Next move |
|---|---|---|---|---|
| Documented external attachment | Adding a separately supported accessory through an approved connection | Keeps installation at the specified external connection | Adds connections, cleaning work, and possible clearance conflicts | Follow the external workflow below |
| Documented internal replacement | Replacing the component identified in the device instructions | Restores the intended internal configuration | Requires model-specific disassembly and reassembly | Follow the manufacturer’s replacement procedure |
| Unidentified accessory | Identifying hardware before installation | Avoids committing to the wrong assembly method | Fit and function remain unconfirmed | Do not attach it yet |
An external accessory is not an internal replacement simply because both contain diffusion openings. Likewise, a glass mouthpiece is not automatically a water-filled percolator.
Headshop’s smoking-accessory guidance is best for adult shoppers who want to identify the right accessory category before buying. The final fit decision still depends on the exact device and attachment documentation.
Confirm the connection details
- Record the device model. Use the model marking, packaging, or manual rather than a visual resemblance to another version.
- Identify the attachment’s intended connection. Establish whether the instructions specify an inlet, outlet, internal mounting point, or another interface. Do not choose a port merely because the accessory reaches it.
- Match the complete interface. Where applicable, confirm the documented size, mating shape, orientation, seal, and adapter. A single matching dimension does not establish compatibility.
- Resolve conflicting descriptions. If packaging and instructions disagree, obtain clarification before proceeding. Do not select whichever description makes the parts fit.
Expected result: You can name the approved connection point and every part required between the device and attachment. Nothing in the connection depends on an improvised spacer or an unexplained gap.
For your 2026 setup notes, keep the exact model and attachment identifiers together. A saved accessory name without its compatible model information is not enough for a later replacement.
Empty-system fit and support
Position the attachment before seating it
- Clear the work surface. Remove loose tools and unrelated accessories. Place detached glass where it cannot roll into the assembled device.
- Inspect the mating surfaces. Look for chips, cracks, debris, or damaged seals. Do not assemble damaged parts or use tightening force to compensate for a poor sealing surface.
- Position the attachment independently. Establish where its weight will rest before joining it to the device. Use the support arrangement specified for that accessory.
- Align the connection. Bring the mating parts together along their intended connection axis. Do not pull the attachment sideways to make two misaligned openings meet.
- Seat the connection as instructed. Follow the specified fastening method. Do not add tape, adhesive, lubricant, or extra seals unless the manufacturer expressly calls for them.
Expected result: The attachment sits in its intended position without rocking, pulling on the connection, or making the main unit unstable. You do not need to hold it in place to prevent tipping.
Check the full movement path
Before filling, check the clearance around the attachment and any moving parts. Follow the device’s instructions for handling its moving assembly; do not force movement through resistance.
Check these areas separately:
- Glass clearance: Nothing touches an adjacent glass component during the permitted movement.
- Hose clearance: Any approved hose route remains free of pinching, stretching, and tight bends.
- Surface clearance: The attachment does not strike the table, wall, stand, or another accessory.
- Connection load: Movement does not twist or pull the newly assembled joint.
Expected result: The documented operating movement remains unobstructed, and the attachment stays supported throughout it. If clearance depends on holding a part out of the way, revise the setup before adding water.
Water fill and functional check
Fill only the components designed to hold water
- Read each filling instruction separately. Use the device’s directions for the main unit and the attachment’s directions for its own chamber. Do not transfer a fill amount from a different accessory.
- Keep non-water compartments dry. An opening, adapter, or hose is not a water reservoir unless the instructions identify it as one.
- Recheck the resting position. Added water changes the load on the supported assembly. Confirm that the attachment remains stable without stressing the connection.
- Perform the prescribed unheated check. Test with no material loaded and no heat source active, following the manufacturer’s procedure. Watch the connections and water movement rather than judging the setup by sound alone.
- Stop at the first leak or obstruction. Return the system to a safe resting position and correct the cause before another attempt.
Expected result: Water stays within the intended chambers, connections remain dry externally, and the documented flow path functions without an obstruction. There is no unexplained water migration toward a compartment that should stay dry.
Compare against the original configuration
A useful 2026 troubleshooting record separates the original device from the added accessory. Establish that the original, manufacturer-specified configuration works correctly before diagnosing an attachment problem.
Change 1 attachment at a time. If you add several accessories together, a new leak or flow problem becomes harder to isolate.
Compare 2 configurations: the original setup and the documented attachment setup. Keep all other permitted settings unchanged, and check whether the problem appears only with the accessory installed.
Use 3 checks before use: stable support, clear movement, and controlled water flow. These are inspection steps, not a substitute for the manufacturer’s operating instructions.
The benefit of this process is a clear fault boundary. The drawback is extra assembly time, but repeatedly changing water levels and adapters without a baseline provides little useful information.
Variant: replacing an internal percolator component
An internal replacement is a separate workflow, not a reason to push an external attachment into the body of the device. Use this route only when the manufacturer identifies the component as compatible with your exact model.
- Empty and prepare the device as directed. Keep heat sources inactive and allow components to cool before handling.
- Locate the replacement procedure. Confirm the required removal sequence, seals, and tools before opening the assembly.
- Remove only the specified components. Do not extend disassembly because another part appears removable.
- Install and reassemble exactly as documented. Follow any orientation marks, seating instructions, and seal requirements provided for the replacement.
- Complete the prescribed leak and function checks. Do not assume an internal part is correctly installed because the exterior looks unchanged.
Expected result: The device returns to its documented configuration with the replacement correctly seated and all required checks passed.
For a 2026 replacement, match the component identifier as well as the model name. If the replacement instructions are absent, get them before disassembly rather than reconstructing the procedure from product photos.
Troubleshooting
The attachment starts to seat, then stops
Remove it without forcing the connection and inspect the mating surfaces. Recheck the documented interface and required adapter; partial engagement is not proof of compatibility.
Do not grind, sand, or alter the fitting to complete the installation. A modified connection no longer represents the documented fit.
The setup leaks at the new connection
Empty the affected components before separating them. Inspect the seal or mating surface, remove debris using the approved cleaning method, and reassemble according to the instructions.
If a seal is damaged or a fitting is chipped, replace the affected part with the specified replacement. More tightening is not a repair for damaged hardware.
Water reaches a hose or another unintended area
Stop the test and check the specified fill levels, attachment orientation, and connection route. Do not keep cycling the device to see whether the water clears itself.
Correct the setup and complete another unheated check. Keep any connected electrical equipment disconnected from a wet assembly.
Flow becomes restricted after installation
Check for blocked diffusion openings, a pinched hose, an improperly seated part, or an incorrect fill level. Compare with the original configuration to establish whether the restriction belongs to the attachment path.
Do not compensate with forceful operation. Remove the attachment if the documented setup still does not function correctly.
The attachment moves or contacts another component
Stop using the assembled configuration. Revisit support, orientation, and movement clearance rather than bracing the accessory by hand during operation.
If the approved support arrangement cannot keep the setup stable, do not use that combination. Physical fit alone does not resolve a balance problem.
Customize your workflow
Once the documented connection passes its checks, make cleaning and reassembly repeatable. Keep the compatible adapter, required seals, and attachment instructions together so you do not rebuild the setup from memory.
Headshop’s smoking-accessory guidance also includes a guide to how long it takes to clean a bong properly. Use your device instructions to decide which components come apart and which cleaning methods each material permits.
For your 2026 maintenance routine, inspect the newly added connection whenever you reassemble the accessory. A previously successful fit does not excuse a chipped edge, missing seal, or changed support position.
FAQ
How do I connect a Stundenglass percolator attachment?
Connect a Stundenglass percolator attachment only through the interface documented for your exact device and accessory. Confirm the required adapter, support, and clearance, then follow the manufacturer’s filling and functional checks.
Will any percolator attachment fit a Stündenglass?
Do not treat percolator attachments as universally compatible with Stündenglass devices. Match the exact model and documented connection rather than relying on appearance or one matching dimension.
What adapter size do I need for a Stündenglass percolator attachment?
Use the adapter specification stated for your exact device and attachment. The phrase percolator attachment alone does not establish a joint size, orientation, or sealing method.
Is an external percolator the same as an internal replacement?
No, an external attachment and an internal replacement require different installation procedures. Identify the component’s intended mounting location before connecting it or disassembling the device.
How much water should I put in the attachment?
Use the attachment manufacturer’s specified fill level. Do not copy the main device’s fill amount or assume every opening and chamber is designed to hold water.
Why does my attachment leak after I connect it?
Check for incorrect seating, debris, damaged seals, or a mismatched connection. Empty the affected components before inspection, and replace damaged parts rather than tightening harder.
Can I keep using an attachment that needs hand support?
Do not use an attachment that requires your hand to prevent tipping or connection strain. Establish the support arrangement specified for that accessory before filling or operating the setup.
One last thing
A seal and a safe installation are different checks. An attachment can hold water while still loading a connection sideways or blocking movement. Before using your Stündenglass, inspect the entire assembly—not just the joint you added.
Related guides