


Step-by-Step Guide on How to Blow Glass Bongs for Beginners

Blowing glass bongs can seem tricky for beginners. It takes heat, skill, and the right tools to shape molten glass into art. This guide breaks down how to blow glass bongs step by step so anyone can learn.
Keep reading to get started today!
Essential Equipment and Materials
Starting glassblowing needs specific tools and supplies. Having the right setup makes crafting easier and safer.
Blowtorch
A blowtorch is a must-have for glassblowing beginners. It heats the glass rods and tubing to make them soft enough for shaping. A propane torch works well because it provides a steady and hot flame.
Ensure proper ventilation while using it, as fumes from heated materials can be harmful.
Always handle the flame with care to avoid burns or accidents. Beginners should practice controlling the heat and keeping an even temperature on the glass. Torch tips also matter; smaller ones are good for detailed work, while bigger tips melt larger pieces faster.
Glass rods and tubing
Glass rods and tubing are must-haves for beginners in glassworking. These materials form the base of any good bong design. Rods act as the solid structure, while tubing helps create hollow parts like chambers and necks.
Headshop.com guarantees quality by sourcing reliable options for crafting needs. Beginners can trust these tools for shaping, heating, and blowing their first pieces with confidence.
Hollow blowpipe
A hollow blowpipe is a key tool for shaping glass bongs. This long metal tube allows users to form bubbles by blowing air into heated glass tubing. The pipe handles high heat and stays cool enough to hold safely.
Crafting with the blowpipe takes control and timing. Blowing too hard may create uneven shapes or thin spots in the bong’s structure. Pair it with steady heating from a reliable blowtorch for better results.
Safety gear (gloves, goggles, apron)
Safety gear is crucial in glassblowing. Heat-resistant gloves protect hands from burns and sharp edges. They give beginners better grip while working with hot tools or molten glass.
Goggles shield eyes from flying shards and intense heat, preventing serious injuries.
A sturdy work apron safeguards skin and clothing against falling glass pieces or splashes of molten material. This extra layer reduces the risk of accidents during the process. Proper protective equipment keeps beginners safe, allowing them to focus on creating beautiful designs with shaping tools next!
Shaping tools (tweezers, paddles, jacks)
Tweezers, paddles, and jacks play vital roles in shaping molten glass. Beginners can use these tools to create smooth edges, adjust curves, or add intricate details to their designs.
Tweezers help grip and pull hot glass with precision. Paddles flatten surfaces for even shapes. Jacks craft openings or refine curves.
Using the right tools builds craftsmanship and improves quality. Shapes become more precise as beginners gain control over manipulation techniques. Familiarity with these tools is key for creating bongs with desired designs or features like necks and chambers.
Safety Precautions for Beginners
Working with molten glass can be risky, so staying safe is key. Always focus on your tools, surroundings, and movements to avoid accidents.
Proper ventilation
Good airflow is a must while blowing glass. Fumes from the hot glass can be harmful to your respiration. Set up an exhaust system or work in an open space to reduce toxicity. Proper ventilation keeps smoke and heat from building up in your workspace.
Poor airflow can lead to health issues over time. Make sure your workspace has regulated air circulation. Fans, vents, or windows can help remove harmful fumes quickly. Safety should always come first during every step of the process!
Handling molten glass
Molten glass is extremely hot and dangerous. It can reach temperatures over 2,000°F. Always wear thermal gloves, safety goggles, and a thick apron to protect your hands, eyes, and body.
Never touch the glass directly while it’s glowing or soft.
Move slowly and stay focused to avoid accidents. Use tools like tweezers or paddles to shape the glass safely from a distance. Keep flammable materials far away from your workspace.
If burned, apply first aid quickly and seek medical help if needed.
Avoiding burns and injuries
Protective gear is essential. Beginners should always wear gloves, goggles, and an apron to shield skin and eyes from heat and sharp edges. Hot materials can cause severe burns if touched without proper tools or protection.
Good ventilation reduces the risk of inhaling harmful fumes while working with molten glass. Staying aware of surroundings helps avoid accidents, like bumping into hot equipment. Using shaping tools instead of hands prevents direct contact with dangerous surfaces.
Basic Glassblowing Techniques
Glassblowing is all about heating, shaping, and controlling molten glass. Beginners should focus on simple moves to build confidence with the tools.
Heating the glass
A blowtorch is the heat source used to soften glass rods or tubing. Beginners should focus on applying even, consistent heat to ensure proper manipulation and molding. Glass becomes workable at about 1,400°F and can melt fully around 2,000°F.
Temperature regulation is key during this process. Heating too fast may cause cracks or weak spots in the material. Rotating the glass while heating helps distribute heat evenly, making it easier to shape without breaking it.
Always wear safety gear for protection from burns or molten splashes while handling heated glass.
Shaping with tools
Tweezers and paddles play a big role in glass shaping. Tweezers pinch or pull the hot glass, forming curves or edges. Paddles help flatten surfaces or smooth out bumps.
Jacks shape necks and openings with precision. They create even bends and fine details while working with molten glass. Each tool keeps the design controlled as it cools.
Creating air bubbles
Heating the glass evenly softens it for blowing. The artisan uses a hollow blowpipe to carefully push air into the molten glass. This creates small air bubbles as they exhale through the pipe.
Controlling airflow is key. Too much can burst the bubble; too little won’t form one properly. Patience and steady hands help in shaping those tiny pockets within the hot, glowing material.
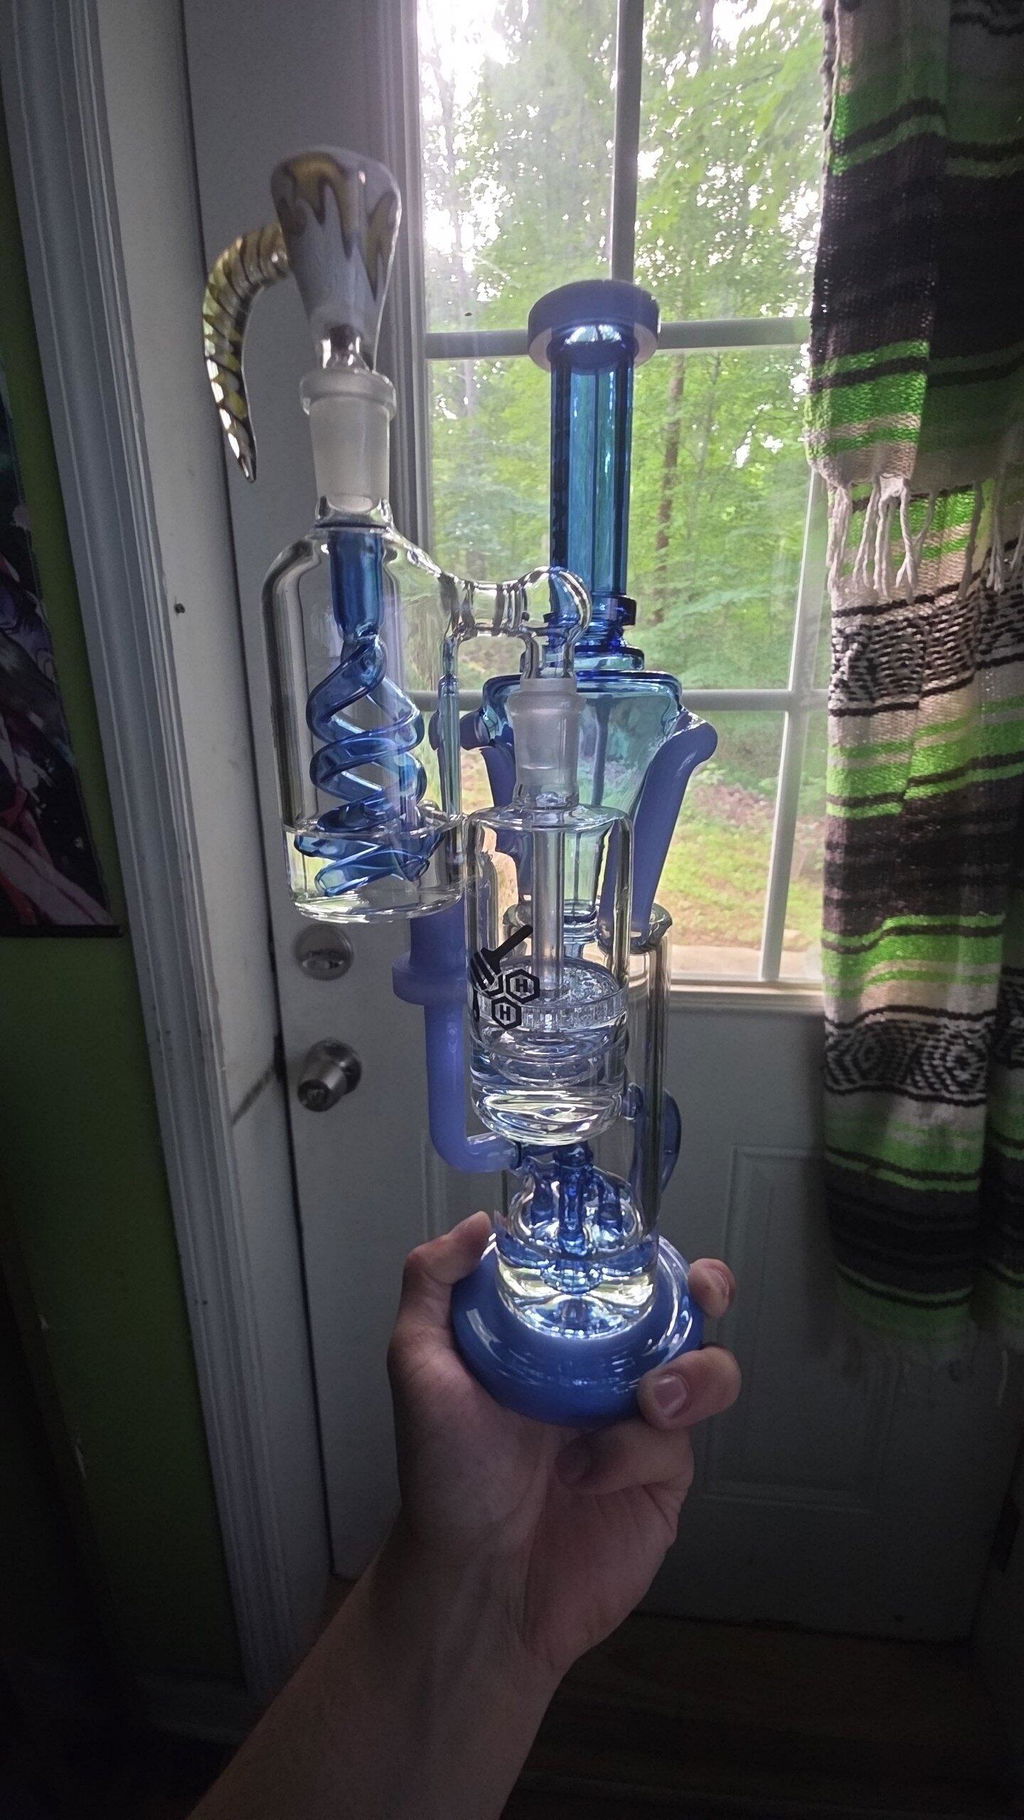
Step-by-Step Process to Blow a Glass Bong
Learn how to shape molten glass into a unique bong masterpiece with these simple steps each bringing you closer to crafting your own smoking art.
Preparing the workspace and materials
A clean, organized workspace is key for glassblowing. Set up in a well-ventilated area to avoid breathing harmful fumes. Safety gear like gloves, goggles, and an apron should be within reach to protect against burns or injuries.
Choose high-quality glass rods and tubing from trusted sources like Headshop.com. They offer tools such as hollow blowpipes and shaping equipment essential for beginners. Keep items like tweezers and paddles nearby for easy access during crafting.
A sturdy table with heat-resistant mats can provide support while working with molten glass.

Heating the glass rod
Heating the glass rod softens it, making it easier to shape. A blowtorch works best for this step. The flame should evenly heat the rod until it glows orange. Uneven heating can cause cracks or imperfections in the final piece.
Keep safety gear on while working with molten glass. Gloves and goggles help protect from burns and flying sparks. Proper ventilation is also key since heated glass can release fumes.
Patience during the heating process ensures smooth work later on.
Blowing the initial bubble
Start by heating the glass rod evenly in the flame of a blowtorch. Rotate it slowly to avoid uneven melting or weak spots. The heat will soften the glass, making it easier to shape and handle.
Once softened, attach the hollow blowpipe to one end of the tubing. Gently blow into the pipe while rotating it. This creates a small bubble at the center of the heated glass. Keep your breath steady and controlled to prevent over-inflating or popping it.
Shaping the bong neck and chamber
Heat the glass evenly to make it soft and workable. Use a hollow blowpipe to gently blow air into the melted section, shaping the initial bubble for the chamber. Keep rotating the tube while applying heat to avoid uneven thickness.
Once the chamber takes form, stretch or narrow one end of the tubing for neck formation using paddles or tweezers. Maintain steady pressure on tools without cracking or deforming areas already shaped.
Smooth out imperfections by reheating sections as needed, ensuring clean lines between neck and chamber.
Adding the mouthpiece and joint
After shaping the neck and chamber, attach the mouthpiece. Heat the rim of the tube evenly until it softens. Use a shaping tool to expand or round out the edges for comfort. Attach a pre-made glass ring or flare out the opening slightly while keeping it smooth.
Forming the joint follows next. Heat one end of a smaller glass tube until pliable. Press it against the bong's body near its base; this becomes where accessories like downstems fit in later.
Check alignment so pieces connect cleanly and securely without gaps.
Cooling and annealing the glass
Cooling and annealing are key steps in glassblowing for bongs. After shaping, the glass must cool slowly to relieve stress inside it. If cooled too fast, cracks or breaks can form.
Proper cooling ensures the bong is strong and durable.
Annealing involves heating the glass again to a set temperature, then reducing heat slowly. This process stabilizes the piece and prevents weak spots. Beginners should focus on mastering this technique to create safer smoking devices that last longer.
Exploring Bong Accessories
Bong accessories make your glass art more functional and fun. They let you customize the smoking experience to match your style.
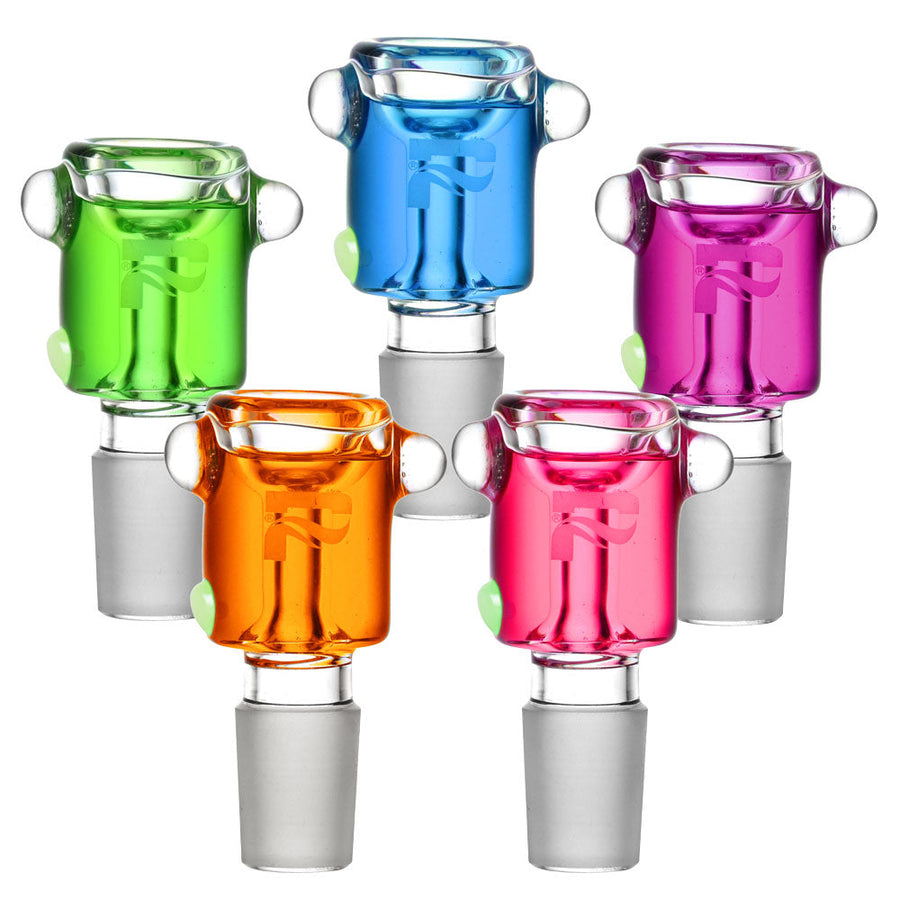
Bong bowl pieces
Bong bowl pieces are small but important parts of glassware. They hold the herb chamber, making loading and smoking easier. These bowl accessories connect to the main water pipe through a joint.
Users can find them in different shapes and sizes to match their cannabis equipment.
Many include helpful features like built-in filter systems or ash catchers. This improves the smoking experience by keeping debris out of the water pipe. Beginners should look for simple designs that fit securely with downstems.
Proper cleaning helps these smoking accessories last longer and work better over time.
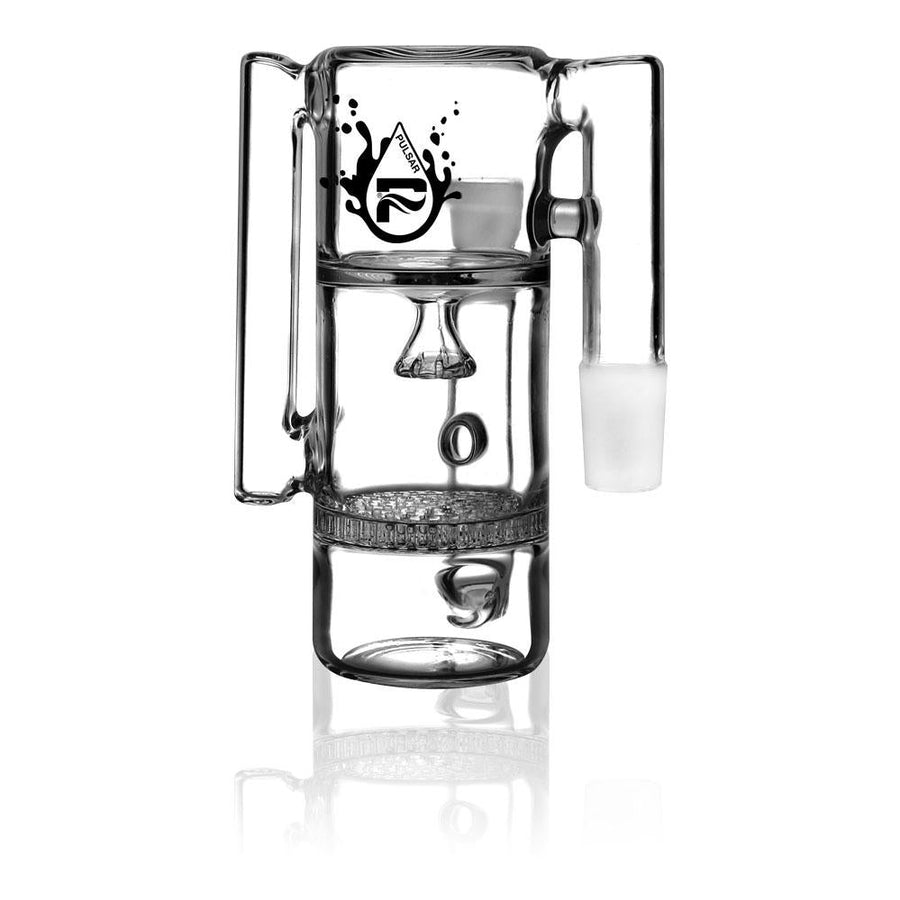
Downstems
Downstems play a big role in improving the smoking experience. They help filter smoke through water, making it cooler and smoother to inhale. Many types of bongs, like straight tube or percolator styles, work best with well-fitted downstems.
Headshop.com offers many options for downstems and other bong accessories. Beginners can find quality pieces from trusted brands for retail or wholesale needs. A good downstem makes all the difference in enjoying clean, filtered hits every time.
Bong cleaners
Keeping a bong clean ensures better hits and a longer lifespan for the glass. Headshop.com offers many tools to make maintenance easy. These include cleaning solutions, pipe cleaners, and products for resin removal.
Bong cleaners are made to handle sticky residue while being safe on glass.
Over time, ash and resin can clog filtration systems or affect taste. Adding accessories like ash catchers helps reduce buildup inside the bong. A good cleaner simplifies tough jobs and keeps smoking smooth.
Safe options from trusted vendors mean users can maintain their gear without hassle.
Tips for Beginners to Improve Skills
Practice makes everything smoother over time, so keep at it. Be patient with yourself—skills grow step by step.
Practice uniform heating
Consistent heating is key to shaping glass smoothly. Uneven heat can cause weak spots or cracks in the final bong. Beginners should rotate the glass constantly over the flame. This ensures even cooking and better temperature control.
Focus on maintaining steady movements to distribute heat evenly across the surface. Moving too fast may cool parts of the glass, making it harder to shape properly. Controlling heat improves results and reduces breakage while working with simple designs makes this easier for beginners.
Start with simple designs
Begin with basic bong shapes like beaker bongs or mini bongs. These designs are easy to create and focus on functionality. Clear glass works well for beginners, allowing the design and craftsmanship to stand out.
Keep accessories simple too, starting with basic downstems or bowls. Experiment with simple color patterns or clear finishes before attempting complex elements. Gradual skill development will make adding intricate details easier over time.
Experiment with shaping techniques
Trying new shaping techniques builds skills and boosts creativity. Beginners can start by sculpting simple shapes like straight tubes or basic curves. Using tools like paddles and jacks helps create clean edges and even forms.
Craftsmanship improves with consistent practice of methods like pulling, stretching, or twisting glass. Experimentation with thickness or air pressure reveals how the glass flows under heat.
Over time, this deepens fundamental understanding of the material while also sparking creative ideas for unique designs.
Conclusion
Glassblowing a bong can be fun and rewarding. Beginners can create unique pieces with practice and patience. Simple tools, safety gear, and basic skills are all you need to start. Keep learning new techniques to improve your craft.
Enjoy the process of turning molten glass into art!
FAQs
1. What tools do I need to blow glass bongs as a beginner?
You will need a torch, glass tubing, a kiln for annealing, graphite paddles, and safety gear like gloves and goggles. These tools are essential for shaping and solidifying the glass.
2. How do I start learning to blow glass bongs?
Begin by practicing with basic shapes using soft or borosilicate glass. Watch tutorials or take beginner workshops to learn proper techniques and safety practices.
3. Why is annealing important when making glass bongs?
Annealing ensures the bong cools evenly in the kiln, preventing cracks or weak spots in the final product.
4. Can beginners make functional glass bongs right away?
It takes practice to create fully functional bongs that work well without flaws. Start small with simple designs before moving on to more complex pieces.