


How to Make a Grav Bong at Home: Step-by-Step Guide for Making a Grav Bong

Making a grav bong at home can seem tricky for beginners. Many cannabis users want an easy and affordable way to create a smoking tool without buying fancy equipment. A homemade gravity bong is a quick solution that uses everyday household items.
A gravity bong works by pulling smoke into a container using water and air pressure. It delivers intense hits, making it popular among smokers looking for stronger effects. This guide will show you step-by-step how to make a grav bong at home in just minutes.
It’s simple, fun, and won’t break the bank. Keep reading to learn more!
Materials Needed
Making a grav bong requires basic materials that are easy to find at home or in local stores. Gather the necessary tools before starting to ensure a smooth crafting process.
Plastic bottle or soda bottle
A 2-liter plastic bottle works best for a gravity bong. Soft drink bottles are common choices due to their lightweight design and easy availability. Gatorade bottles also offer sturdiness and wider caps, which make handling easier while allowing room for larger bowls.
Disposable plastic containers or reusable water bottles can serve as alternatives if they have screw caps. Always ensure the chosen material is durable enough to handle cutting and assembly without cracking.
Move on to gathering the next materials like a bucket or large container before construction begins!
Bucket or large container
A water bucket or large container serves as the base of a gravity bong. It acts as the water vessel needed to create suction for drawing smoke into the attached bottle. The size must be sufficient to submerge part of the plastic bottle while leaving room for airflow.
Choose sturdy options like a 5-gallon pail, storage bin, or any similar water receptacle that can hold liquid without leaking. A smaller container may restrict movement and reduce efficiency, so prioritize capacity when selecting your water holder.
Aluminum foil or bowl piece
After choosing a bucket, focus on creating the bowl for your grav bong. Aluminum foil works as an easy and affordable material to shape a quick bowl. Mold it securely over the bottle’s cap or opening while ensuring it stays tight.
Poke small holes in the foil to act as a filter for airflow.
For better taste and reduced odor, substitute aluminum foil with a socket or premade glass bowl piece if available. Using these options also avoids potential health risks linked to heating aluminum repeatedly.
Always ensure proper airflow by testing before use, regardless of the material chosen.
Sharp knife or scissors
Cutting the bottle requires a sharp knife or scissors. These tools ensure clean, precise cuts, which are crucial for proper assembly. Dull edges can create jagged openings that might lead to leaks or unstable fittings.
Use shears with a blade guard for added safety while cutting. A cutting edge in good condition prevents accidents and makes the process smoother. Sharpening stones or a blade sharpener can help maintain these tools for repeated use in future projects.
Lighter
A lighter acts as the ignition source for your grav bong. It creates a spark and produces a flame to burn the cannabis. Most lighters use butane fuel, which burns cleanly and evenly.
Always choose a functional, refillable lighter to ensure consistency during use.
The lighter's heat source ignites the bowl without excessive effort, making it an essential tool. Avoid using improper alternatives that can release harmful toxins into the smoke. Once you have your materials ready, move on to preparing the bottle for assembly.
Step-by-Step Guide for Making a Grav Bong
Crafting a grav bong at home requires some basic materials and simple steps. Follow this guide to assemble it correctly for an effective smoking experience.
Preparing the Bottle
Cut the bottom off of a plastic bottle using sharp scissors or a knife. Ensure the cut is clean and even to avoid jagged edges that could tear or cause injury. This step creates an open base for easy water displacement during use.
Remove any labels and wash the bottle thoroughly. Check for cracks or weak points that might compromise its structure as a stable homemade smoking device. Move on to making the bowl after preparing this essential part of your gravity bong setup.
Creating the Bowl
Shape aluminum foil into a small bowl that fits over the bottle's cap. Use enough foil to ensure it holds its structure and stays secure. Press the foil slightly into the cap, creating a snug fit for added stability while in use.
Poke small holes in the foil using a pencil or toothpick. Make sure these holes allow airflow but aren't large enough for material to fall through. Once ready, proceed to assemble the rest of your DIY smoking apparatus.
Assembling the Grav Bong
Fit the bottle carefully into the water-filled container, ensuring it stays upright. Push it down until only a small portion of the top remains above the surface. This step allows proper airflow and creates an airtight seal during use.
Place the aluminum foil or bowl piece securely over the bottle’s opening. Make sure it fits snugly to prevent leaks while inhaling. Check that everything aligns correctly before moving ahead to avoid any mishaps during operation.
Filling the Bucket with Water
A gravity bong requires a water-filled container to function. Start by selecting a bucket or large container that can hold enough water for effective pressure creation. Fill the bucket about three-quarters full, leaving ample room for the plastic bottle to submerge without overflowing.
The water level is crucial for proper smoke inhalation. Ensure it allows the bottle to be submerged while still leaving space above the rim for easy handling. The right amount of water helps create consistent suction and enhances the overall smoking experience.
How to Use the Grav Bong
Using a grav bong involves simple steps that create an efficient and powerful smoking experience, making it worth mastering the process.
Packing the Bowl
Lightly grind the herbs or tobacco to ensure an even burn. A herb grinder works best for consistency, but hands can work in a pinch. Avoid over-grinding as this can clog the smoking bowl and restrict airflow.
Shape aluminum foil into a small bowl that fits snugly into the bottle's opening if you’re not using a pre-made bowl piece. Add enough herb to cover the bottom without packing it too tight.
Proper packing ensures smooth inhalation and enhances your smoking experience. Move on to igniting and drawing smoke next.
Igniting and Drawing Smoke
Hold the lighter close to the packed bowl and ignite the herb while pulling slowly on the bottle. Create suction by lifting the bottle upward from the water at a steady pace. This action forces air through the burning herb, generating thick smoke.
Stop lifting just before fully removing the bottle from under the surface of the water. Release or remove your finger from any openings to allow airflow, then inhale deeply to draw smoke into your lungs.
Removing the Bowl and Inhaling
Lift the aluminum foil or bowl piece off the bottle carefully to prevent spilling any remaining herb. As you remove it, keep covering the top of the bottle with your hand to trap smoke inside.
Place your mouth over the opening of the bottle and inhale deeply. Pulling slowly ensures a smoother hit while allowing all trapped smoke to be released evenly.
Safety Precautions
Using a grav bong safely requires attention to materials and environment. Follow best practices to protect your health while enhancing your experience.
Avoid harmful materials like non-food-grade plastics
Heating plastic bottles can release hazardous chemicals. Non-food-grade plastics often contain harmful additives that leach into the air when exposed to heat. These toxic substances could lead to health risks, including respiratory issues and exposure to chemical leaching.
Choosing nontoxic materials is crucial for safety. Using food-safe plastics or glass helps prevent contamination from unsafe packaging. Avoid any containers with harmful additives or signs of chemical wear, as they increase the risk of releasing dangerous fumes during use.
Ensure proper ventilation while using
Proper air circulation reduces the risk of inhaling harmful fumes from heated plastic. Avoid using a grav bong in enclosed spaces like small rooms or closets. Open windows or use fans to keep fresh air moving while smoking.
Caution with heat sources is critical. Poor ventilation increases fire hazards, especially when handling lighters near flammable materials. Clear airflow ensures safety and promotes responsible consumption during use.
Move on to understanding tips for an enhanced experience next.
Tips for an Enhanced Experience
Experiment with different materials to customize your setup and find what works best for you. Enhance your sessions by trying creative ways to improve airflow or flavor.
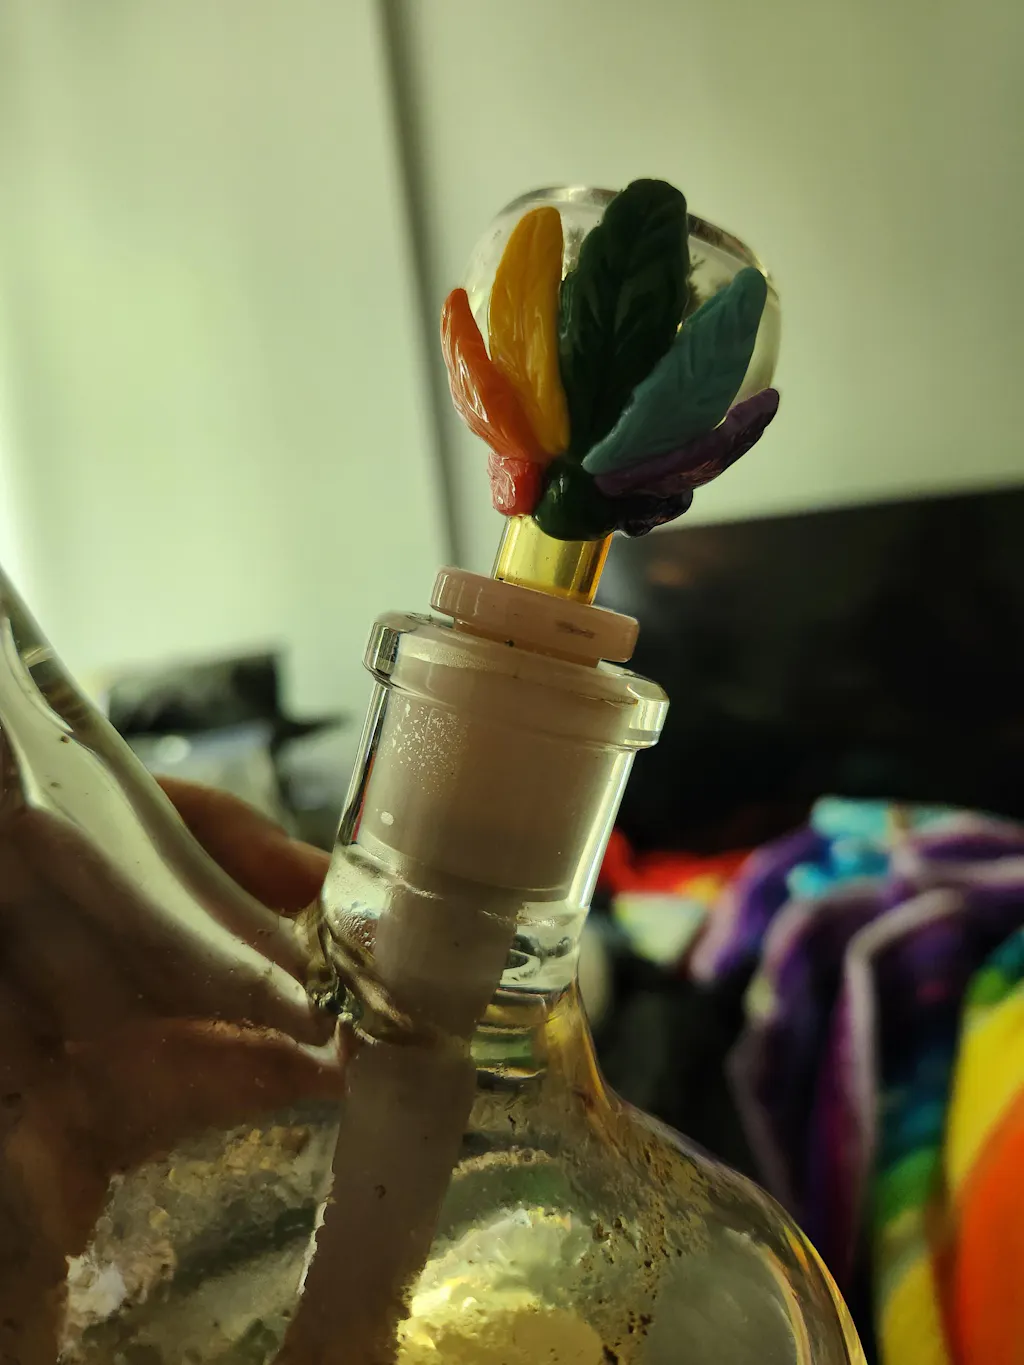
Use a glass bottle for smoother hits
Using a glass bottle can improve the smoking experience by providing smoother hits. The non-porous surface of glass prevents residue buildup, keeping the smoke clean and flavorful.
Unlike plastic, glass does not release harmful chemicals when exposed to heat, ensuring safer use during sessions.
Water filtration with a glass water pipe cools down smoke efficiently. Adding hot water generates steam, which moisturizes and softens each hit for enhanced smoothness. Glassware also retains its quality over time, making it a durable and effective smoking accessory for cannabis users seeking better results.
Experiment with different bowl sizes
Varying bowl sizes can change the entire experience of using a grav bong. Smaller bowls allow for quick sessions with less material, making them ideal for solo use. Larger bowls hold more and work better in group settings or for users seeking denser smoke.
Different bowl shapes and materials also impact performance. A wider bowl provides even packing, while deeper designs extend sessions without constant refilling. Experimenting with adaptable options like glass or metal ensures smoother hits compared to aluminum foil.
Adjusting bowl size and shape lets users customize every session to their preference.
Explore Different Types of Grav Bongs
Bucket gravity bongs are the simplest and most popular choice for beginners. They require a plastic bottle and a larger container like a bucket or bowl filled with water. Submerging the bottle while lighting creates suction to pull smoke into the chamber.
This method delivers large hits with minimal effort, making it an effective DIY smoking tool.
Waterfall gravity bongs provide another creative option. This version uses just one bottle with a small hole at its base instead of requiring a bucket. When you fill the bottle, light the bowl, and let water drain through the hole, gravity pulls smoke inside.
These designs offer portability and are perfect for those seeking innovative smoking devices without extra equipment.
Conclusion
Making a gravity bong at home is simple and efficient. With basic materials like bottles, foil, and water, anyone can craft one in minutes. The step-by-step guide offers clear instructions for both beginners and experienced users.
This DIY approach saves money while delivering effective results. Try experimenting with different designs or materials to enhance the experience further. Take the knowledge shared here and enjoy creating your smoking device responsibly!
FAQs
1. What is a grav bong, and why make one at home?
A grav bong, short for gravity bong, is a smoking device that uses water and air pressure to pull smoke into a chamber. Making one at home lets you use simple materials for an efficient smoking experience.
2. What materials do I need to make a grav bong?
You will need a plastic bottle, aluminum foil, scissors or a knife, water, and an empty container like a bucket or large bowl.
3. How does the step-by-step process work?
Cut the bottom off the plastic bottle. Cover the opening of the cap with foil and poke small holes in it to create your bowl. Fill the larger container with water and submerge most of the bottle in it. Light your material while slowly lifting the bottle to fill it with smoke.
4. Is making a homemade grav bong safe?
It can be safe if you follow instructions carefully and avoid harmful materials like plastics that release toxic fumes when heated. Always prioritize safety when crafting homemade devices.