How to Make a Silicone Smoking Pipe in 2026: DIY Guide
Sep 5, 2026by Matt Hampton
Making your own silicone smoking pipe is easier than you think. Whether you want a custom piece or just love DIY projects, this guide has you covered.
Key Takeaways
Food-grade silicone is essential for safety and durability.
You can mold a pipe using a two-part silicone kit and a simple mold.
Proper curing and cleaning ensure a safe, long-lasting pipe.
Pre-made silicone pipes from trusted brands offer convenience and reliability.
Always prioritize heat resistance and non-toxic materials.
Why Silicone Pipes Are a Smart Choice
Silicone pipes have exploded in popularity for good reason. They're virtually unbreakable, flexible, and perfect for on-the-go use. Unlike glass, they won't shatter if dropped or knocked over.
Plus, silicone is heat-resistant and easy to clean. Many smokers prefer the soft, grippy texture and the ability to customize colors. If you're curious about creating one yourself, the process is more approachable than you'd expect.
Benefits of DIY Silicone Pipes
Cost-effective compared to boutique pieces.
Endless customization for shape, color, and size.
A fun, rewarding project that yields a personal item.
Materials You'll Need
Before you start, gather the right supplies. Quality matters here since you'll be heating and inhaling through the final product.
Food-grade silicone (platinum-cure or tin-cure)
Mold (you can use a specially designed pipe mold or create your own)
Release agent (to help the silicone come out easily)
Mixing tools (disposable cups and stir sticks)
Safety gear (gloves and a well-ventilated area)
Choosing the Right Silicone
Food-grade silicone is non-toxic and can handle high temperatures. Look for brands labeled “platinum-cure” as they are generally safer with fewer byproducts. Avoid industrial silicone that isn’t rated for food contact.
Also, consider the shore hardness—softer silicone (like 30A) is flexible, while harder grades (like 60A) offer more rigidity. For a pipe, a medium shore hardness around 50A works well.
How to Make a Silicone Smoking Pipe: Step-by-Step
Creating your own pipe involves a few precise steps. Follow these to ensure a usable, safe result.
Step 1: Design Your Pipe
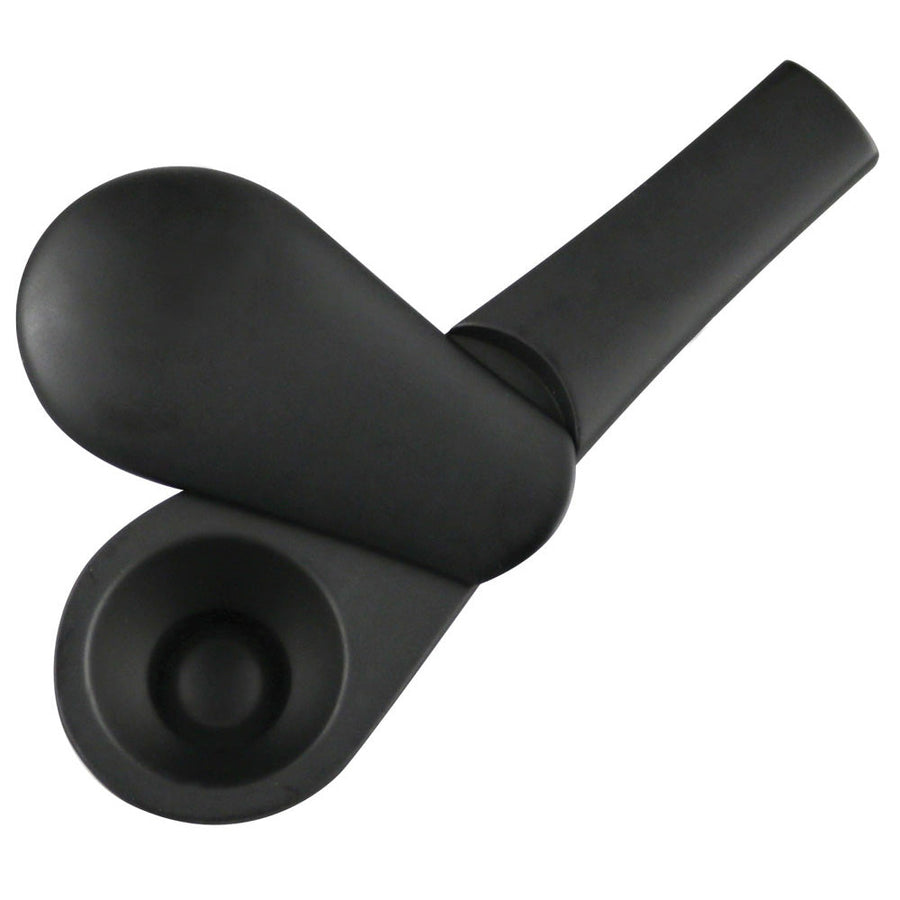
Start by sketching your desired shape. Think about the bowl depth, carb placement, and overall length. A classic spoon pipe has a bowl at one end and a mouthpiece at the other, with a small carb hole on the side.
Keep it simple if it's your first try. You can always refine your design later.
Step 2: Create or Obtain a Mold
You can buy a pre-made pipe mold or fashion one from a non-reactive material like clay or plaster. Ensure the mold is smooth and has no undercuts that would make removal difficult.
If using a two-part mold, make sure both halves align perfectly. Secure them with rubber bands or clamps.
Step 3: Mix the Silicone
Follow the manufacturer's instructions for mixing ratio. Usually, it's a 1:1 or 10:1 mix by weight. Stir thoroughly in a disposable cup for at least three minutes, scraping the sides.
Work quickly—you'll have about 20-30 minutes of working time before it starts to set.
Step 4: Pour and De-gas
Pour the silicone slowly into the mold to avoid air bubbles. After pouring, tap the mold gently on the counter or use a vacuum chamber to release trapped air. Bubbles can create weak spots that compromise the pipe's integrity.
Allow the silicone to cure for the recommended time, usually 24 hours at room temperature.
Step 5: Demold and Clean
Once fully cured, carefully flex the mold to release the pipe. Inspect it for any imperfections. Rinse it with warm water and mild soap to remove any residue.
Wait—there's no need to bake it again; silicone is already heat-resistant. Your DIY pipe is ready to use.
Tips for a Safer Homemade Pipe
Safety should be your top priority when crafting a pipe. Here are some friendly reminders:
Ensure the silicone is food-grade and heat-safe for smoking.
Allow plenty of time for full curing to prevent off-gassing.
Test the pipe with a tiny bit of herb first to check for any odd tastes.
Keep your workspace clean to avoid contamination.
If you're not confident about the safety of your silicone mix, consider using a commercially made pipe. When in doubt, trust the pros.
Piecemaker Karma Kayo Silicone Pipe w/ Cap
Why it helps: If you're looking for a professional-grade silicone pipe that skips the DIY hassle, the Piecemaker Karma Kayo is a fantastic choice. It's designed by experts who know what a good pipe needs. The included cap keeps things tidy in your pocket.
Comparing DIY vs. Store-Bought: Which Is Right for You?
You might be torn between making your own pipe and buying a quality silicone piece. Both have merits.
DIY gives you full control over design, colors, and size. It's also a great conversation starter and a sense of accomplishment. However, it takes time, and mistakes can be frustrating.
Store-bought pipes are thoroughly tested for safety. They're built with precision and often feature clever additions like caps or built-in filters. Plus, they're immediately ready to use.
Quick Comparison List
Customization: DIY wins hands-down with unlimited color and shape options.
Cost: DIY is cheaper if you already have supplies.
Durability: Both are tough, but quality brands have fewer flaws.
If you want to see what the best store-bought options look like, browse the smoking pipes collection to compare styles.
Cleaning and Maintaining Your Silicone Pipe
Once you have a silicone pipe, keeping it clean is a breeze. Unlike glass, silicone can handle boiling water without cracking.
Easy DIY Cleaning Method
Place your pipe in a pot of boiling water for 5–10 minutes. The heat loosens resin and sticky buildup. Then, use a small brush or pipe cleaner to scrub the inside. Rinse thoroughly and let it air dry.
For a deeper clean, you can freeze the pipe to solidify the resin, then scrape it out gently. Avoid harsh chemicals that can degrade the silicone.
What Not to Do
Don't use acetone or isopropyl alcohol on silicone—they cause swelling.
Don't put your pipe in the dishwasher; high heat and detergents may warp it.
Don't leave it in direct sunlight for extended periods—UV can stiffen silicone.
Regular cleaning not only improves taste but also extends your pipe's life.
Common Mistakes to Avoid When Making a Silicone Pipe
Even seasoned crafters slip up. Here are typical pitfalls and how to dodge them.
Using Wrong Silicone Grade
Not all silicone is created equal. Using a non-food-grade silicone can release toxic fumes when heated. Always check the label for food-safe or medical-grade specifications.
Incomplete Curing
Rushing the curing time leads to sticky, smelly pipes. Follow the manufacturer's cure time precisely. Some silicones need 24–48 hours. Patience pays off.
Skipping De-gassing
Air bubbles trapped in silicone create weak spots that can tear. Invest in a vacuum chamber or use vibration to release bubbles before curing.
Designing Too Complex
An intricate shape with sharp angles is harder to demold without breaking. Stick to flowing curves beveled edges. Save the fancy designs for when you're more experienced.
Remember: Function over form. A simpler pipe that works well beats a beautiful one that crumbles.
Jane West Outdoor Silicone Pipe
Why it helps: Going on a hike or camping trip? This pipe is built for the outdoors. Its soft-touch finish and shockproof design make it a reliable companion you won't worry about dropping.
Once you've mastered the basics, you can get creative with colors and textures to make your pipe truly unique.
Adding Pigments
You can add silicone pigments to the base mix before pouring. Use a few drops and stir well to get consistent color. Pastel tones are trendy, or go bold with metallic shades.
Streak effects are also possible by swirling two colors together without fully mixing them.
Creating Texture
To make your pipe grippier, you can embed beads or small silicone dots on the exterior. Press them onto the mold surface before pouring. Once cured, they'll be securely fused.
Another idea is to use a textured mold liner, like a silicone brush mat, to imprint patterns.
Embedding Decorative Elements
You can embed small charms or dried flowers in clear silicone for a whimsical look. Ensure any embedded items are non-flammable and won't affect the silicone's integrity.
Experiment with small batches first to perfect your techniques.
Frequently Asked Questions
Is it safe to smoke from a homemade silicone pipe?
Yes, if you use food-grade silicone and follow proper curing times. Make sure the silicone is labeled heat-resistant to withstand temperatures up to 400°F. Always do a burn-off test first.
Can I use regular silicone caulk to make a pipe?
No. Regular silicone caulk contains additives that are not food-safe and can release fumes when heated. Always use a two-part silicone rubber kit specifically designed for mold making or food contact.
How long does DIY silicone pipe take to make?
From setup to final cure, expect about 24–48 hours. Mixing and pouring take just 30 minutes, but the cure time is the longest part.
What is the best cleaning solution for a silicone pipe?
Warm soapy water and a soft brush work best. You can also boil the pipe for 10 minutes to remove stubborn residue. Avoid alcohol and acetone as they can damage silicone.
Can I microwave silicone to clean it?
It's not recommended. Microwaves heat unevenly and could cause hot spots that might degrade the silicone. Stick to boiling or soapy water.
How do I know if my silicone is food-grade?
Check the product specifications or packaging for “FDA-approved silicone” or “food-safe silicone.” Some brands list certifications directly. If in doubt, contact the manufacturer.
Are there any benefits of buying a premade silicone pipe instead of DIY?
Yes, premade pipes are tested for safety and durability. They often come with warranties and features like removable bowls, caps, and even built-in screens. Check out trending smoke shop products to see what's popular.
Eyce ProTeck Alien Spoon Pipe
Why it helps: If you want a pipe that looks out-of-this-world but feels like a dream, the Eyce ProTeck Alien Spoon is your pick. It's another great example of commercial pipes that offer high heat resistance and easy cleaning without the DIY effort.
Making a silicone smoking pipe is a rewarding project, but it's not the only route. If you value time and guaranteed safety, check out the curated selection at smoking accessories and find your perfect match. Browse our collection and choose a high-quality piece that fits your style.
Really works well. Easy to turn and the flower grind is perfect
Flower Mill Herb Grinder 2.5" Mill Plates
10/21/2026
Anonymous
I love this device so much! It’s so easy to clean
I love this device so much! It’s so easy to clean. I’ve never had an electric dab rig before but now I know it’s just as good as a normal rig. So happy I got it only $144 and and that is like a hell or a steal come paired to the Puffco…
Juicy Terp Infused Squeeze Cones | Purps | 30pk Display
10/10/2026
Megan McElwee
Disappointed
2.5 decades ago I bought a piece from a loc blower who called it a “chubler.” Similar. Bigger. Easier to clean. Had 2 finger releases to shoot the air back. Not for the typical smoker as it was challenging for some to get the concept. But those of us who figured it out absolutely loved it. Sadly I no longer have it. When I found this smaller version I was excited. But no. Totally sucks. Too long. Too narrow. No finger holes so it constantly hits. And super hard to clean the water. Some of us like to change the water often! Do not recommend. Also, please make upgrades because this has the potential to be amazing!
Daze Glass - Spubbler Spoon Bubbler Hybrid
10/09/2026
Anonymous
Straight up
I drink this syrup straight before bed to help me sleep. It works like a charm, and tastes good the way it is.
Habit Water Soluble Full Spectrum D9 THC Syrup | 8.5oz | 750mg
10/09/2026
John Barrett
Best ever
Great products and Great Service. I highly recommend this company. You won’t be disappointed!!
Cyclone Gust Pro Cherry Blast Vape
10/07/2026
Queen Bee
One stop shop
I’ve ordered from here numerous times always 100% satisfied whatever you’re smoking preference they have everything you need and the price are on point.and if by chance that happens to be a problem the customer service department is prompt to reply, so nothing negative to say.
MJ Arsenal Fabcycler Puffco Peak Top
10/05/2026
Anonymous
Great glass
Great glass, it holds the heat very well.
Headshop.com
10/04/2026
Anonymous
An absolute game changer - Flame Off!
This little magical device has changed the way I consume. No more smoke. Efficient and clean.
I'm a huge fan.
Pulsar ProShift™ Dry Herb Vaporizer | 3000mAh
10/02/2026
Thomas Giddens
steamroller
Product is Awesome
Phoenix Rising Maximus Steamroller | 7.5"
09/27/2026
Rae
I absolutely love this bubbler
I absolutely love this bubbler. It’s made well, thick glass, works like a dream, and easy to clean. I love the flat base.
I HIGHLY Recommend
NWTN Home Vesper Bubbler
09/22/2026
How to Make a Silicone Smoking Pipe in 2026: DIY Guide