

How long does it take to clean a bubbler?
A bubbler has no universal cleaning time: light residue needs less work than a restricted chamber, and the cleaner’s labeled contact time determines how long you should soak it. Total turnaround also includes rinsing and drying, so finishing the scrub does not mean the bubbler is ready to use.
- How long does it take to clean a bubbler? Follow the cleaner’s contact time, then allow complete rinsing and drying.
- Isopropyl alcohol is flammable; never heat it or use it near a flame.
- A water rinse removes loose debris but does not replace cleaning sticky residue.
- Clean removable glass separately, and keep electronic components out of cleaning liquid.
Why this matters
Judge the cleaning result, not the clock. An empty chamber can still contain sticky deposits, and a clear-looking exterior does not tell you whether the internal passage is clean. Rushing the final rinse leaves another problem to solve before your next use.
For a related breakdown, see how long it takes to clean a bong properly. The same planning distinction applies: hands-on cleaning and total elapsed time are different things.
This 2026 guide focuses on that distinction. Your goal is an unobstructed, thoroughly rinsed bubbler, not a piece that has merely spent time in cleaning solution.
How long does it take to clean a bubbler?
The useful answer is the cleaner’s prescribed contact time plus the work needed to remove residue, rinse every passage, and dry the piece. There is no single soak duration that applies to every bubbler material, finish, and cleaning product.
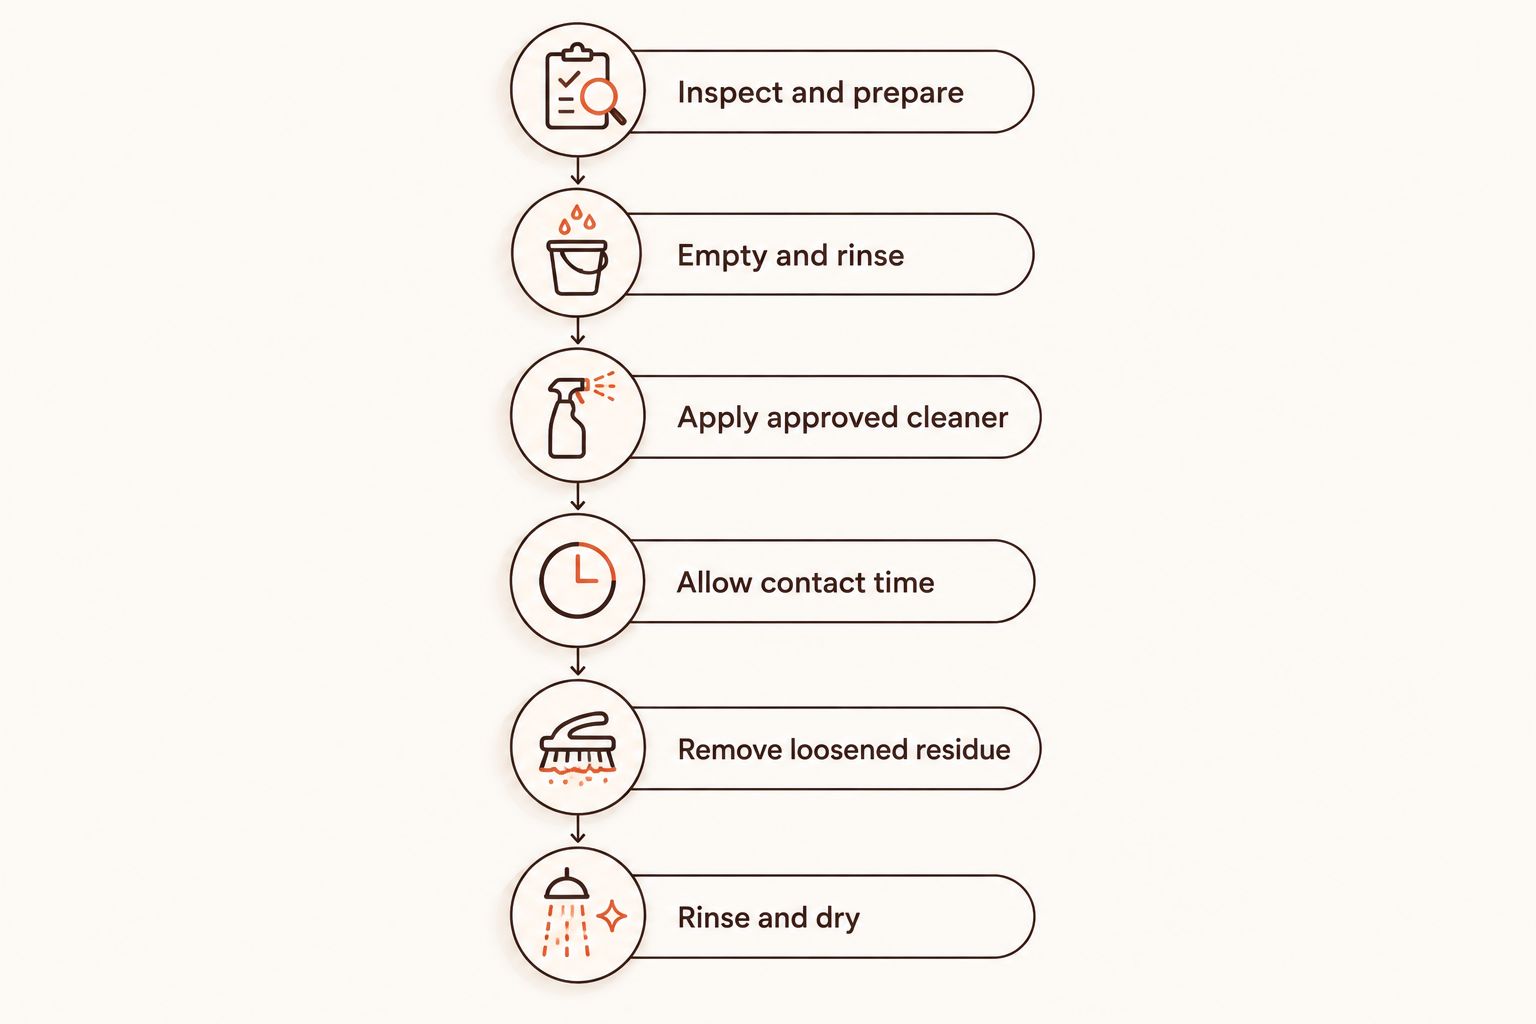
Break the job into stages rather than treating it as one uninterrupted scrub:
- Inspect and prepare. Let the bubbler cool, check for damage, and remove only parts designed to come apart.
- Empty and rinse. Remove spent material and old water, then rinse out loose debris using water suitable for the material.
- Apply the approved cleaner. Follow both the bubbler manufacturer’s care instructions and the cleaner’s label.
- Allow contact time. Leave the cleaner in contact with deposits only as directed, then inspect the result.
- Remove loosened residue. Use a suitable soft cleaning tool where it can reach without force.
- Rinse and dry. Flush all accessible passages thoroughly and allow the cleaned components to dry before reassembly or use, following their care instructions.
The soak is waiting time; preparation, agitation, inspection, and rinsing require your attention. Drying adds another waiting stage, especially when water remains inside a curved passage.
Do not extend a soak indefinitely because a stain remains. Check whether the cleaner is appropriate, whether the liquid reaches the deposit, and whether another application is permitted by the label. More time is not a substitute for material compatibility.
A quick rinse and a full cleaning are different jobs
A rinse is useful for removing loose particles and replacing dirty water. It is not equivalent to removing an attached film from the bowl or internal chamber.
Choose the task that matches the condition of the piece. The following comparison is a 2026 care checklist, not a promise that either method finishes within a fixed number of minutes.
| Cleaning approach | Best for | Advantage | Limitation | Completion check |
|---|---|---|---|---|
| Water rinse | Loose debris and routine water changes | Removes material that is already free-moving | Does not reliably remove sticky deposits | Loose particles have flushed out |
| Material-approved cleaner | Attached residue inside compatible parts | Addresses deposits a rinse leaves behind | Requires label-directed contact time and thorough rinsing | Accessible residue is removed and cleaner is flushed out |
| Soft-tool cleaning | Reachable bowl and mouthpiece deposits | Lets you work directly on a visible area | Cannot reach every bend or sealed chamber | The accessible passage is clear without damage |
A rinse is maintenance; a full cleaning addresses attached residue. Neither approach makes smoking risk-free, and a cleaning routine is not a health guarantee.
If you see debris return during the final rinse, the job is not finished. Inspect the bowl, chamber, and mouthpiece separately rather than assuming the first clear stream of water proves the entire piece is clean.
Why bubbler cleaning time varies
Your bubbler’s condition and construction determine the work involved. These factors are more useful than a generic timer:
- Residue condition. Loose particles rinse away differently from an attached, sticky film. Inspect what remains after the initial rinse before choosing the next step.
- Internal access. A straight, reachable passage gives a cleaning tool access that a tight bend does not. Never force a tool around an obstruction.
- Removable parts. A removable slide can be cleaned separately. An integrated bowl requires you to work through the openings the piece already has.
- Materials and finishes. Glass, acrylic, silicone, seals, coatings, and decorative elements do not automatically tolerate the same cleaner. Check every component, not just the main chamber.
- Cleaner instructions. Contact time, dilution, rinsing, and disposal directions belong to the specific product. Do not substitute instructions from another cleaner.
- Drainage and drying. Curves and enclosed spaces can retain rinse water. Position the cooled, empty piece securely so accessible openings can drain without putting stress on the glass.
A compact bubbler is not automatically quick to clean. External size tells you little about whether you can reach the bowl passage or drain the chamber completely.
Set up the cleaning area before you start
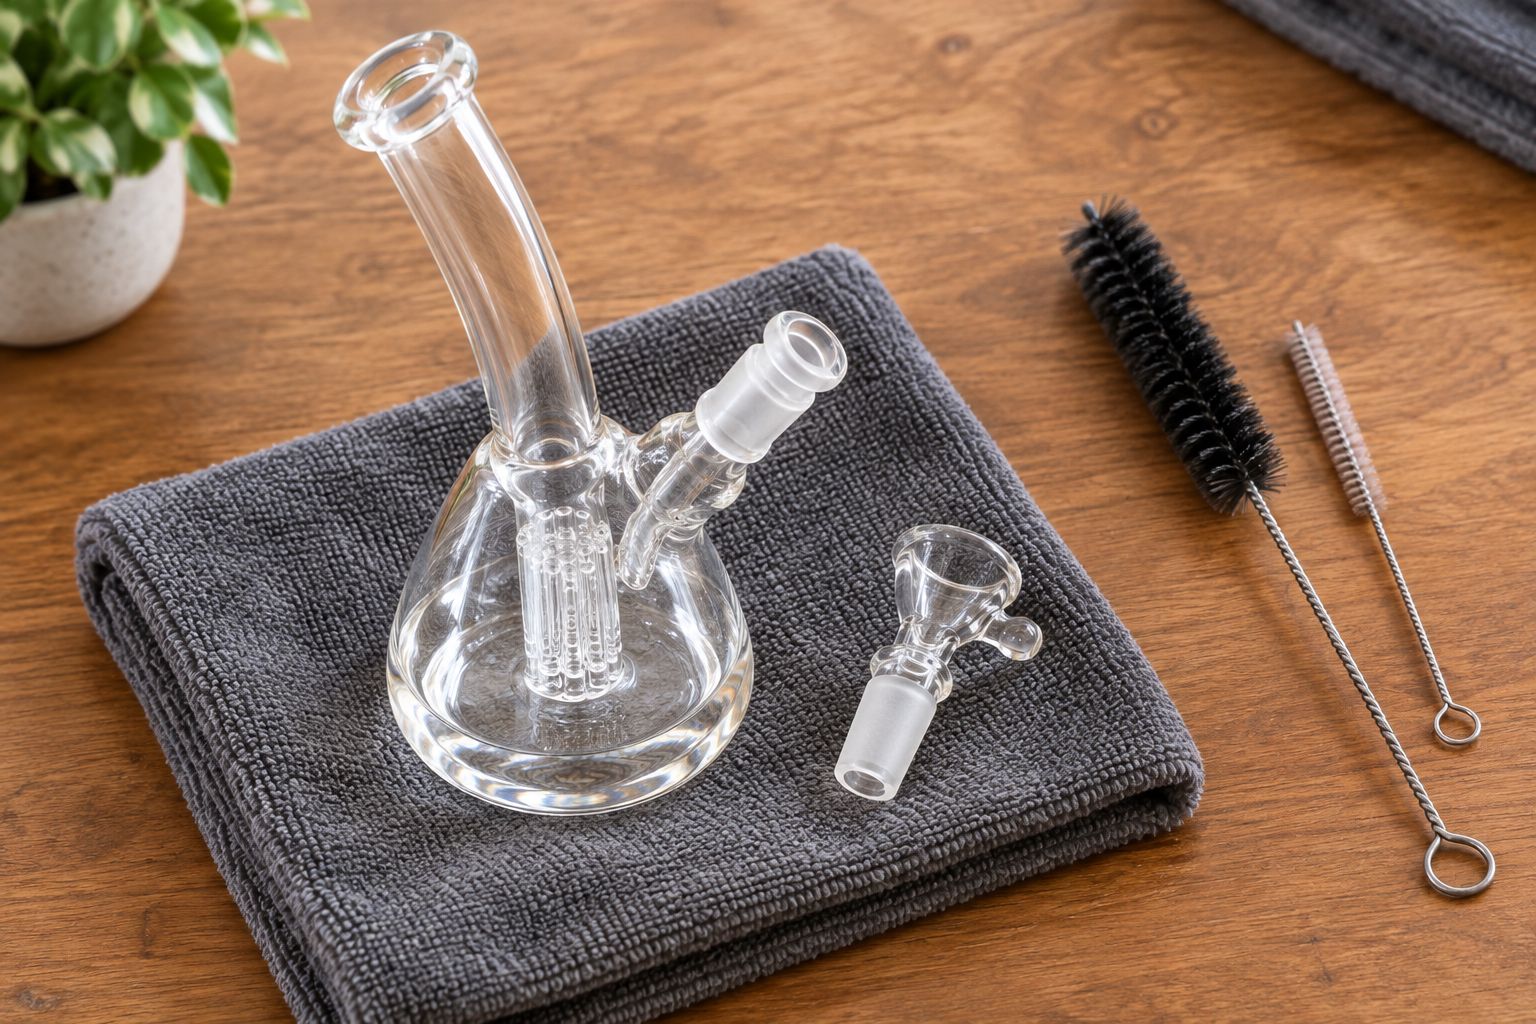
Gather the approved cleaner, a stable container if the instructions require one, suitable soft cleaning tools, and a protected drying surface. Keep delicate removable parts separated so they do not knock against each other.
Work in a ventilated area and follow the cleaner’s protective-equipment directions. If you use isopropyl alcohol, keep it away from flames, sparks, hot surfaces, and operating heating devices; never heat the alcohol to accelerate cleaning.
Avoid cleaning a warm piece with a sudden change in water temperature. Let the bubbler cool first, and use the water temperature permitted by its care instructions rather than treating hotter water as an automatic improvement.
For 2026 maintenance, keep the product label available throughout the job. Instructions remembered from a different bottle are not a reliable substitute for the cleaner you are actually using.
Keep glass attachments separate from electronics
A glass bubbler attachment and the electronic device beneath it are different cleaning tasks. Remove the attachment according to the device instructions before cleaning it, and never immerse a battery, charging port, display, or powered base.
Do not assume a detachable glass component is fully submersible merely because it comes off. Seals, bonded sections, and other attached materials still need to be checked against the manufacturer’s directions.
Clean the hard-to-reach areas without forcing them
Start with what you can inspect: the bowl opening, mouthpiece, accessible joint, and visible chamber. Use gentle pressure with a tool suited to the material, stopping when the tool binds or catches.
A blocked passage is not a reason to push harder. Let an appropriate cleaner work as directed, then reassess the opening; forcing a rigid object through a narrow passage risks damaging the piece.
If your cleaning tool contains wire, keep exposed wire ends away from delicate surfaces. Do not use knives or improvised sharp metal tools to chip deposits from glass.
Treat a stuck joint as a separate problem rather than twisting harder while holding a fragile neck. Stop if you find a chip, crack, or damaged joint, and do not return damaged glass to use.
What should you check before calling a bubbler clean?
A useful final inspection covers residue, rinse water, physical condition, and retained moisture. Looking through the side of the chamber is only part of that inspection.
- Bowl and entry passage: Check for attached debris around the opening and accessible edges.
- Water chamber: Look for floating particles, loose deposits, or cleaner remaining in low spots.
- Mouthpiece: Inspect the reachable inner surface rather than wiping only the outside rim.
- Removable connections: Check mating surfaces for debris and damage before putting parts back together.
- Final rinse: Follow the cleaner’s rinsing directions and repeat inspection if particles or cleaner remain.
- Drying position: Rest the piece securely, with no delicate stem supporting its weight.
Do not inhale through the bubbler to test whether cleaning solvent remains. Follow the cleaner’s rinse and drying instructions, and do not treat the absence of an obvious smell as proof that every passage is ready.
Cleaning removes deposits; it does not repair glass. A cleaner-looking crack is still a crack, and a chipped mouthpiece is still unsuitable for use.
Should you soak a bubbler overnight?
An overnight soak is not a default requirement. Use the contact time specified for your cleaner and permitted for the bubbler’s materials, finishes, and attached components.
If residue remains after the directed treatment, inspect the affected area and check the instructions before repeating the process. Leaving an incompatible material in solution for longer does not make the method appropriate.
Does a small bubbler take less time to clean?
A small bubbler does not necessarily take less time to clean. A compact body can still contain a narrow passage, an integrated bowl, or an enclosed chamber that is difficult to access.
When choosing a piece, inspect how its openings connect and which parts are removable. Cleanability depends on access and approved care methods, not height alone.
Can you use a bubbler immediately after rinsing?
Use a cleaned bubbler only after completing the cleaner’s rinsing and drying directions. For electronic attachments, also follow the device manufacturer’s requirements before reconnecting the glass.
Adding fresh chamber water for normal use is different from leaving cleaning liquid or rinse residue inside the piece. Finish the cleaning process first, then prepare the bubbler according to its operating instructions.
Choose your next bubbler with maintenance in mind
Headshop serves adult shoppers looking for bubblers and other smoking accessories. When you compare pieces, put cleaning access alongside shape and appearance: identify the openings, check whether the slide is removable, and read the material-specific care directions.
A removable component gives you a separate part to inspect, but it also creates another connection to handle carefully. An integrated design avoids that loose part while limiting access to the openings built into the piece.
For a 2026 purchase, confirm the care instructions for the exact model rather than borrowing them from a similar-looking bubbler. Do not buy a replacement solely because an existing piece needs routine cleaning; replace damaged components when appropriate instead.
FAQ
How long does it take to clean a bubbler from start to finish?
Total cleaning time includes preparation, the cleaner’s labeled contact time, residue removal, rinsing, and drying. There is no universal duration that applies to every bubbler and cleaner.
Is a water rinse enough to clean my bubbler?
A water rinse removes loose debris but does not reliably remove attached sticky residue. Use a material-approved cleaning method when deposits remain.
Can I use isopropyl alcohol to clean any bubbler?
No—use isopropyl alcohol only when the manufacturer permits it for the specific materials and components. Alcohol is flammable, so keep it away from heat, sparks, and flames.
Should I leave my bubbler soaking overnight?
Soak your bubbler only for the contact time allowed by the cleaner and the bubbler manufacturer. An overnight soak is not a universal requirement.
Can I boil my bubbler to clean it faster?
Do not use boiling as a shortcut unless the manufacturer explicitly permits that method. Sudden temperature changes can damage glass, and cleaning alcohol must never be heated.
How do I clean a bubbler attached to an electronic device?
Remove the glass attachment according to the device instructions and clean it separately using its approved method. Never immerse the powered base, battery, or charging port.
How do I know when my bubbler is ready to use again?
Complete the cleaner’s required rinsing and drying process, then inspect the piece for remaining debris and damage. Do not inhale through the piece to test for leftover solvent.
One last thing
The easiest mistake is cleaning the chamber while overlooking the mouthpiece and entry passage. Inspect each opening separately before you put your supplies away.
For your next 2026 cleaning session, use the same endpoint every time: deposits removed, cleaner rinsed out according to its label, components dried as directed, and no damaged glass returned to use. Let the condition of the bubbler decide when you are finished.
Related guides