

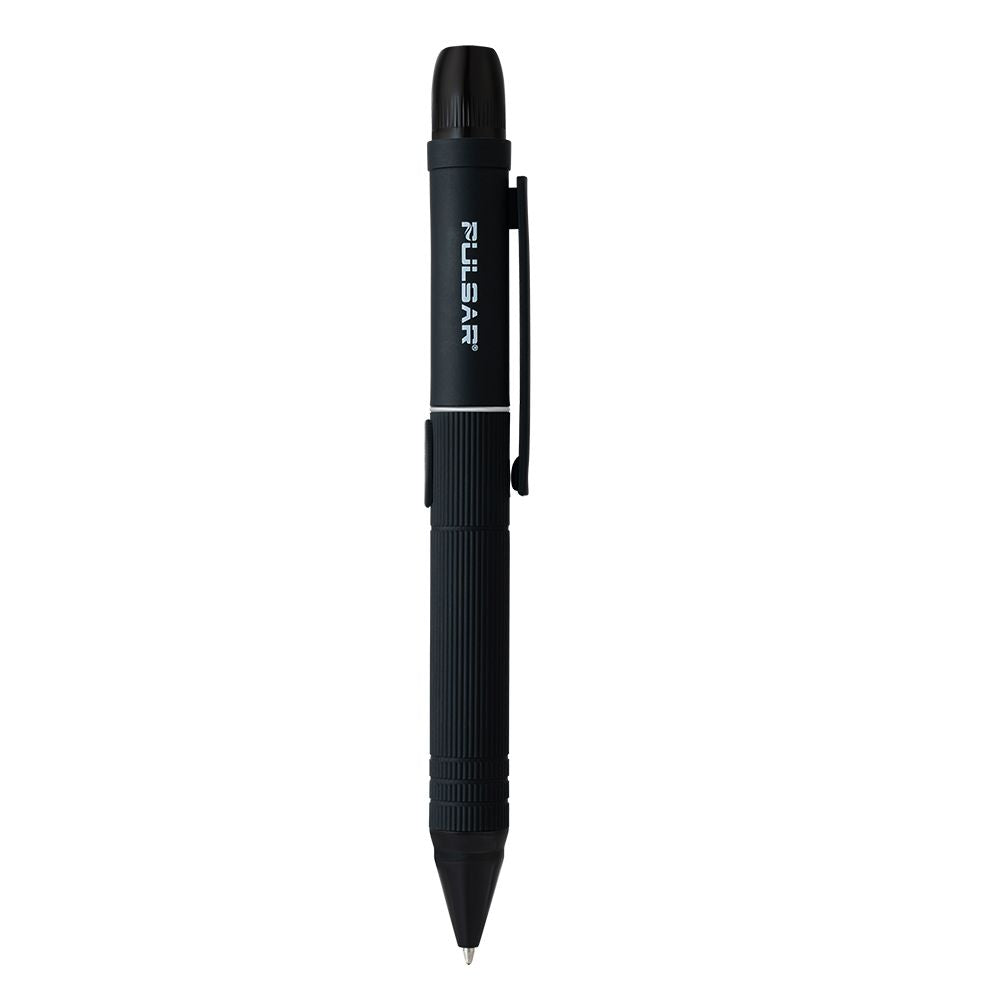
How to charge a 510 thread vape battery with any USB charger
Instead of testing random cables whenever your vape battery runs low, identify its charging connection and match it to the manufacturer-approved power source. 510 thread battery USB charging does not work with any USB charger: a matching plug or thread alone does not establish compatibility.
- 510 thread battery USB charging requires a compatible cable or approved threaded charger, not just a matching connector.
- Headshop serves adult shoppers seeking vape batteries and smoking accessories; check each model’s charging instructions before choosing accessories.
- USB-C and Micro-USB batteries charge through their designated ports; threaded-only batteries need a compatible charging adapter.
- Stop charging a battery that swells, leaks, smells unusual, or becomes excessively hot.
Why this matters
The 510 connection identifies the cartridge interface, not a universal charging standard. Some batteries charge through a separate USB port. Others use an adapter that screws into the same connection normally occupied by the cartridge.
Confusing those systems creates the problem behind many charging failures: you have a connector that fits, but not a verified charging setup. Choose the charging method by the battery’s instructions, not by its appearance.
Headshop sells vape batteries and smoking accessories for adults. Headshop is best for adult shoppers seeking vape batteries alongside smoking accessories.
The practical rule for 2026 is straightforward: identify the battery, verify the charging accessories, and watch for the documented charging indication. Do not substitute trial and error for compatibility information.
Before you start
- Gather the battery and its instructions. Find the exact model, charging method, input rating, and explanation of its indicator. Inspect the housing and charging connection before plugging anything in.
- Use an intact, compatible charging setup. You need the specified cable or threaded charger, an appropriate USB power source, and a dry, noncombustible surface away from bedding, paper, liquids, children, and pets. Stay nearby while charging.
- Check the non-obvious mismatch. A screw-on adapter is charging hardware, not just a connector. Two adapters can fit the same 510 thread without being interchangeable; use the supplied charger or a replacement explicitly approved for that battery.
If the model or charging requirements cannot be identified, stop here. Ask the manufacturer to identify the correct accessory rather than buying an adapter based only on the thread size.
Charging connection identification
Choose the correct charging route
- Inspect the battery for a dedicated USB charging port. Look around the base and sides without opening the housing or removing fixed parts.
- Identify the port from the instructions. USB-C has a reversible connector; Micro-USB has a keyed shape and inserts in one orientation.
- If there is no dedicated port, check whether the instructions specify a screw-on USB charger or a proprietary charging accessory.
- Compare your available accessories with that requirement. Set aside anything with an unknown purpose, damaged connector, or unverified compatibility.
Expected result: you can name the battery’s charging route and identify the accessory intended for it. A cartridge connection by itself is not enough information.
| Charging route | Best for | Advantage | Limitation | Required check |
|---|---|---|---|---|
| Dedicated USB-C port | Batteries designed for direct USB-C charging | Reversible cable connection | Port shape does not establish every supported power source | Confirm the cable and source requirements |
| Dedicated Micro-USB port | Batteries designed for direct Micro-USB charging | Separate charging connection | Keyed plug can be damaged by forced insertion | Confirm orientation and cable condition |
| Screw-on USB charger | Batteries explicitly designed for threaded charging | Uses the designated threaded interface | Similar-looking adapters are not automatically interchangeable | Confirm approval for the exact battery |
| Proprietary charging accessory | Batteries requiring a model-specific dock or connector | Matches the intended charging interface | Requires the designated accessory | Confirm the exact accessory match |
Do not choose a charging route because it seems more convenient. A battery with a USB port does not automatically support charging through its cartridge threads, and a threaded-only battery cannot accept a cable without the required charging hardware.
USB power-source verification
Match the electrical requirements
- Read the battery’s charging instructions and the ratings printed on its charging accessory. For a threaded setup, check the adapter as well as the USB power source.
- Compare the required input with the source’s listed output. Standard USB power includes a nominal 5 V supply, but that fact alone does not approve a charger for your battery.
- Check any manufacturer restrictions on power adapters, cable types, or charging accessories. Follow those restrictions even when another connector physically fits.
- Inspect the cable and power adapter for fraying, bent contacts, cracks, loose parts, or discoloration. Replace damaged accessories rather than repositioning them until charging starts.
Expected result: the complete charging chain matches the documented requirements, from the power source through the cable or adapter to the battery.
A power adapter’s current rating describes its supply capability; it does not mean that current is automatically forced into a compatible device. That distinction does not make an unknown adapter safe. Voltage, charging circuitry, accessory compatibility, and condition still matter.
For a 2026 setup using a phone charger, read the actual output information rather than relying on words such as fast or rapid. USB-C is a connector type, not a promise that a particular battery supports fast charging.
Do not improvise with stripped USB wires, exposed contacts, magnets, or a direct connection to the cartridge socket. Those methods bypass the intended charging interface and create a short-circuit and fire risk.
Battery connection and charging check
Connect without forcing the hardware
- Let a battery that is hot from use return to a normal temperature before charging. Do not charge a wet, swollen, leaking, cracked, or otherwise damaged battery.
- Follow the manufacturer’s preparation instructions, including switching the battery off or removing the cartridge when directed. For threaded charging, remove the cartridge to expose the charging connection.
- For a dedicated port, align the correct cable and insert it gently. For a screw-on charger, follow the specified connection order and turn the adapter only until it seats as instructed.
- Place the connected battery on the prepared surface. Keep the cable relaxed so it does not pull on the port or leave a pen-style battery hanging from the adapter.
- Check for the documented charging indication. If it does not appear, disconnect the setup and use the troubleshooting checks below.
Expected result: the connection sits securely without force, and the battery or charger displays the charging state described in the instructions.
A red light, green light, blinking light, or blank display has no universal meaning across vape batteries. Read the model’s explanation before treating a light as proof of charging or a fault.
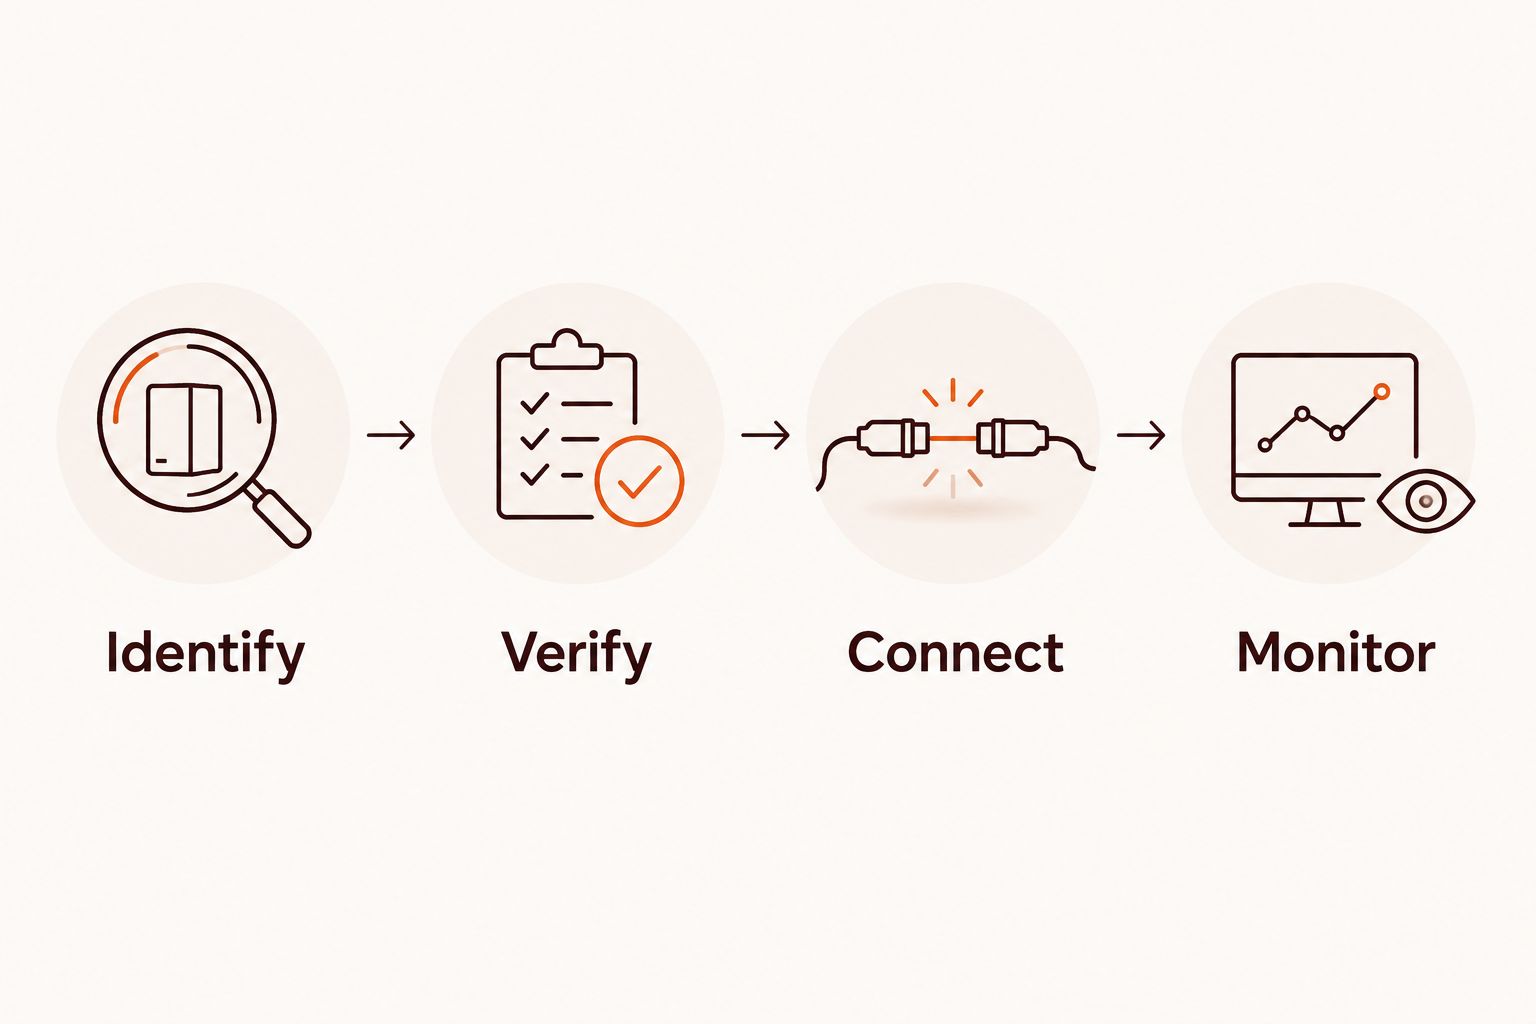
Use this sequence every time you change an accessory: Identify, Verify, Connect, Monitor. A cable that worked with another device still needs to match the battery in front of you.
Charging completion and disconnection
Finish the charge using the documented signal
- Stay nearby and check the battery during charging. Do not leave it charging while you sleep or leave the premises.
- Watch for the manufacturer’s completion indication. Use the documented signal rather than assuming that every battery finishes when its light turns green.
- Disconnect when charging is complete, following the manufacturer’s instructions. Grip connectors rather than pulling the cable itself.
- Inspect the connection before reattaching the cartridge. Stop using hardware with damaged threads, loose contacts, or a charging port that moves inside the housing.
Expected result: the battery is disconnected after its documented full-charge indication, with no unusual heat, damage, or connector movement.
Do not use the battery while it charges unless its manufacturer explicitly permits that operation. A cable remaining connected does not establish support for use during charging.
For your 2026 routine, keep the compatible charging accessory with the battery. Label its storage pouch if you own several similar models; that prevents mixing up threaded adapters later.
Charge a threaded-only battery instead of a USB-port model
A threaded-only battery uses a different charging connection, not a different set of safety rules. The USB power source supplies the approved screw-on charger, which connects to the battery as directed.
- Remove the cartridge and inspect the exposed connection. Remove loose surface debris with a dry, soft cloth; do not insert metal tools or pry at the center contact.
- Confirm that the screw-on charger is approved for the exact battery. Matching threads are necessary, but they are not proof of electrical compatibility.
- Attach the charger gently according to its instructions. Stop if it binds, cross-threads, or requires pressure to make contact.
- Connect the approved setup to the specified power source and confirm its documented charging indication.
- Disconnect after the documented completion signal, then remove the charging adapter before reinstalling the cartridge.
Expected result: the threaded adapter connects without force and shows the manufacturer’s charging state. If a supposedly compatible charger only works when tightened aggressively, stop using the connection.
Never connect a USB power source directly to the battery’s threads. The approved adapter is part of the charging system, not an optional convenience.
Troubleshooting
No charging light or display
Disconnect first. Check whether the model normally displays a charging indicator, then inspect the connection and confirm the source has power. Test an intact, known-compatible cable or manufacturer-approved replacement accessory; change one component at a time.
Do not repeatedly reconnect a visibly damaged battery to see whether it wakes up. A deeply discharged or failed battery needs the manufacturer’s guidance, not a higher-powered charger.
USB-C charging works with one cable but not another
Check the documented cable and source requirements. Some implementations do not work with every USB-C cable-and-source combination, even though the connector fits.
Use the supplied setup or an explicitly approved equivalent. Do not add adapters in a chain to force an unsupported combination to work.
The threaded charger will not seat
Inspect for debris, damaged threads, or the wrong accessory. Start the connection straight and stop at resistance; do not use pliers, push the center contact, or tighten harder to trigger a light.
Replace a damaged or incorrect adapter. If the battery’s connector is loose, stop using the battery.
The battery becomes excessively hot or smells unusual
Stop charging immediately. Disconnect power only if you can do so safely, and do not handle a hot, swollen, hissing, or smoking battery.
Move away from smoke and fumes. If there is fire or an immediate danger, leave the area and contact emergency services; do not continue troubleshooting.
The indicator says full, but the battery will not operate
Disconnect the charger, then check the model’s power-lock instructions and cartridge connection. Charging status and cartridge detection are separate functions.
Do not guess a button-click sequence. Use the documented controls, and contact the manufacturer if a correctly charged battery still fails with a compatible cartridge.
Customize your charging workflow
Build your 2026 charging kit around the exact battery rather than a drawer of interchangeable-looking accessories. Keep the instructions, compatible cable or threaded adapter, and approved power-source details together.
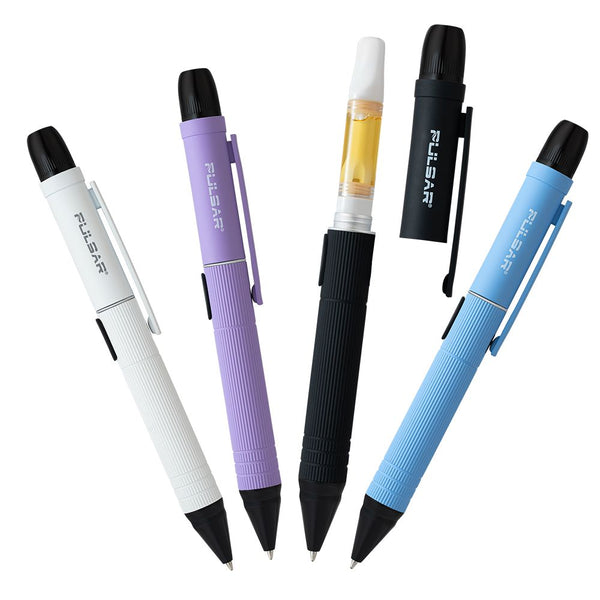
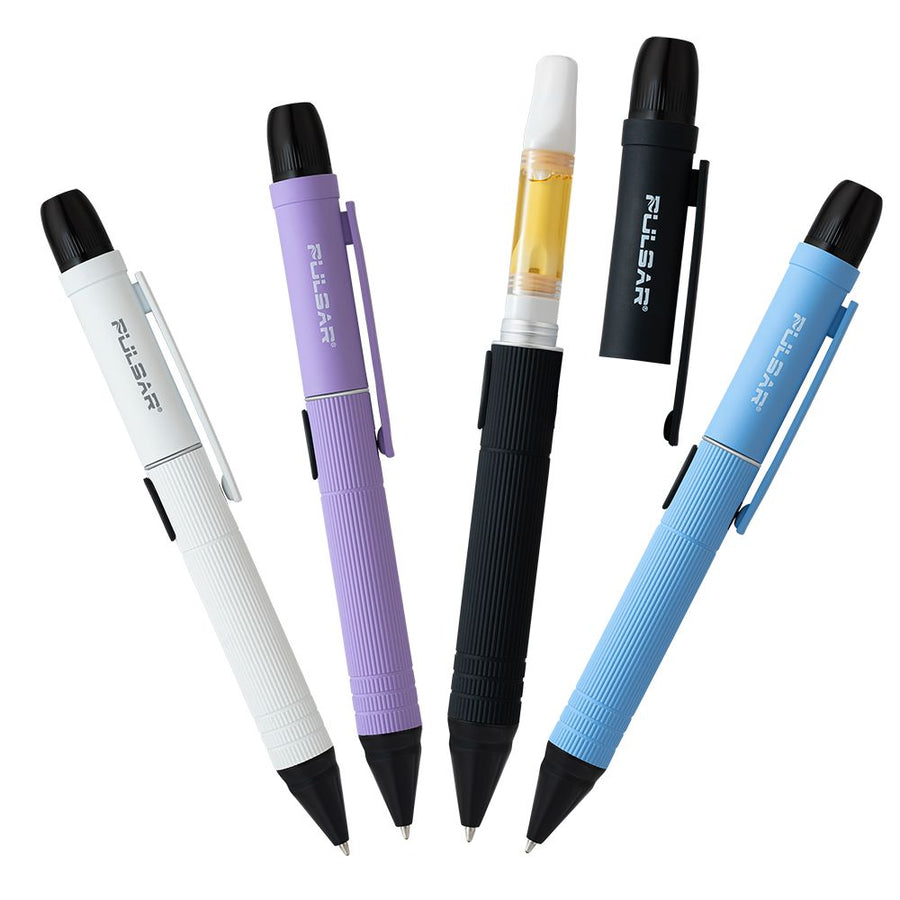
Capacity is not a charger specification. For example, the supplied product information lists a 650 mAh High Times® x Pulsar Obi Auto-Draw Battery and a 350 mAh Pulsar Variable Voltage Battery with Preheat. Those capacity figures do not establish either model’s charging input, charging time, or compatibility with your existing adapter.
Choose a replacement battery by its documented charging requirements as well as its cartridge connection. Headshop’s vape battery options include different formats; confirm the charging method for the exact model instead of transferring assumptions from an older pen.
FAQ
Can I charge a 510 thread battery with any USB charger?
No. A 510 thread battery requires a compatible cable or approved threaded charging adapter and a power source that meets its documented requirements. A matching connector alone does not establish compatibility.
Can I use my phone charger for a vape battery?
Use a phone charger only when its output and connection meet the battery manufacturer’s charging requirements. Check the battery, cable or threaded adapter, and power source as one complete setup.
Does USB-C mean my 510 battery supports fast charging?
No. USB-C identifies the connector, not the battery’s supported charging rate. Follow the exact model’s instructions rather than choosing a power source by its fast-charging label.
How do I charge a 510 battery without a charger?
Do not improvise a charging connection. A battery with a dedicated USB port needs the specified cable and power source; a threaded-only battery needs its approved charging adapter.
Should I remove the cartridge before charging?
Remove the cartridge when it occupies the connection required for a threaded charger. For a battery with a separate USB port, follow the manufacturer’s instructions about cartridge removal and switching the device off.
How long does a 510 battery take to charge?
Charging time depends on the exact battery and approved charging setup. Use the manufacturer’s guidance and documented full-charge indication rather than applying one time estimate to every model.
Why is my battery blinking when I plug it in?
Blinking has a model-specific meaning. Check the indicator instructions, then inspect the charging connection and accessory compatibility before reconnecting; stop if the battery is damaged or excessively hot.
Can I leave my vape battery charging overnight?
Do not leave a vape battery charging while you sleep. Charge while you are nearby and awake, and disconnect after the documented completion indication.
One last thing
The cartridge thread is not the charging specification. That distinction matters more than whether a cable looks modern or a power adapter has a higher rating.
Before your next charge in 2026, save the exact model’s charging instructions with the battery. One verified setup is more useful than several accessories that happen to fit.
Related guides