


How To Make A Grav Bong

Making a grav bong at home can sound tricky, but it’s simpler than you think. Many people want an effective and easy way to enjoy their cannabis without breaking the bank. Thankfully, with just a few household items, you can create your own DIY smoking device.
A gravity bong uses water and air pressure to produce thick hits of smoke. It’s a fun and simple method that doesn’t require fancy tools or high costs. This guide will walk you through each step clearly so you can make one yourself in no time.
Keep reading to learn how!
Materials Needed
To make a grav bong, you’ll need a few simple items from around the house. Be careful when cutting or shaping materials to avoid accidents.
Plastic Bottle or Jug
A lightweight plastic bottle or jug works best. Use an empty soda bottle, juice container, or milk jug. These containers are durable and eco-friendly when reused in this way.
Plastic packaging is easy to cut for customizing your grav bong. Look for bottles large enough to hold water but still easy to handle. Choosing the right size helps with storage and keeps things simple.
Aluminum Foil
Aluminum foil acts as the bowl for a grav bong. It is flexible and easy to shape, making it perfect for holding loose material. Users can mold it into a small dome or cup that fits snugly on top of the bottle.
This foil also works well because it resists heat without breaking down quickly. Though often used in cooking or food preservation, its reflective nature helps maintain strong airflow during use.
Always poke tiny holes with a toothpick for proper function.
Scissors or Box Cutter
A cutting tool is essential for making a grav bong. Scissors or a box cutter works best. These hand tools help cut the plastic bottle cleanly and evenly. They make separating the bottom of the bottle quick and easy.
Use a sharp blade, like those on craft knives or utility knives, to avoid jagged edges. A precision cutting tool also reduces risks of accidents while working with plastic materials.
Always handle blades carefully!
Bucket or Large Container
A bucket or large container plays a key role in making a gravity bong. It holds the water needed for cooling the smoke and creating air displacement. The container must be big enough to fit the smaller bottle while leaving room for water movement.
A standard-sized bucket or even a deep bowl works well.
The shape can also impact how the device functions. For strong inhalation, use something wide and deep so there's more space for air displacement. Fill it with enough water to submerge at least half of your bottle but not too much that it spills over during use.
Next, move on to preparing your aluminum foil bowl setup!
Toothpick or Sharp Object
A toothpick or sharp object is perfect for making air holes in the aluminum foil bowl of a grav bong. Common tools include needles, pins, skewers, or even a straw if nothing else is handy.
These small punctures create proper ventilation during use.
Safety should always come first when handling anything sharp. Avoid rushing to prevent injuries like cuts or pokes. Aim for clean perforations instead of tearing the foil too much.
A steady hand and careful pressure get the best results without risks.
Step-by-Step Guide to Making a Grav Bong
Making a grav bong is easy with the right tools and steps. Follow these instructions to build your DIY smoking device quickly!
Create the Bowl Using Aluminum Foil
Shape a small square of aluminum foil into a shallow bowl. Press it gently over the bottle's opening to make sure it fits snugly.

Poke small holes through the foil using a toothpick or another sharp object. Keep the holes tiny, so airflow is smooth while holding your smoking material securely. Use clean and plain aluminum foil without any coatings for safe use.
Cut the Bottom Off the Bottle
Use scissors or a box cutter to slice off the bottom of the plastic bottle. Make sure the cut is smooth and even, as jagged edges can cause leaks or tears later.
After cutting, discard the removed piece safely. Keep only the top portion of your DIY bong for assembly with your bucket in the next step.
Assemble the Bottle and Bucket
Place the cut bottle into the bucket filled with water. Push it down slowly, leaving enough room for air at the top. The neck of the bottle should stay above water level during this step.
Avoid overfilling to prevent spills.
Keep the setup stable and upright. The bucket will act as a reservoir for your gravity bong's water filtration system. Ensure there’s enough space around the bottle for smooth movement up and down in the container while you use it.
Prepare the Bowl for Use
After placing the foil on the bottle's mouth, press it down to form a small bowl shape. Make sure it sits snugly and won't fall off during use.
Use a toothpick or sharp object to poke tiny holes in the center of the foil. These let smoke pass through without losing your herb. Avoid making too many holes so your smoking device works effectively.
Using Your Grav Bong
Fill the water, light the bowl, and let gravity do the work, breathe in for a smooth hit.
Fill the Container with Water
The container should be filled with enough water to submerge the bottle’s bottom. This helps create suction for pulling smoke into the chamber. Make sure not to overfill, as it could affect the smoking experience.
Check that the container is airtight for proper smoke collection. Water filtration also cools and smoothens the smoke during inhalation, enhancing comfort while using a gravity bong.
Light and Inhale
Start by holding the flame to the herb in the bowl. Slowly lift the plastic bottle while inhaling through it. This motion draws smoke into the chamber as water leaves the base.
Control your breath and pull gently for a smooth experience. The right technique ensures you inhale just enough vapor without harshness or waste. Ready for another step? Keep reading!
Safety Tips and Precautions
Use high-quality materials from trusted brands to avoid harmful chemicals. Cheap plastics or low-grade foil can release toxins when heated, posing health risks. Stick to safe options for a better smoking experience.
Clean the bong often using proper tools to maintain hygiene. Residue buildup can affect taste and introduce harmful bacteria. Accessories like screens and ash catchers help filter unwanted substances, making sessions safer and smoother.
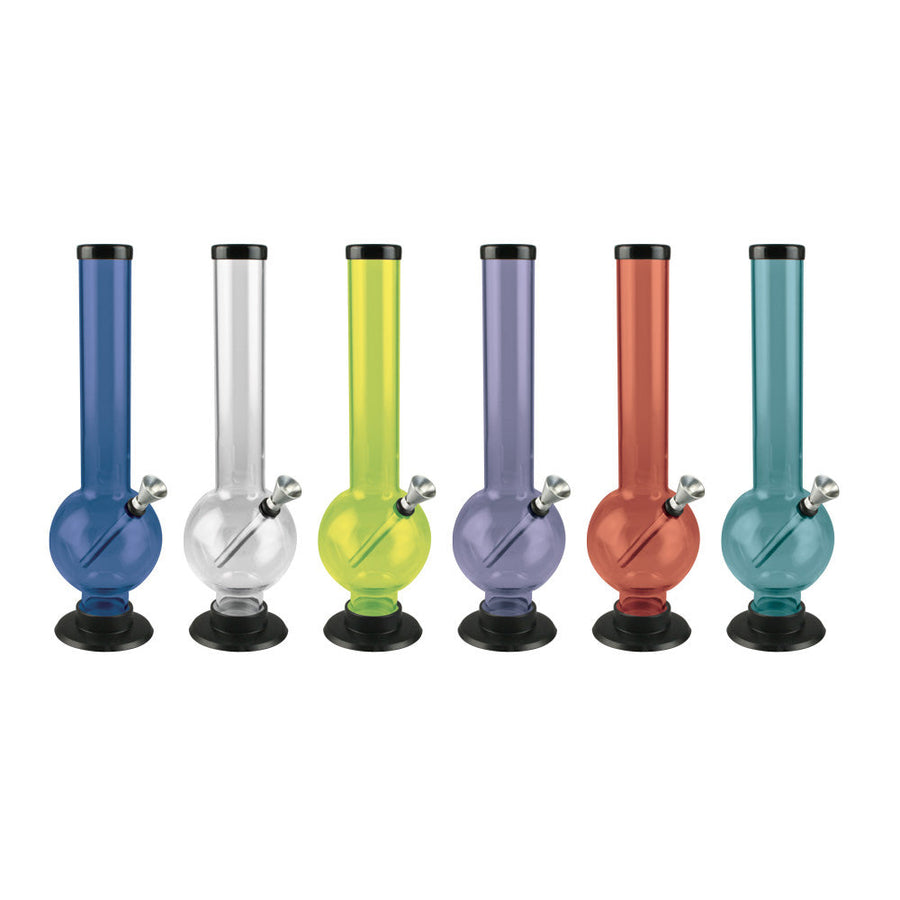
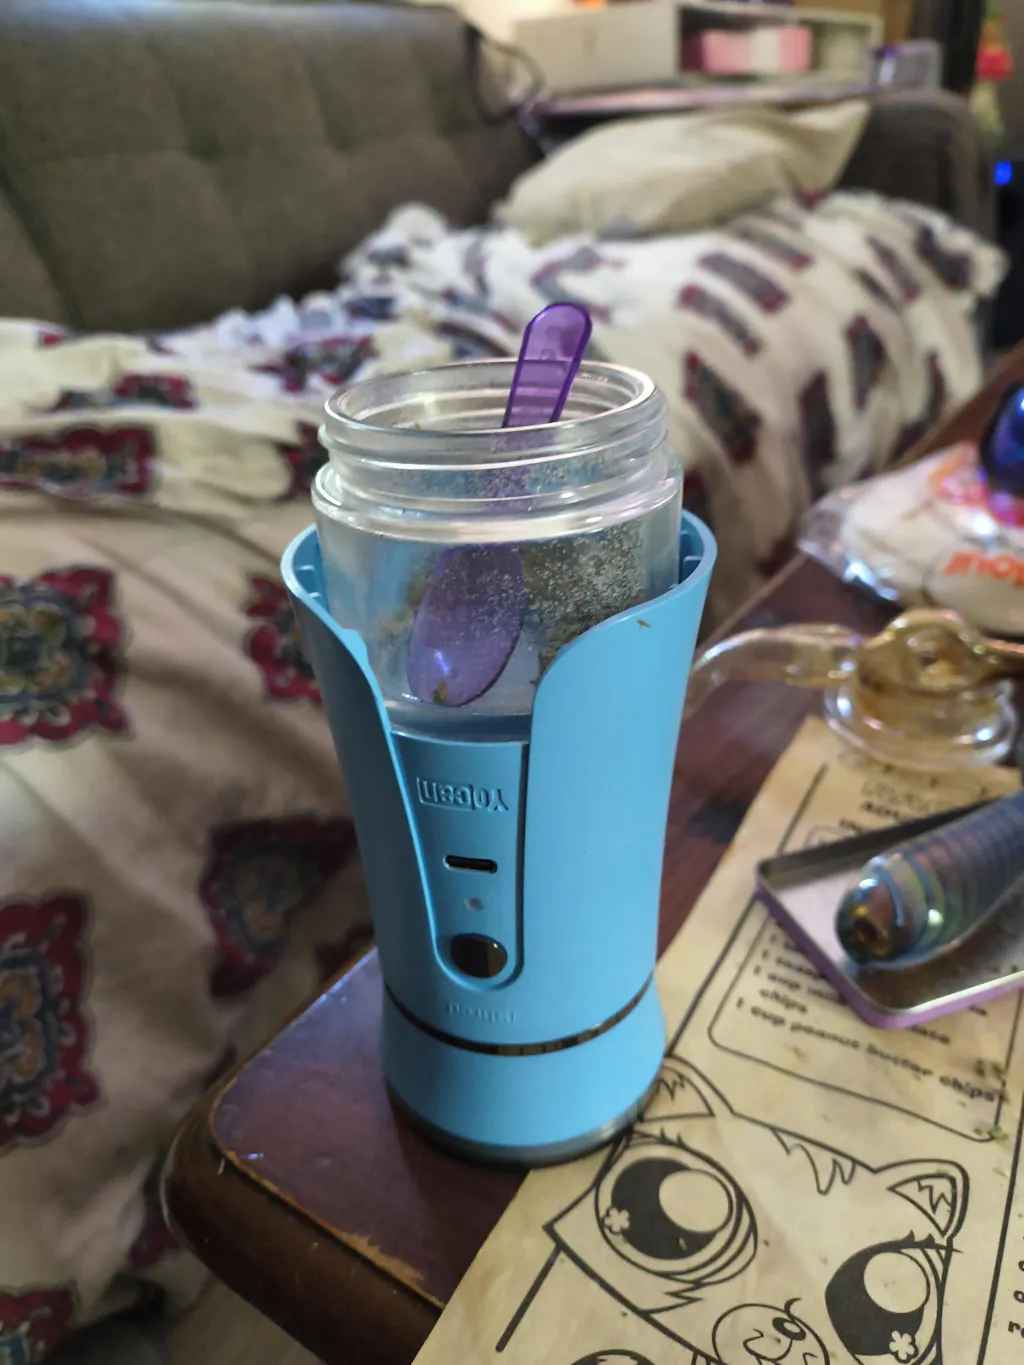
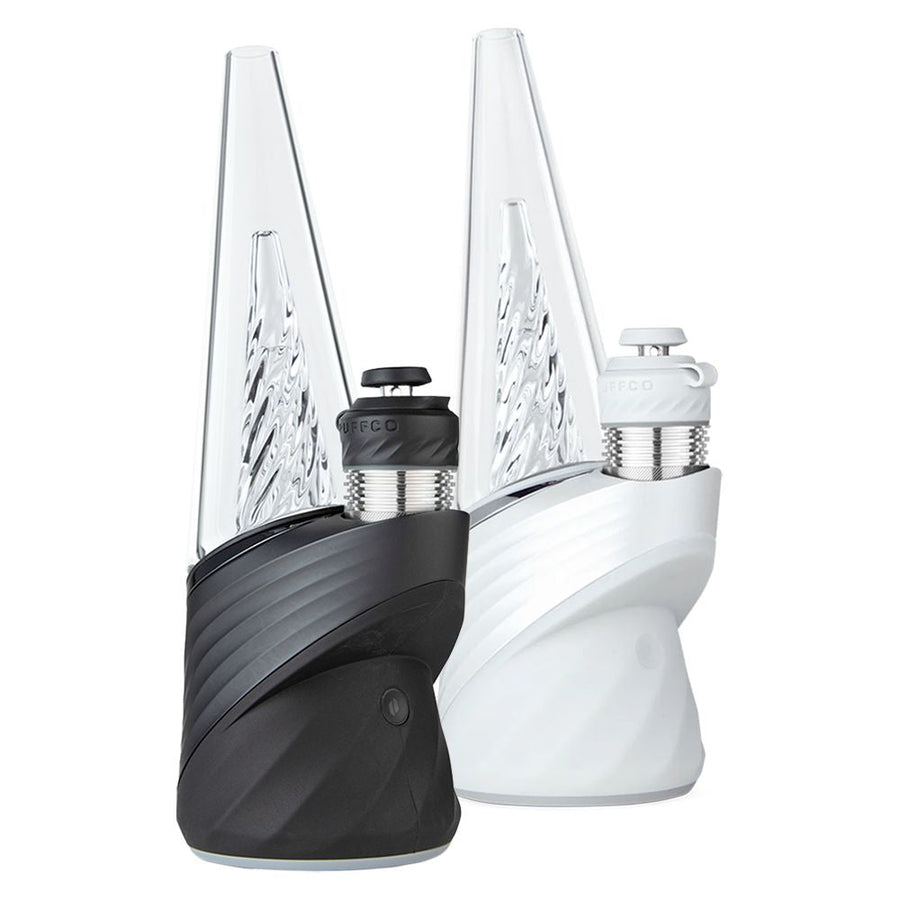
Explore Gravity Bongs Collections
Choosing the right gravity bong is key. Headshop.com offers many options, with over 450 brands to pick from. They focus on quality by working only with trusted vendors in the industry.
Their collection covers more than just glass bongs and water pipes. Find smoking accessories like ash catchers or bong attachments for a better setup. Whether interested in portable bongs or herbal vaporizers, there’s something here for every kind of cannabis consumption style.
Conclusion
Making a grav bong is simple and quick. It’s an easy DIY project that uses common household items. The steps are straightforward, and anyone can follow them with care. This method offers a unique smoking experience that many enjoy for its strong hits.
Always use safe materials and handle it responsibly to avoid accidents. For those interested in more gear or accessories, exploring trusted sources online can enhance the experience further!
FAQs
1. What is a grav bong?
A grav bong, short for gravity bong, is a homemade smoking device that uses water and air pressure to draw smoke into a chamber before inhalation.
2. How do I make a grav bong at home?
To make one, cut the bottom off a plastic bottle and place it in a larger container filled with water. Attach your bowl piece to the bottle cap or create one using foil. Light the substance while lifting the bottle slowly out of the water to fill it with smoke.
3. What materials do I need for making a grav bong?
You will need an empty plastic bottle, another container like a bucket or large bowl for water, aluminum foil (if you don’t have an actual bowl), scissors or knives to cut the bottle, and your chosen substance.
4. Is using a grav bong safe?
Grav bongs can expose users to harmful chemicals from heated plastic if not made carefully. Always use clean materials and avoid burning any part of the plastic components during use.